Centos 7.4 离线安装Zabbix 5.0 LTS
不知不觉Zabbix从4.x更新到了5.0的稳定版,界面上有着挺大的变化。我从4.x版本开始接触Zabbix,它在我日常运维上给予了非常大的帮助。新公司由于虚拟化集群不允许访问外网,在部署Zabbix的过程浪费了许多时间,这里记录下如果利用YUM命令简单快捷地在离线情况下安装Zabbix。
0.搞个Linux环境
Linux果然还得选择Centos ,尽管发行版已经到了8.0,我个人还是建议选择7.x的版本,毕竟出了一些你不明不白的问题,Google下得到的资料也会比8.0多。(再加上我新公司的虚拟化环境是华为 Fusion Compute 6.x版本,不支持8.0的Centos。)
所有将会使用到的离线安装包、配置文件下载链接:
链接:https://pan.baidu.com/s/1DTmD5RodAhRFB3hfQlNiUA 提取码:hfmn
0.1使用VMware workstation 部署测试环境
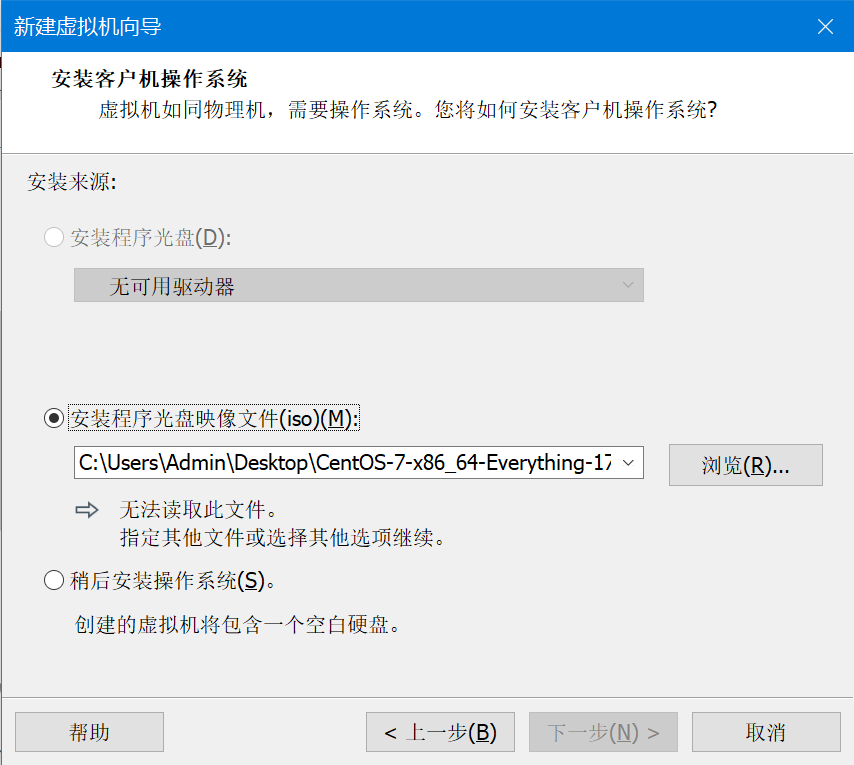
这里的部署镜像是:CentOS-7-x86_64-Everything-1708,如果你想按照我的文章一步一步安装不出问题,我建议你还是乖乖选和我一样的。虚拟化则是Windows 10 下的VMware workstation 15.5 pro。
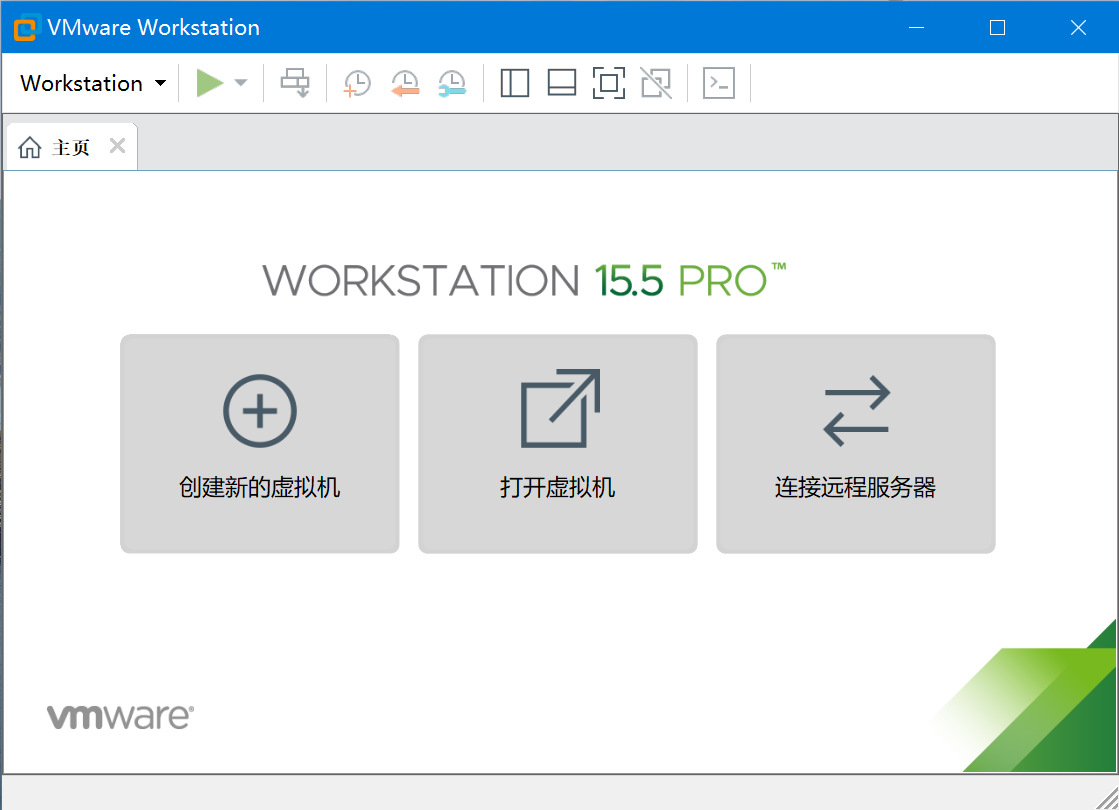
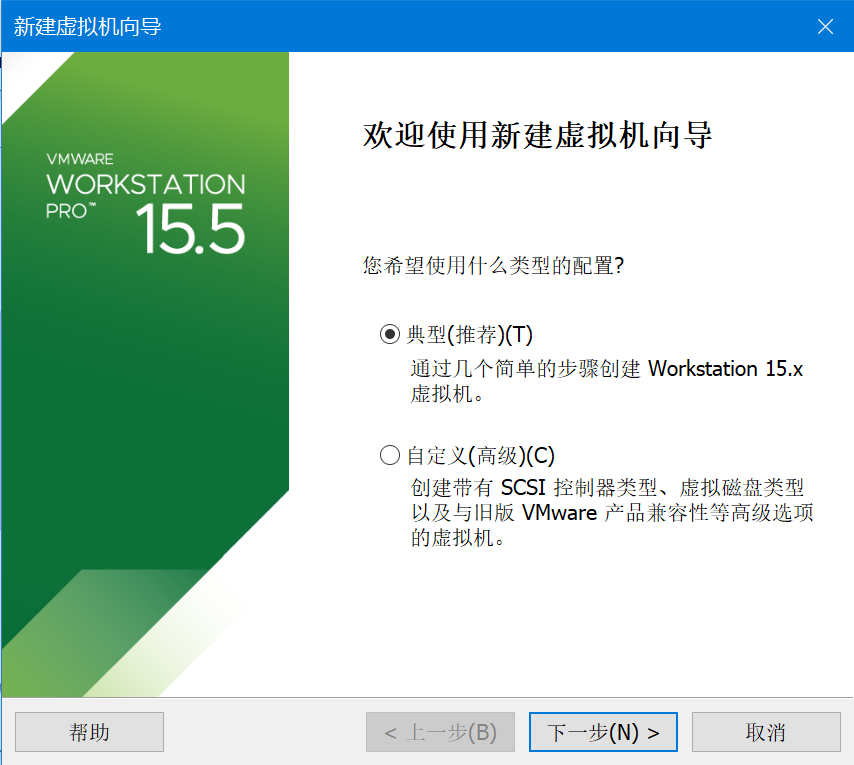
创建新虚拟机,使用典型步骤,并且选择我所说的镜像文件:
设定下该Linux的安装信息,留意到时候Root账号的密码也会是这个:
全名:Testdevice
用户名:test
密码:password

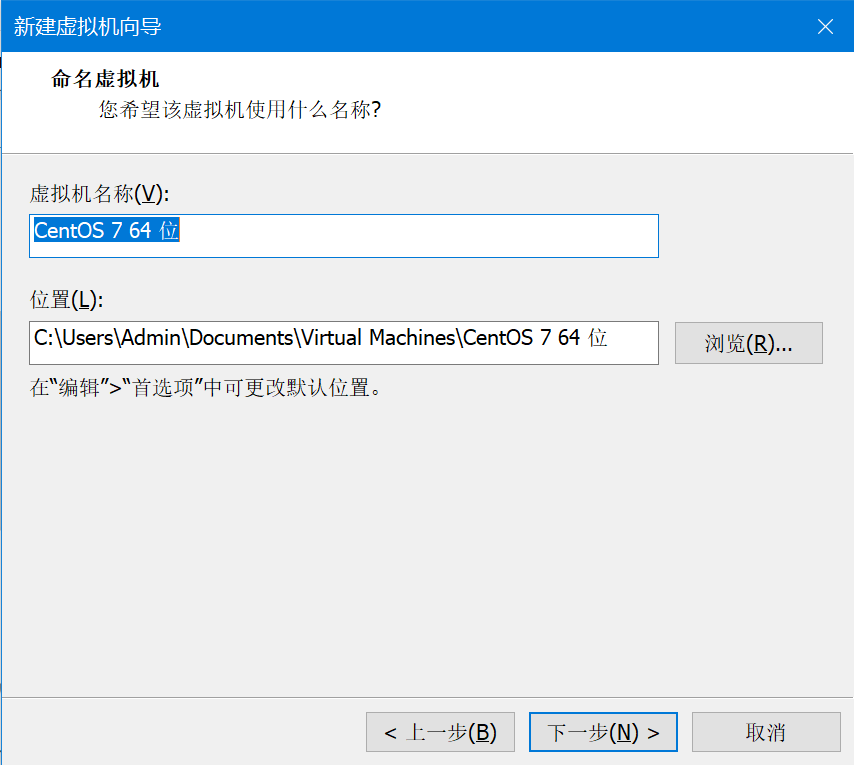
然后下一步是选择虚拟机文件的存放位置,这里默认就行了,不用修改:
硬盘容量选择100G,内存4G,CPU双核:
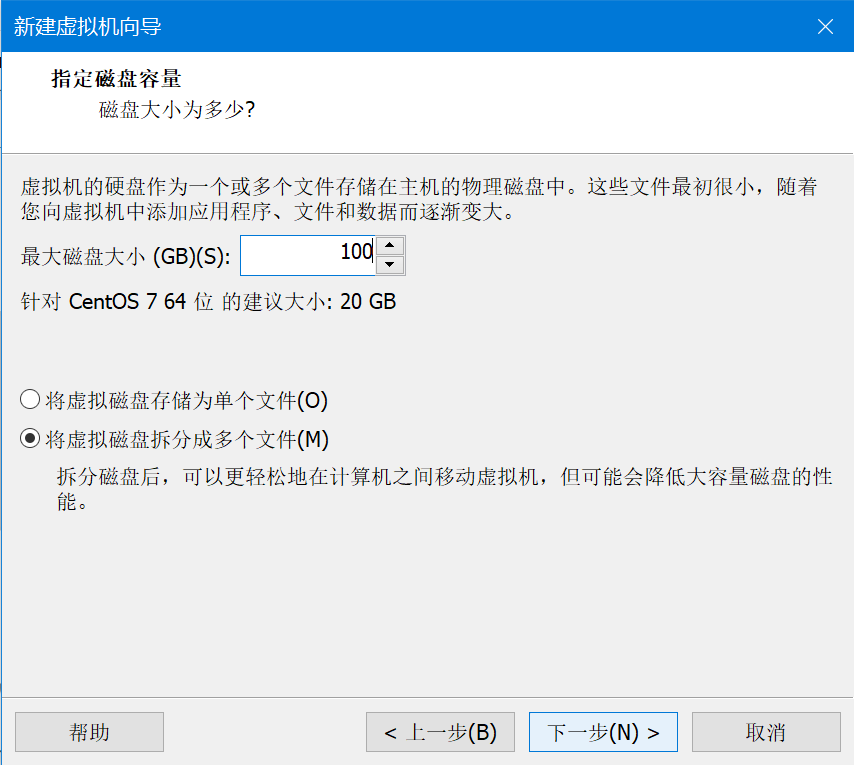
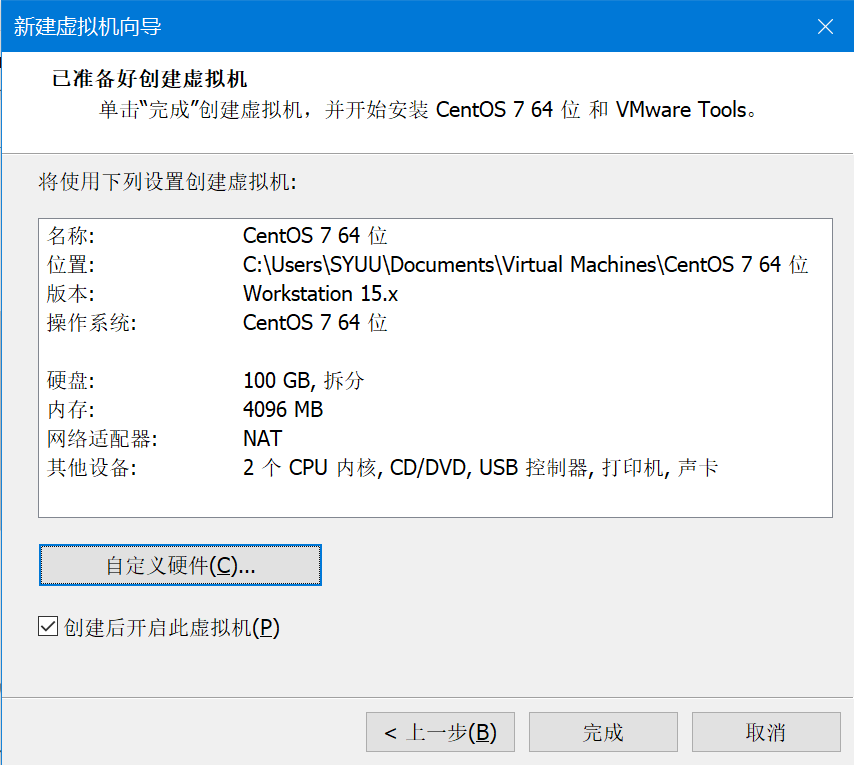
点击完成后,就会开机自己安装系统:
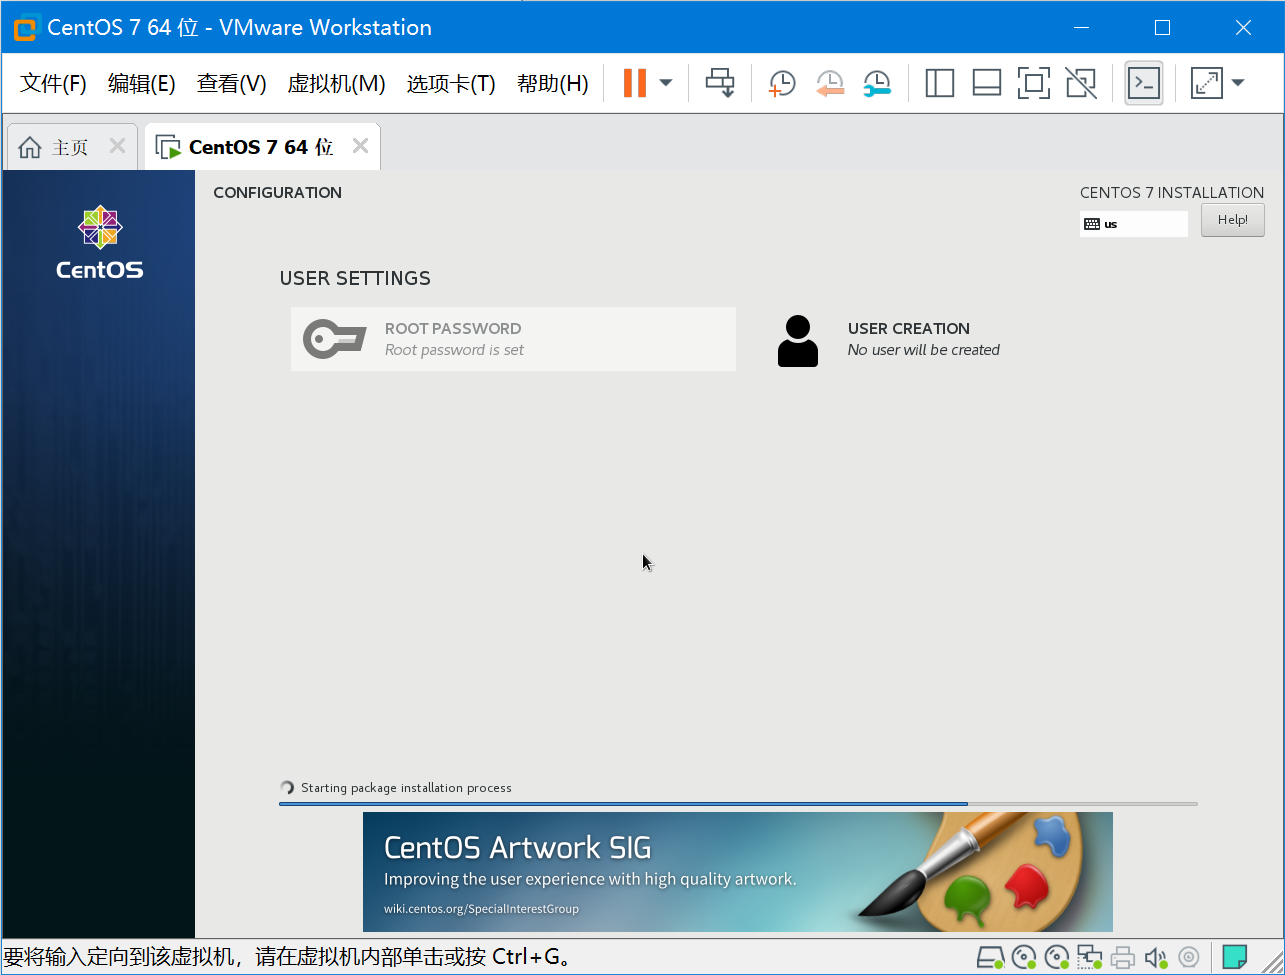
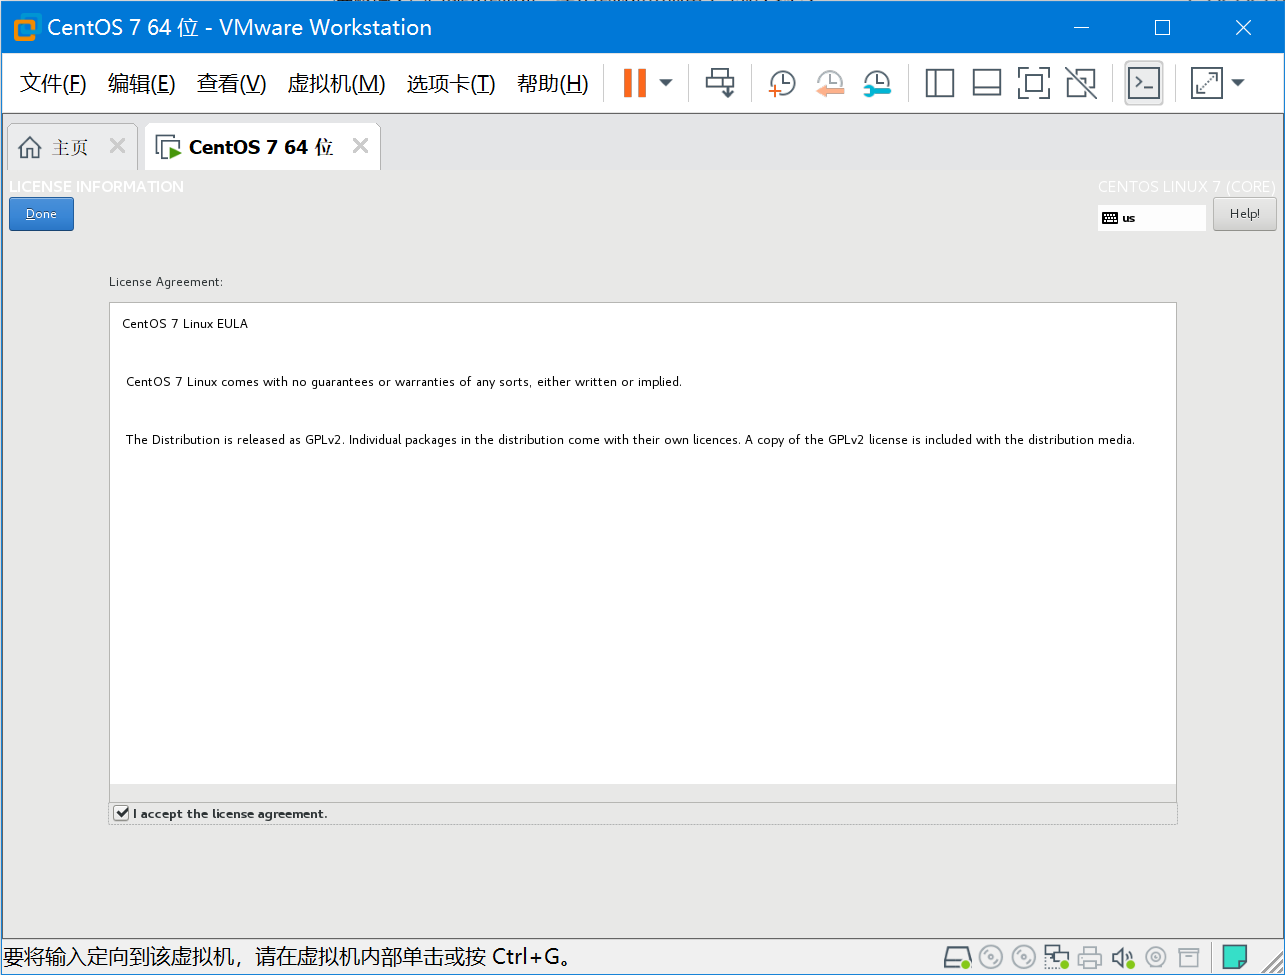
安装完成后同意下使用协议,和确认下网络配置,最后在点下右下角的FINISH CONFIGURATION就完成安装了:
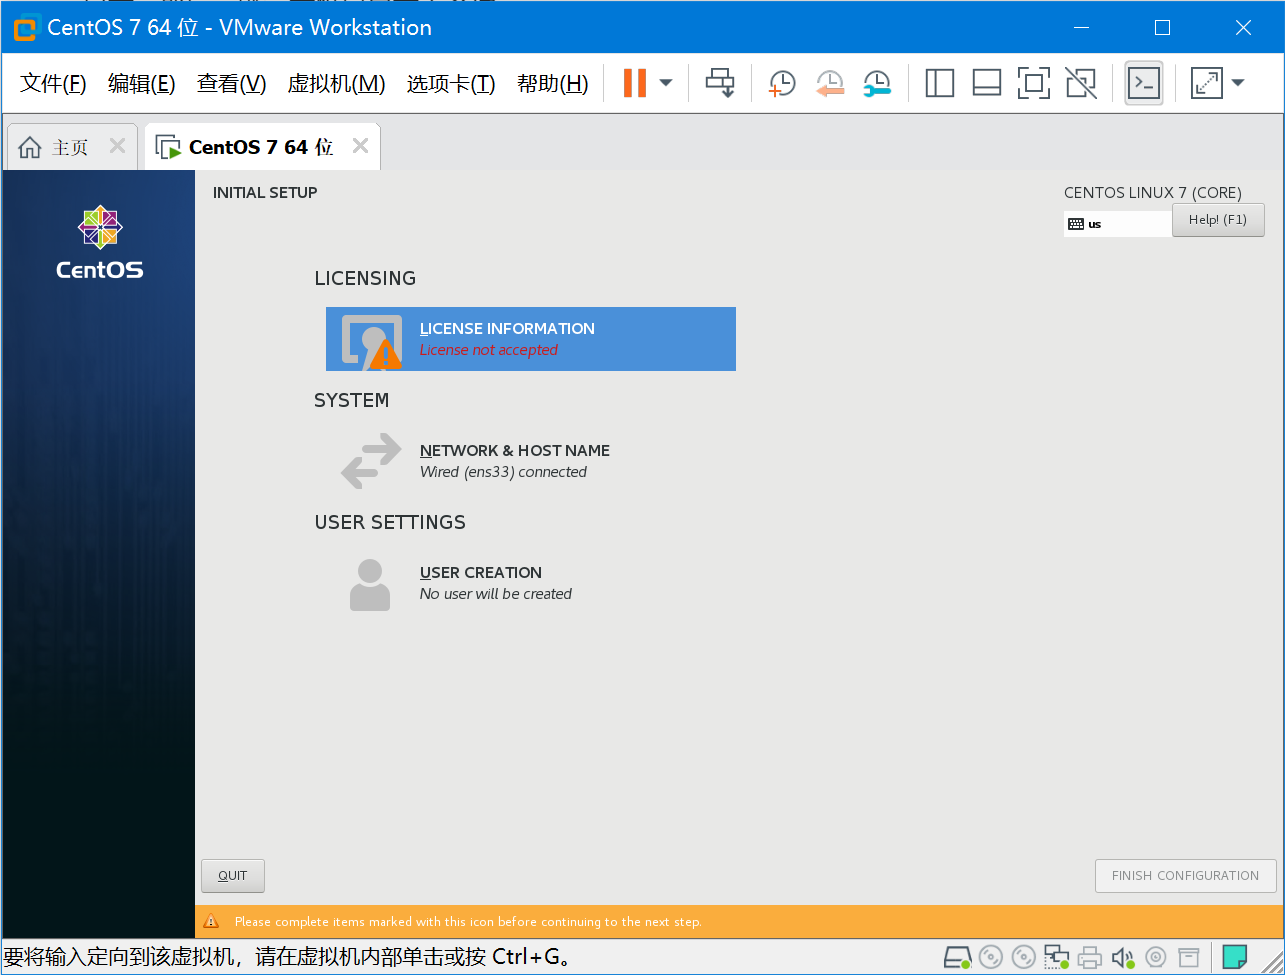
够上“I accept the license agreement”,然后右上角Done。
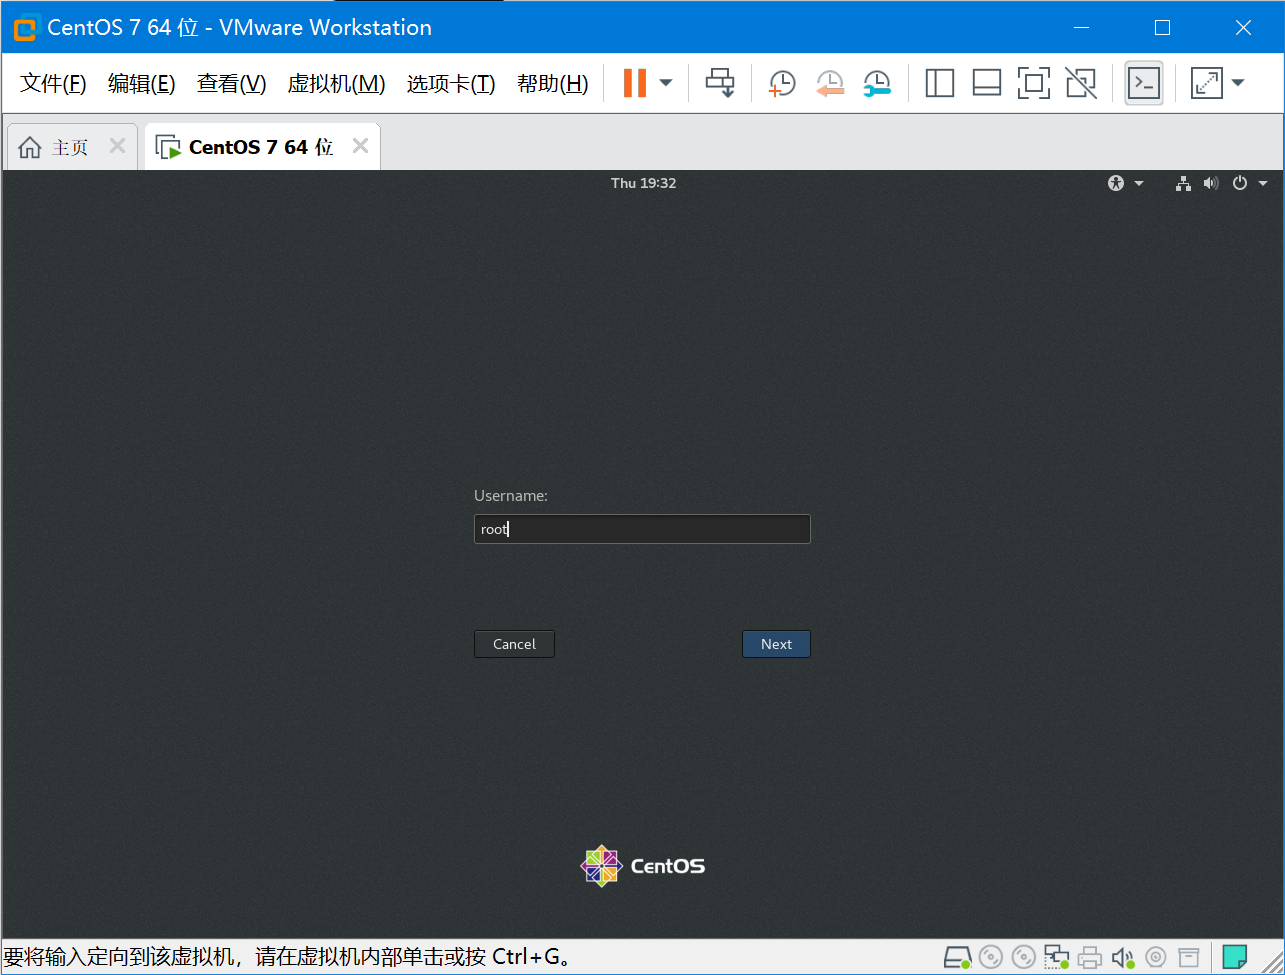
登录的时候选择not listed,然后使用root/password登录:
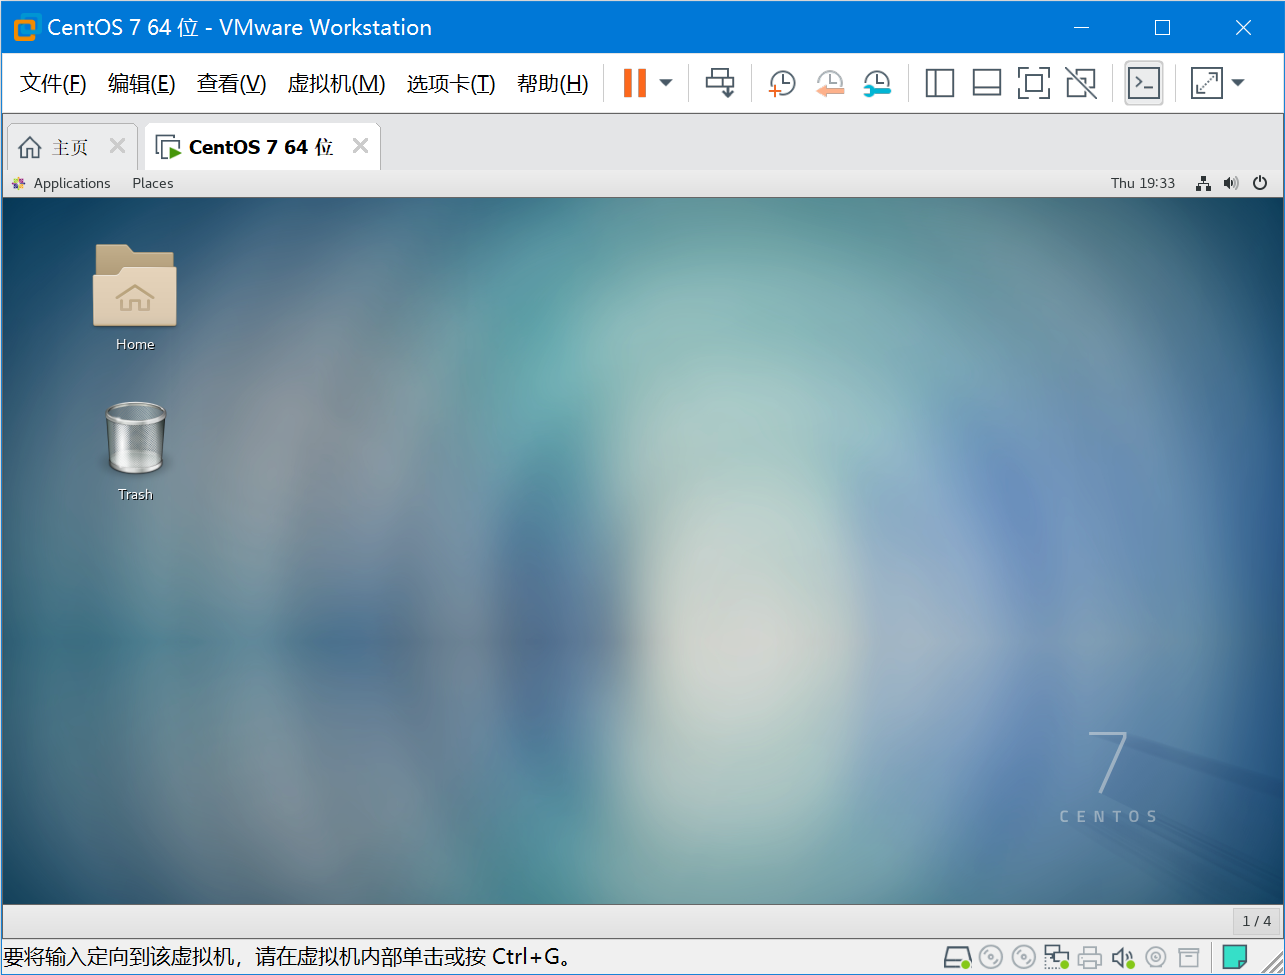
登录后的界面如下:
0.2调整虚拟机网络,使其无法访问互联网
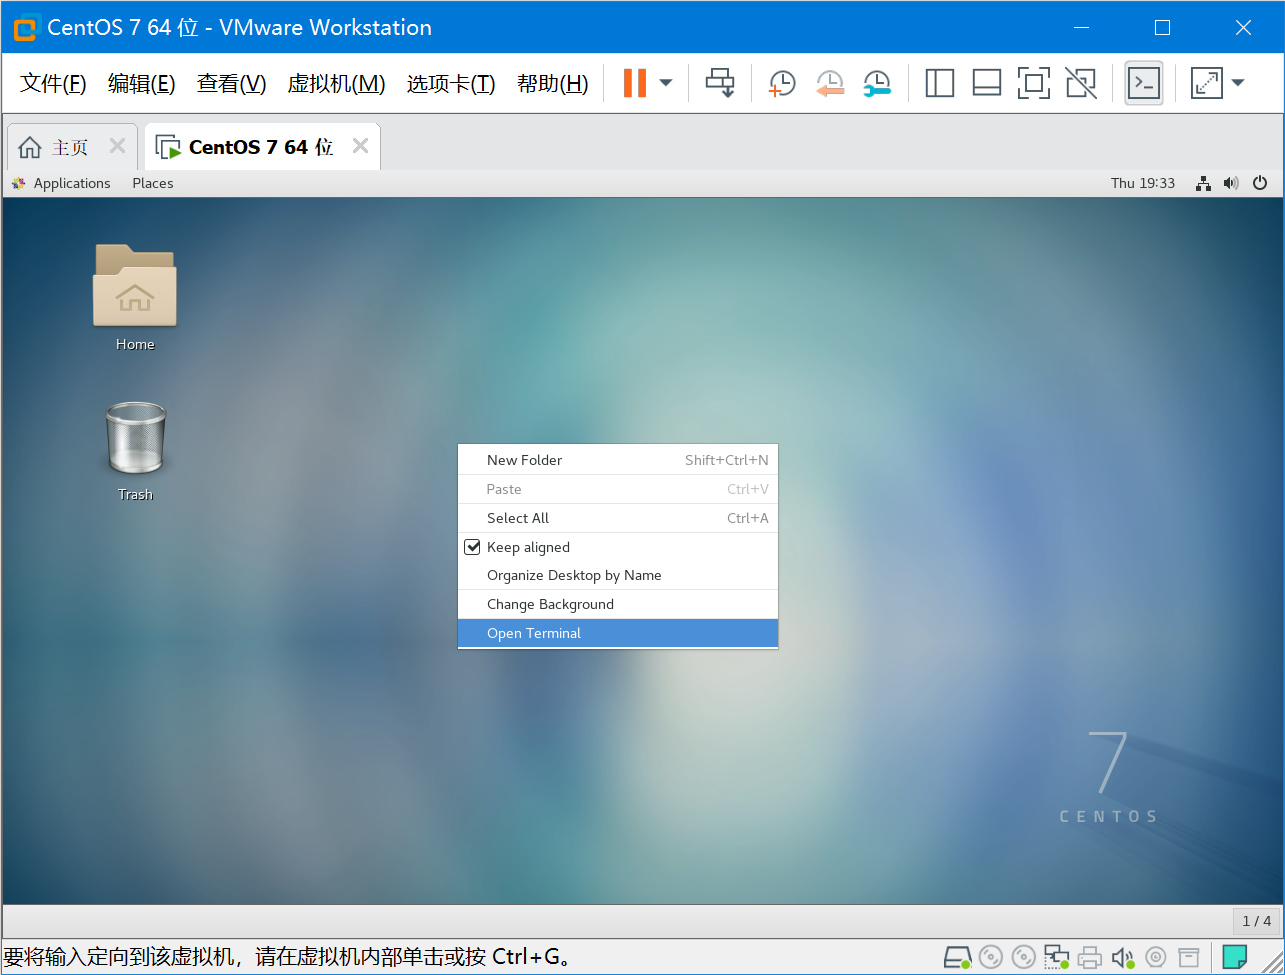
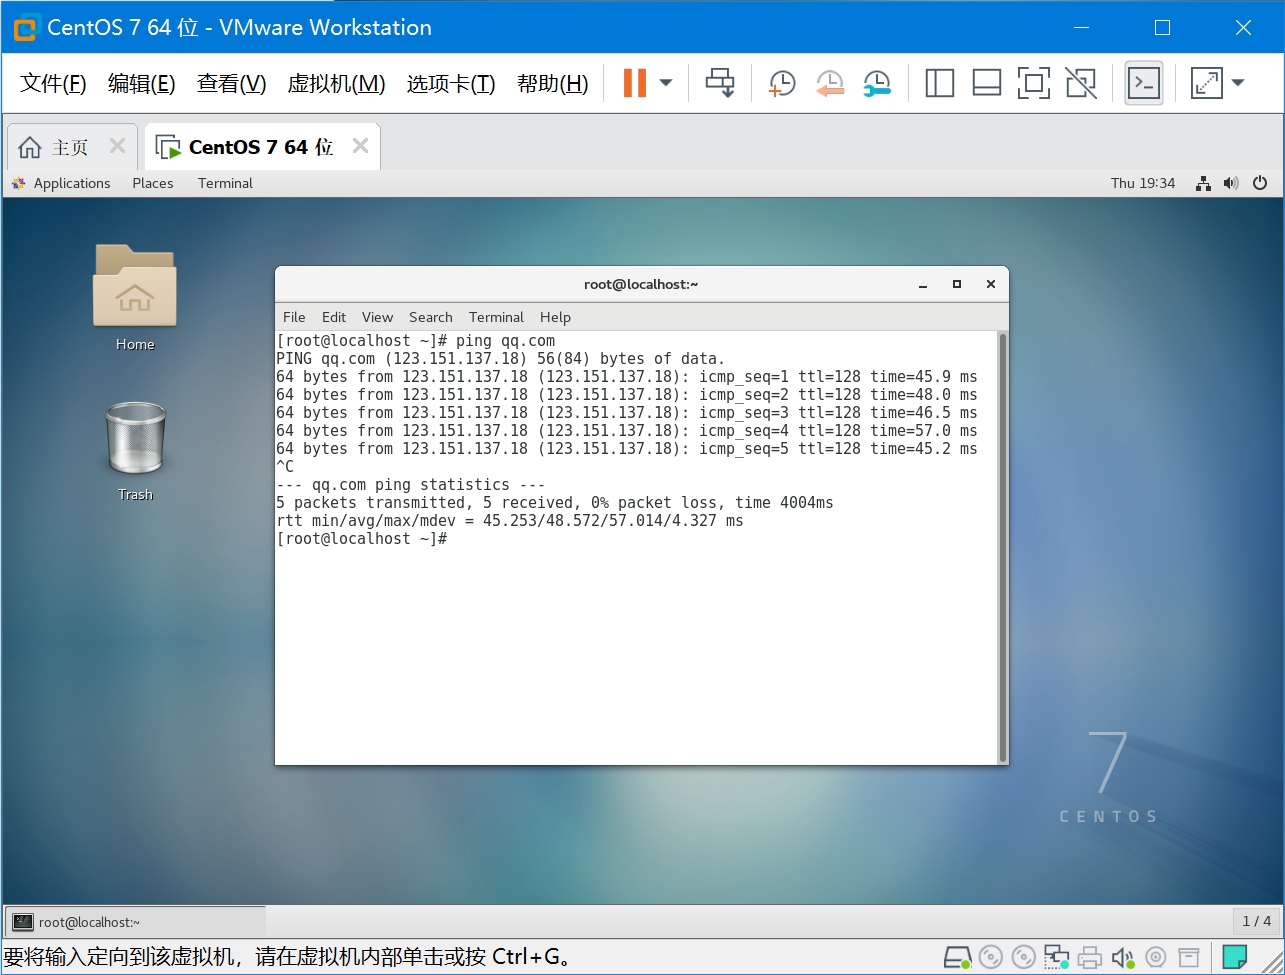
右击选择Open Terminal,测试下网络是通的,我们要让它上不了互联网:
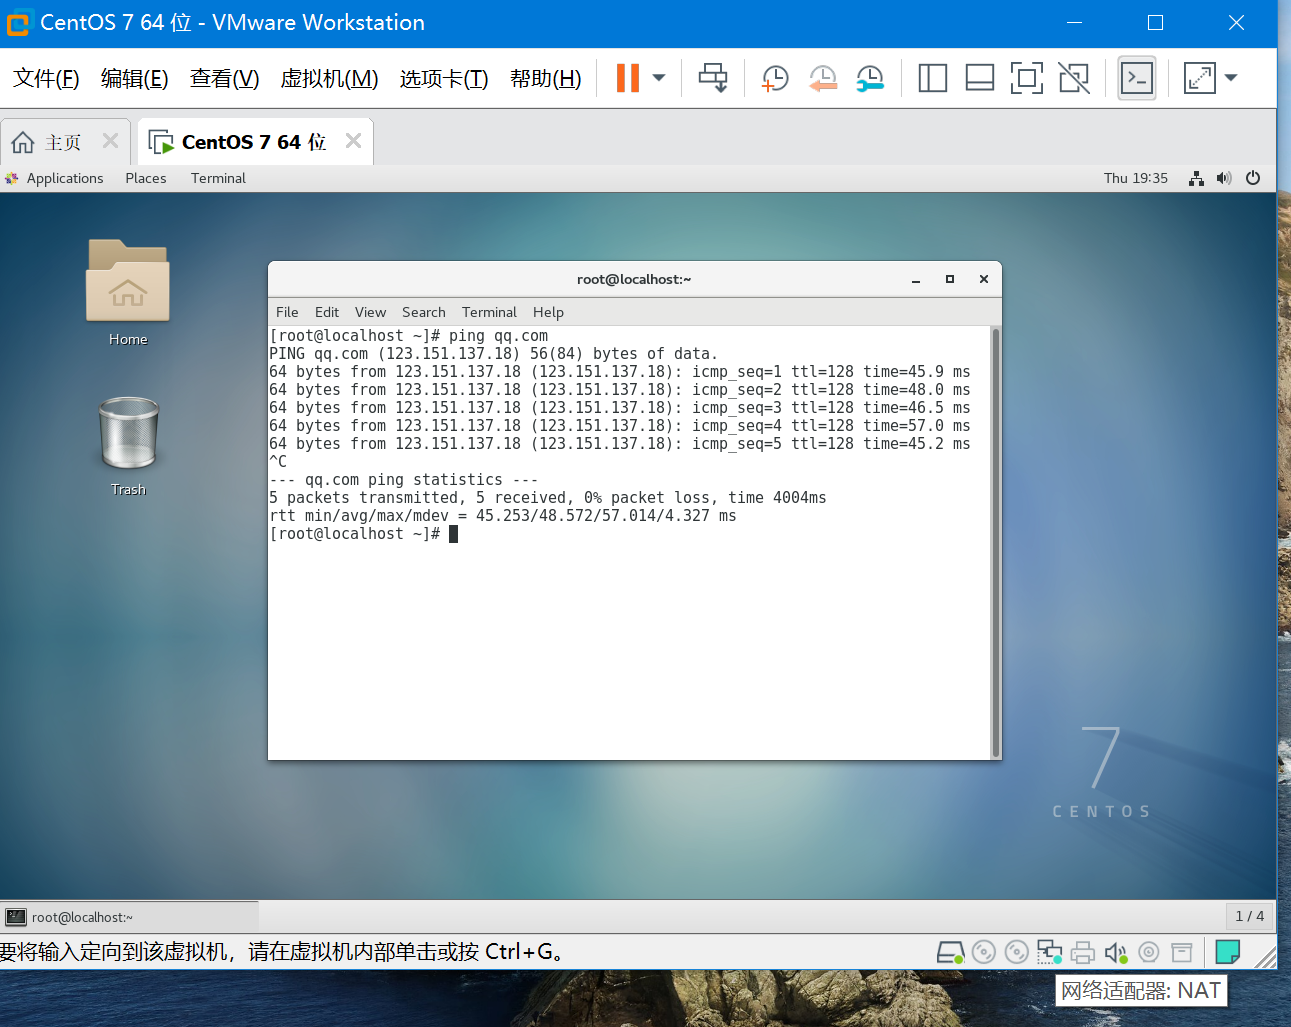
右击-设置,来调整该窗口右下角小电脑的的网络适配器
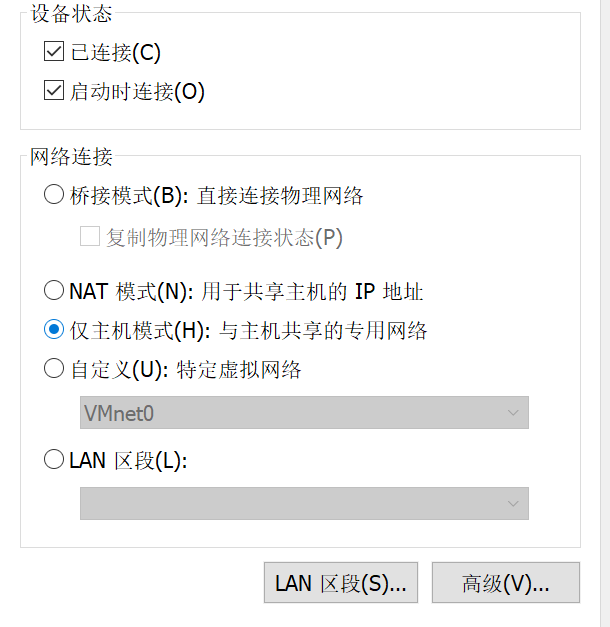
选择“仅主机模式”,确保虚拟机是无法上互联网的:
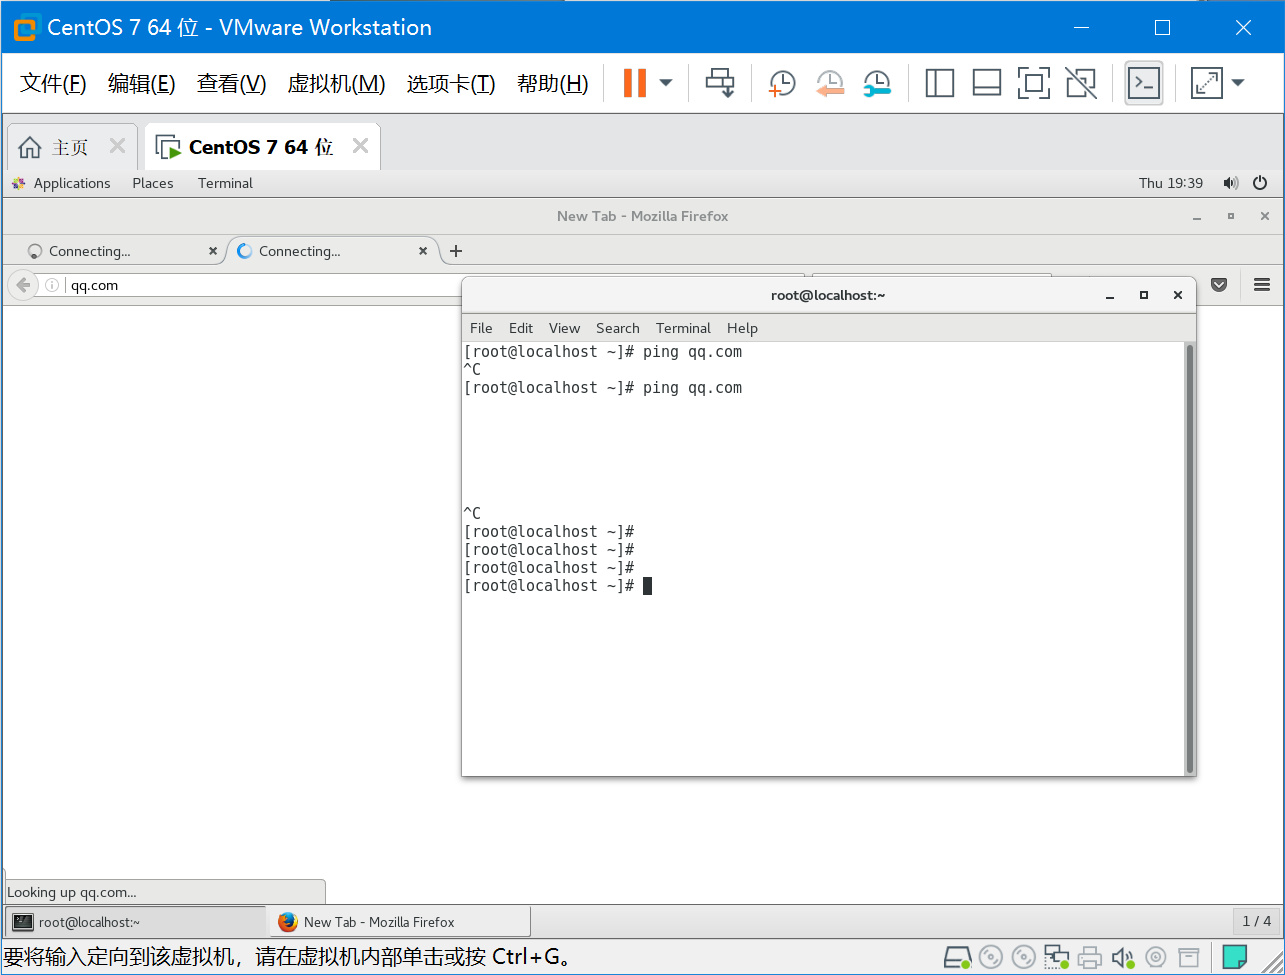
ping 测试一下和用浏览器打开网页,都是无法访问的:
0.3关闭SElinux
避免安装完成后出现一些问题,我们还是把SElinx关掉以防万一:
 vi /etc/sysconfig/selinux

将SELINUX=enforcing 修改成disabled,然后重启

# This file controls the state of SELinux on the system.
# SELINUX= can take one of these three values:
#     enforcing - SELinux security policy is enforced.
#     permissive - SELinux prints warnings instead of enforcing.
#     disabled - No SELinux policy is loaded.
SELINUX=disabled
# SELINUXTYPE= can take one of three two values:
#     targeted - Targeted processes are protected,
#     minimum - Modification of targeted policy. Only selected processes are protected.
#     mls - Multi Level Security protection.
SELINUXTYPE=targeted

0.4创建快照用于安装失败回滚
创建一个快照预防我们在安装完成后出现报错,出了问题可以快速回滚:
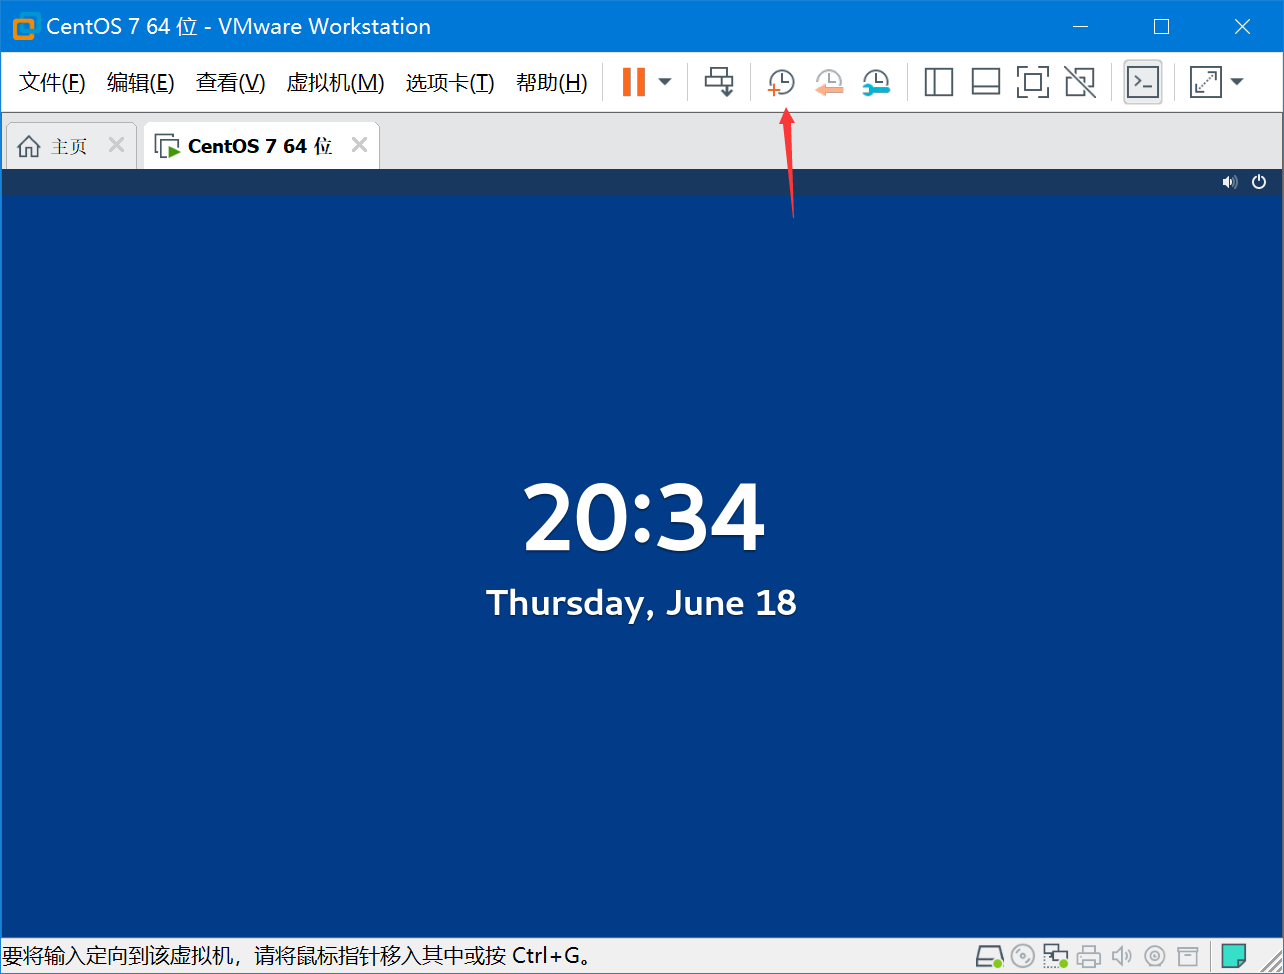
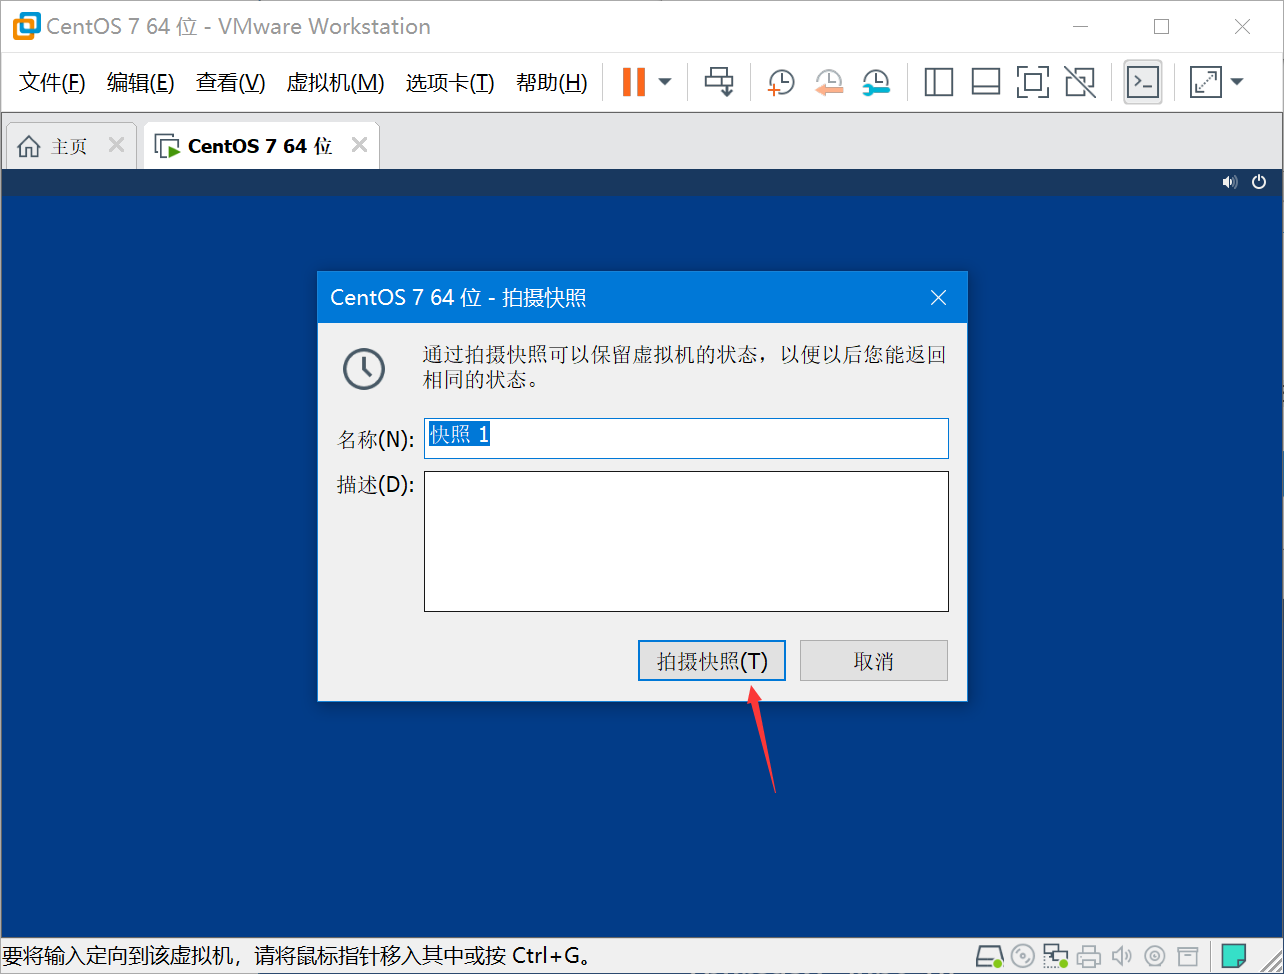
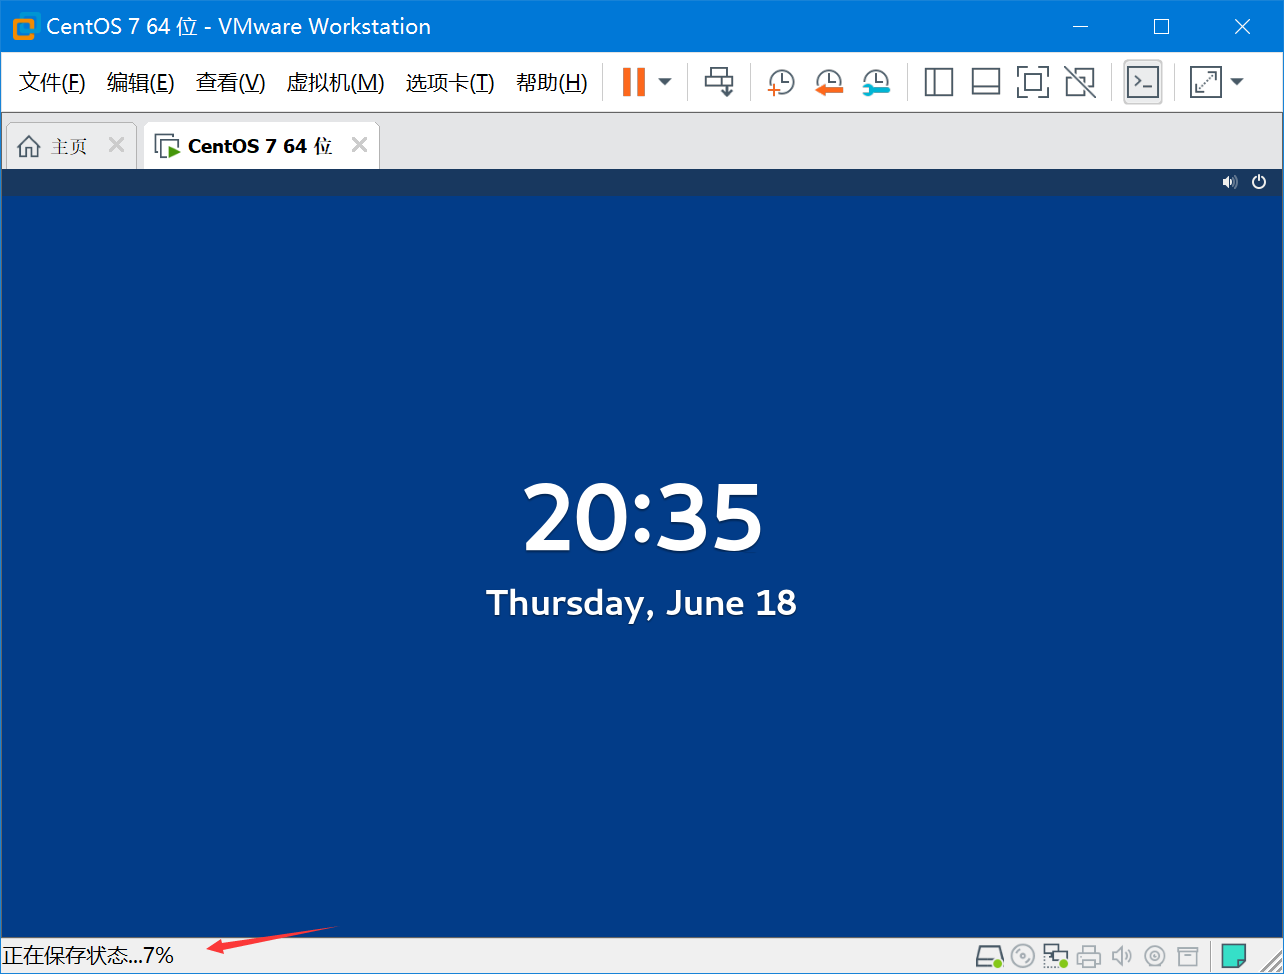
左下角提示完成后,就可以进行下一步了:
1.使用Xshell/Xftp上传离线安装文件
Xshell和Xftp都有免费的个人学生授权,限制1进程/4会话窗口,但是用来日常使用完全足够了。按照上一步完成了Linux环境的部署后,我们需要用sFTP把安装包上传到虚拟机上。
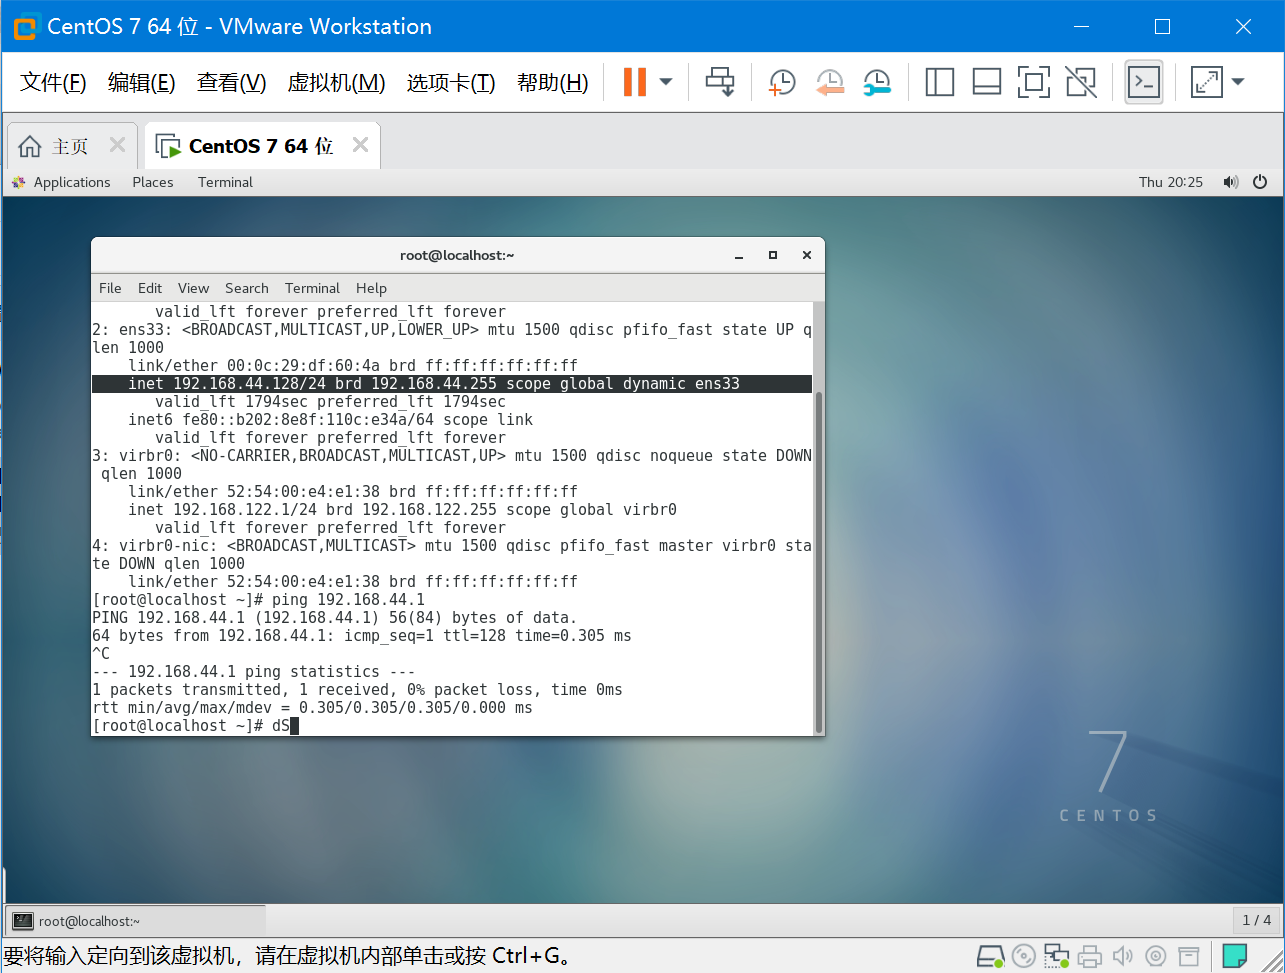
使用命令“ip addr”来查看虚拟机的IP地址,我这台分配的IP是192.168.44.128:
使用ssh登录到后台:
弹出密钥选择接受并保存,然后输入预设设定的密码“password”:
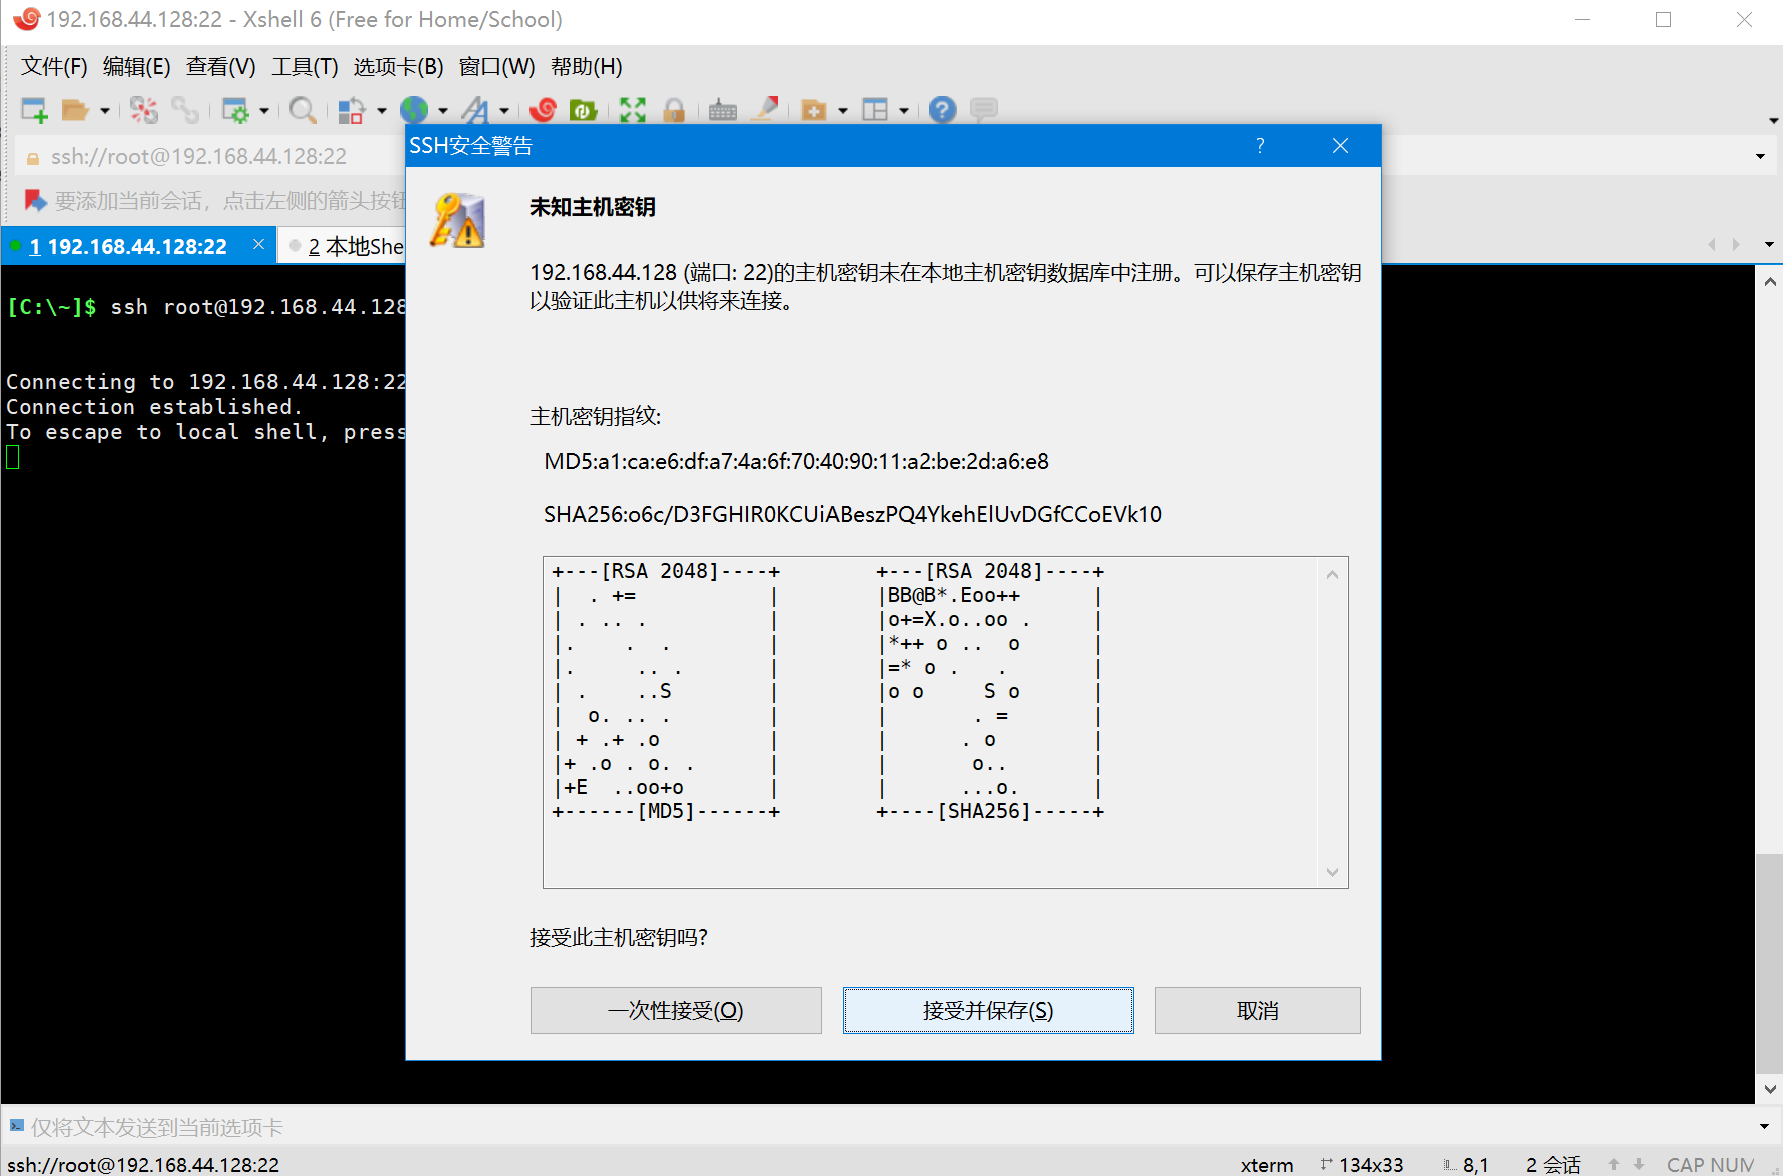
在tmp下创建文件夹db和zabbix,分别用来存放数据库和zabbix的离线安装文件:
[root@localhost ~]# mkdir /tmp/zabbix /tmp/db
创建完成后切换到/temp 下,查看是否有创建成功,可以看到红框内已经创建成功了:
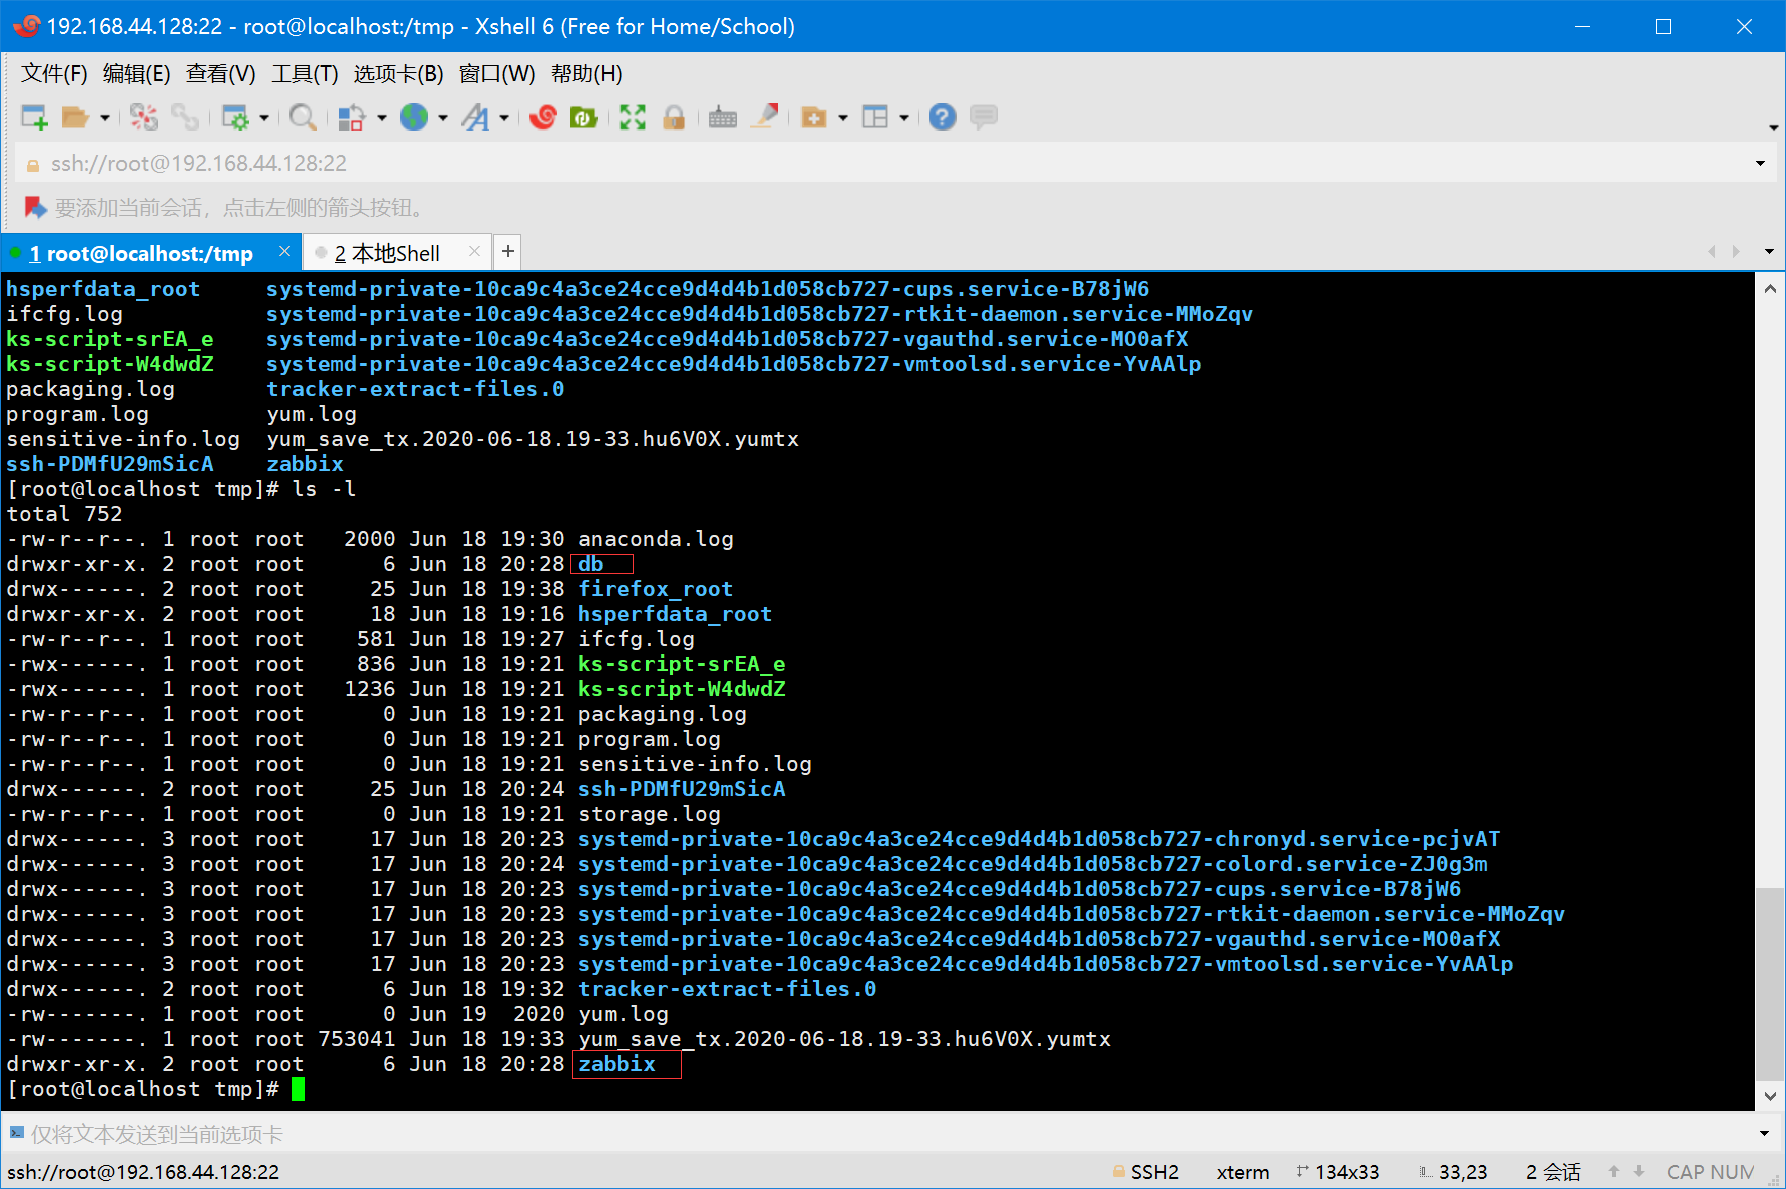
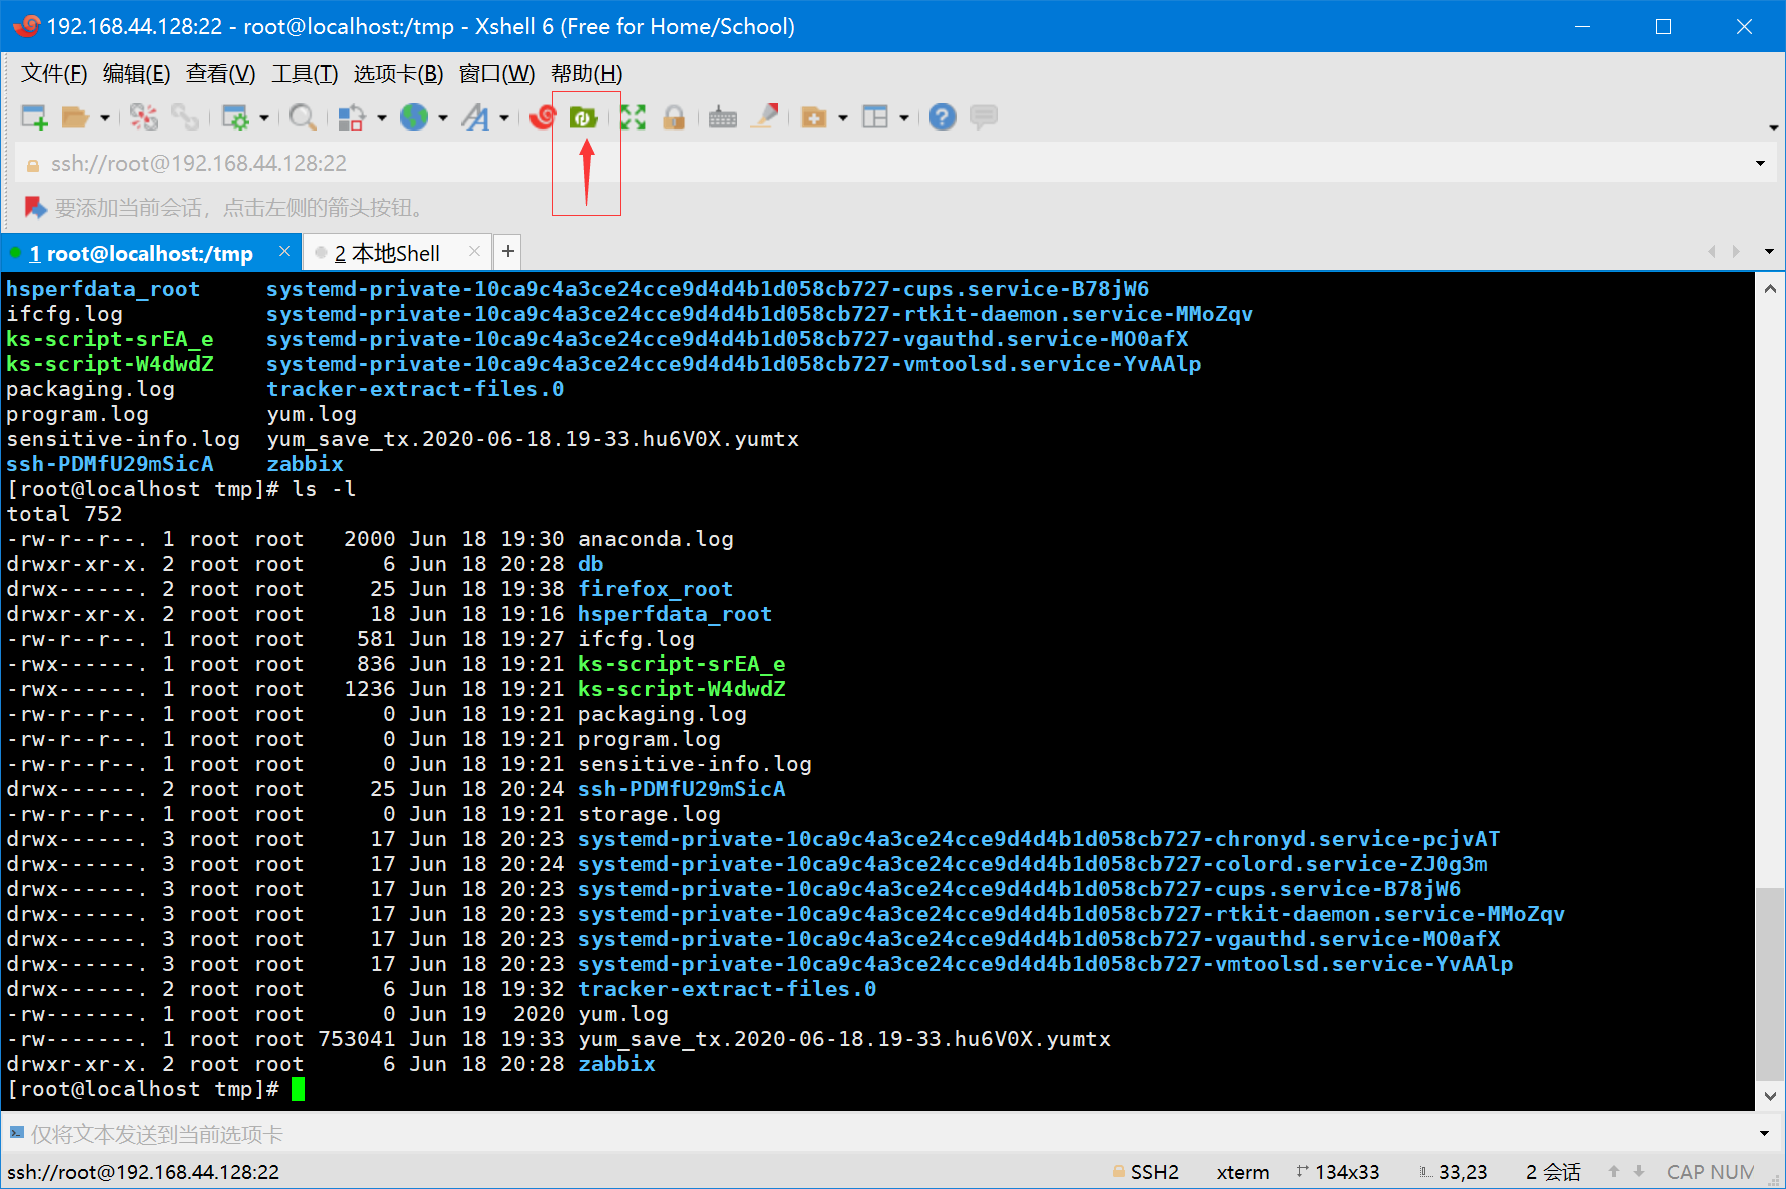
使用Xftp将离线文件上传到这两个目录下:
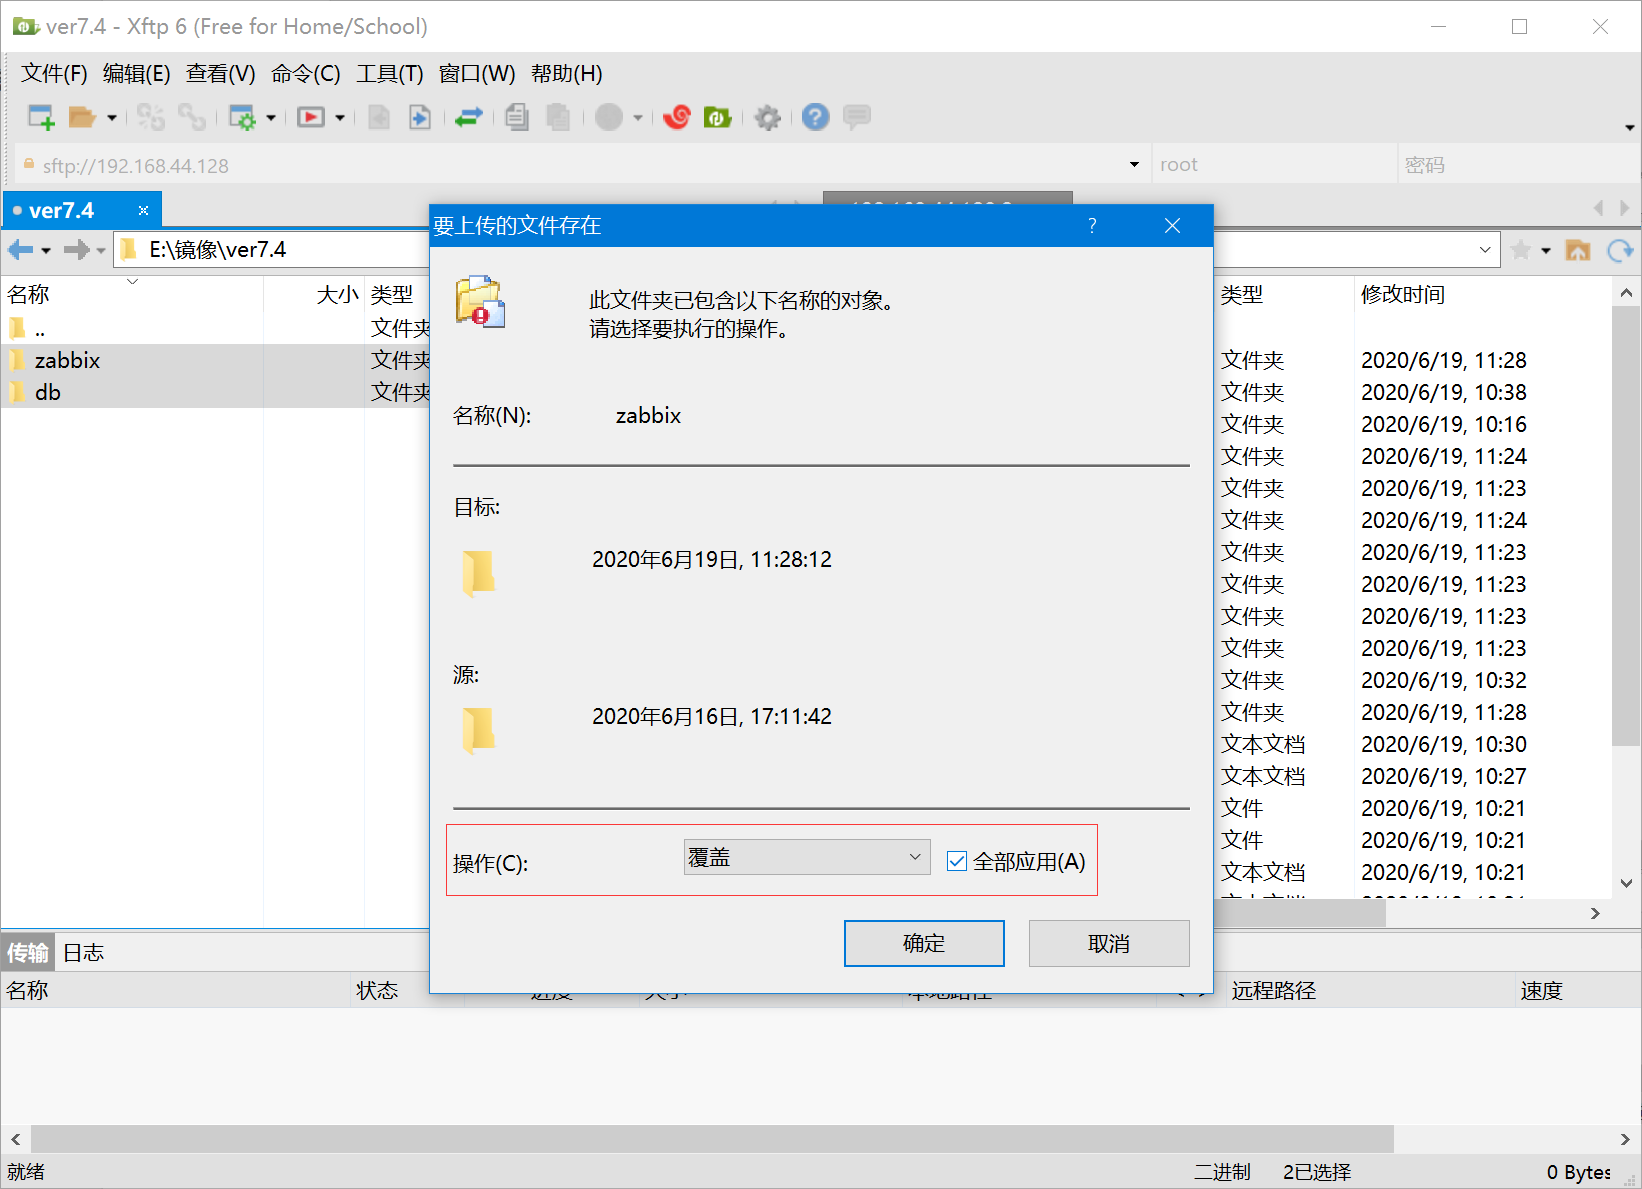
选中本地的两个文件夹,并传输,途中弹出的提示选择覆盖:
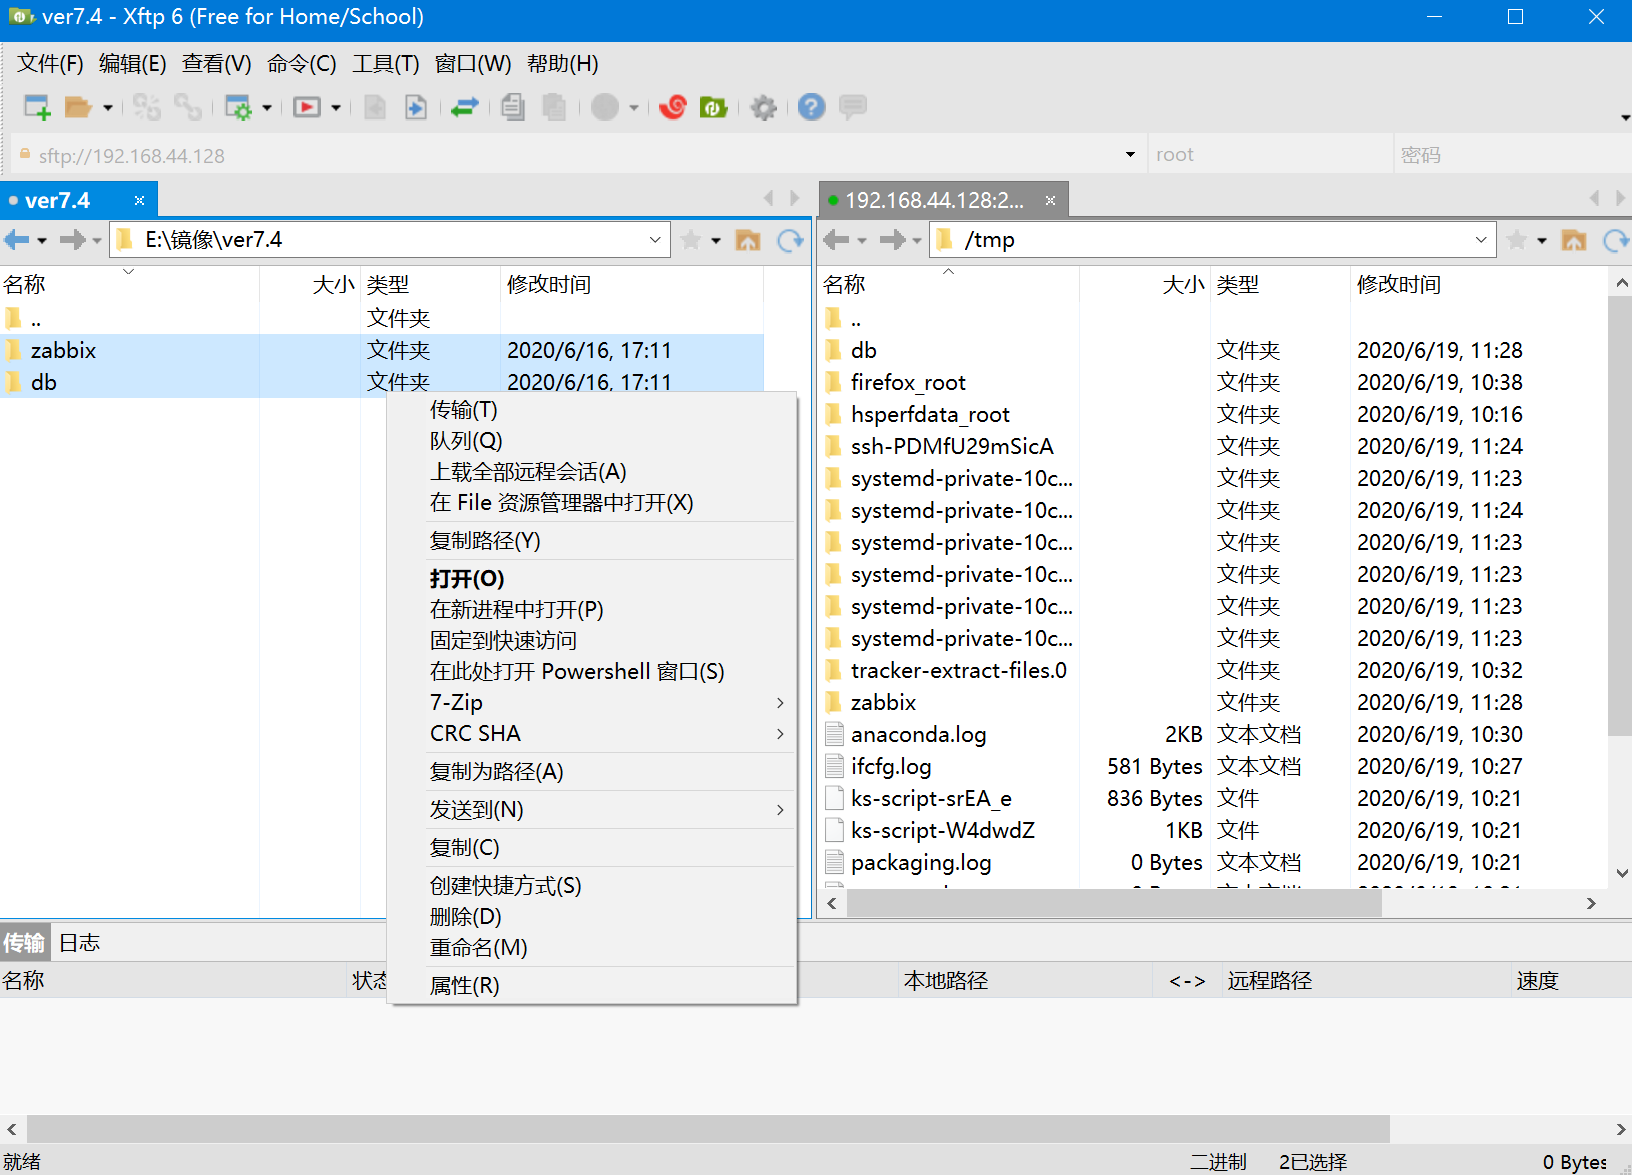
选择覆盖,并应用全部:
将这三个rpm包也上传:
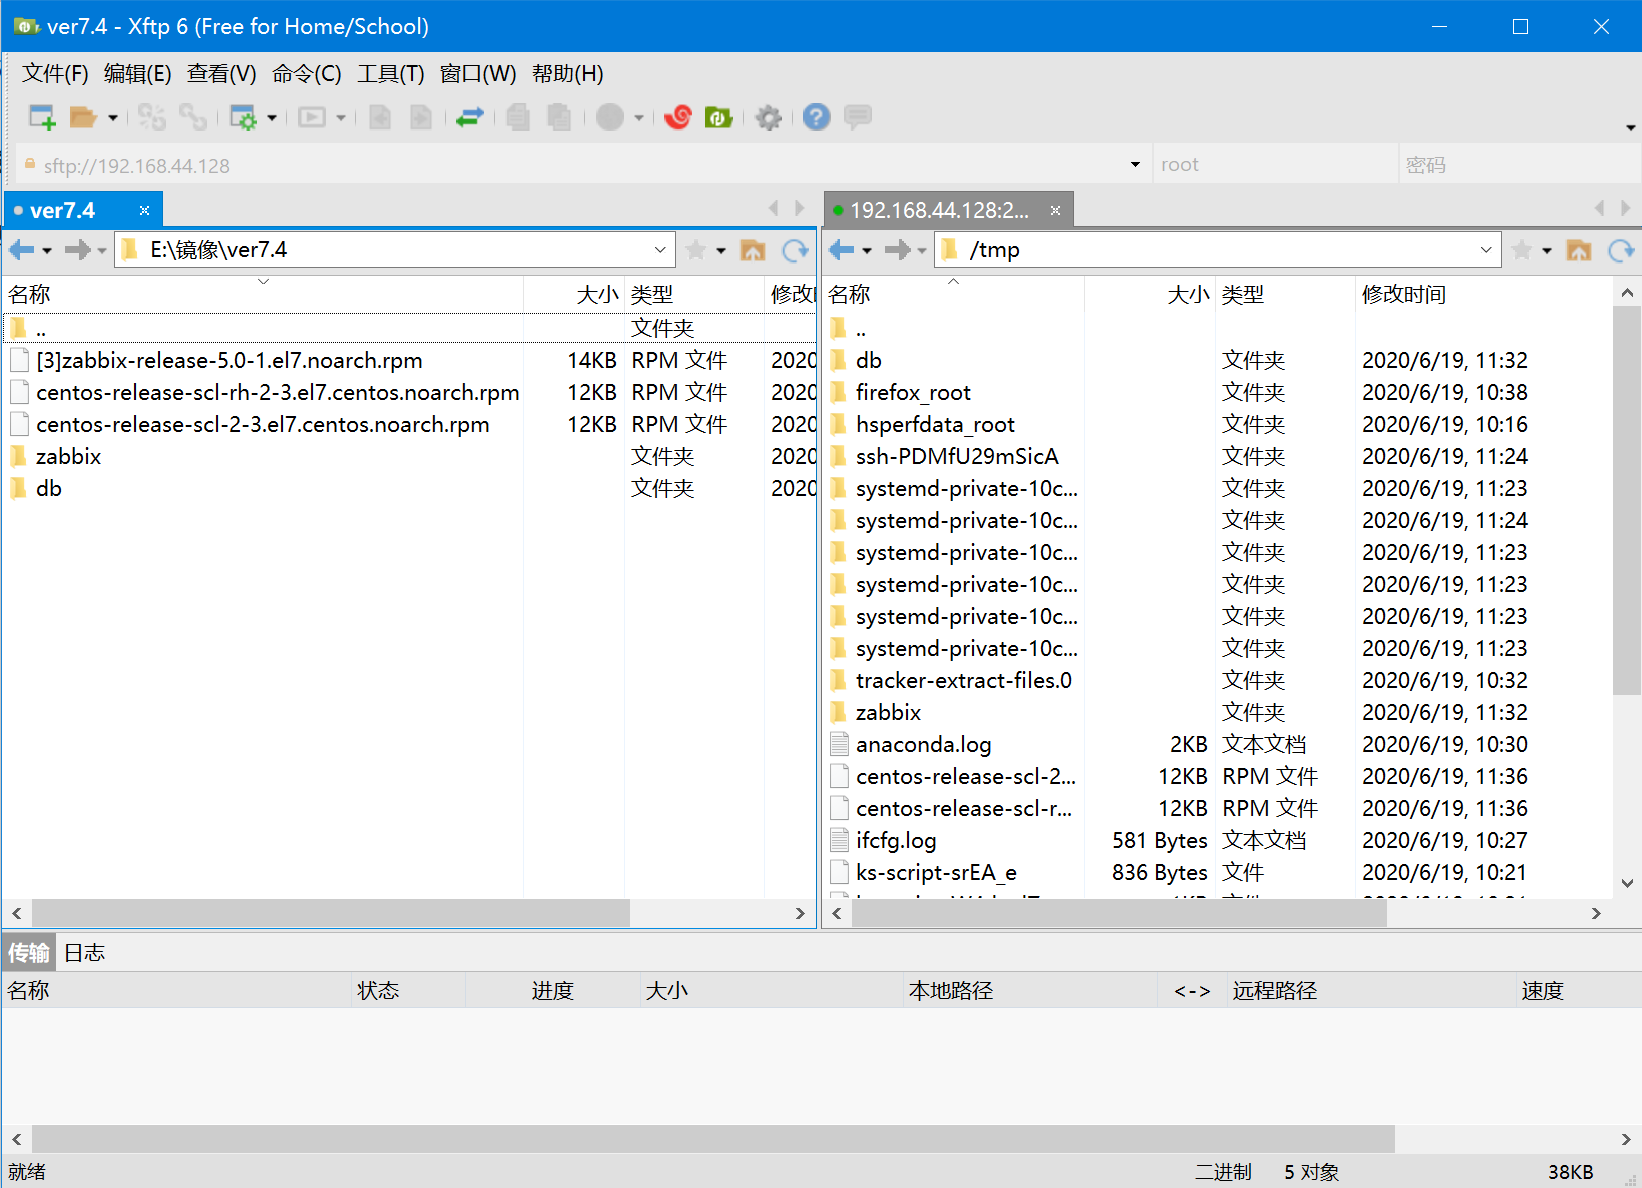
上传完毕后就可以开始安装了,安装顺序是:1.装两个scl文件和zabbix-release包 2.安装zabbix文件夹里的所有rpm包 3.安装db里所有的rpm包
2.开始手动安装所有RPM包
2.1安装基础依赖包
我也不知道这三个rpm包有什么用,总之先安装了再说
切换到/tmp文件夹:
cd /tmp

安装scl的rpm包:
yum localinstall centos-release-scl-rh-2-3.el7.centos.noarch.rpm

输出:
Loaded plugins: fastestmirror, langpacks
Examining centos-release-scl-rh-2-3.el7.centos.noarch.rpm: centos-release-scl-rh-2-3.el7.centos.noarch
Marking centos-release-scl-rh-2-3.el7.centos.noarch.rpm to be installed
Resolving Dependencies
--> Running transaction check
---> Package centos-release-scl-rh.noarch 0:2-3.el7.centos will be installed
--> Finished Dependency Resolution

Dependencies Resolved

======================================================================================================================================
 Package                        Arch            Version                   Repository                                             Size
======================================================================================================================================
Installing:
 centos-release-scl-rh          noarch          2-3.el7.centos            /centos-release-scl-rh-2-3.el7.centos.noarch           20 k

Transaction Summary
======================================================================================================================================
Install  1 Package

Total size: 20 k
Installed size: 20 k
Is this ok [y/d/N]: y
Downloading packages:
Running transaction check
Running transaction test
Transaction test succeeded
Running transaction
  Installing : centos-release-scl-rh-2-3.el7.centos.noarch                                                                        1/1
  Verifying  : centos-release-scl-rh-2-3.el7.centos.noarch                                                                        1/1

Installed:
  centos-release-scl-rh.noarch 0:2-3.el7.centos

Complete!

安装第二个scl的rpm包:

yum -y localinstall centos-release-scl-2-3.el7.centos.noarch.rpm

输出:

Loaded plugins: fastestmirror, langpacks
Examining centos-release-scl-2-3.el7.centos.noarch.rpm: centos-release-scl-2-3.el7.centos.noarch
Marking centos-release-scl-2-3.el7.centos.noarch.rpm to be installed
Resolving Dependencies
--> Running transaction check
---> Package centos-release-scl.noarch 0:2-3.el7.centos will be installed
--> Finished Dependency Resolution
Could not retrieve mirrorlist http://mirrorlist.centos.org?arch=x86_64&release=7&repo=sclo-rh error was
14: curl#6 - "Could not resolve host: mirrorlist.centos.org; Unknown error"

Dependencies Resolved

======================================================================================================================================
 Package                       Arch              Version                   Repository                                            Size
======================================================================================================================================
Installing:
 centos-release-scl            noarch            2-3.el7.centos            /centos-release-scl-2-3.el7.centos.noarch             20 k

Transaction Summary
======================================================================================================================================
Install  1 Package

Total size: 20 k
Installed size: 20 k
Downloading packages:
Running transaction check
Running transaction test
Transaction test succeeded
Running transaction
  Installing : centos-release-scl-2-3.el7.centos.noarch                                                                           1/1
  Verifying  : centos-release-scl-2-3.el7.centos.noarch                                                                           1/1

Installed:
  centos-release-scl.noarch 0:2-3.el7.centos

Complete!

[root@localhost tmp]# yum -y install zabbix-release-5.0-1.el7.noarch.rpm

输出:

Dependencies Resolved

======================================================================================================================================
 Package                      Arch                 Version                    Repository                                         Size
======================================================================================================================================
Installing:
 zabbix-release               noarch               5.0-1.el7                  /[3]zabbix-release-5.0-1.el7.noarch                22 k

Transaction Summary
======================================================================================================================================
Install  1 Package

Total size: 22 k
Installed size: 22 k
Is this ok [y/d/N]: y
Downloading packages:
Running transaction check
Running transaction test
Transaction test succeeded
Running transaction
  Installing : zabbix-release-5.0-1.el7.noarch                                                                                    1/1
  Verifying  : zabbix-release-5.0-1.el7.noarch                                                                                    1/1

Installed:
  zabbix-release.noarch 0:5.0-1.el7
2.2安装zabbix的rpm包
敲一下命令:
cd /tmp/zabbix/
yum -y localinstall *.rpm
安装完输出一堆东西:
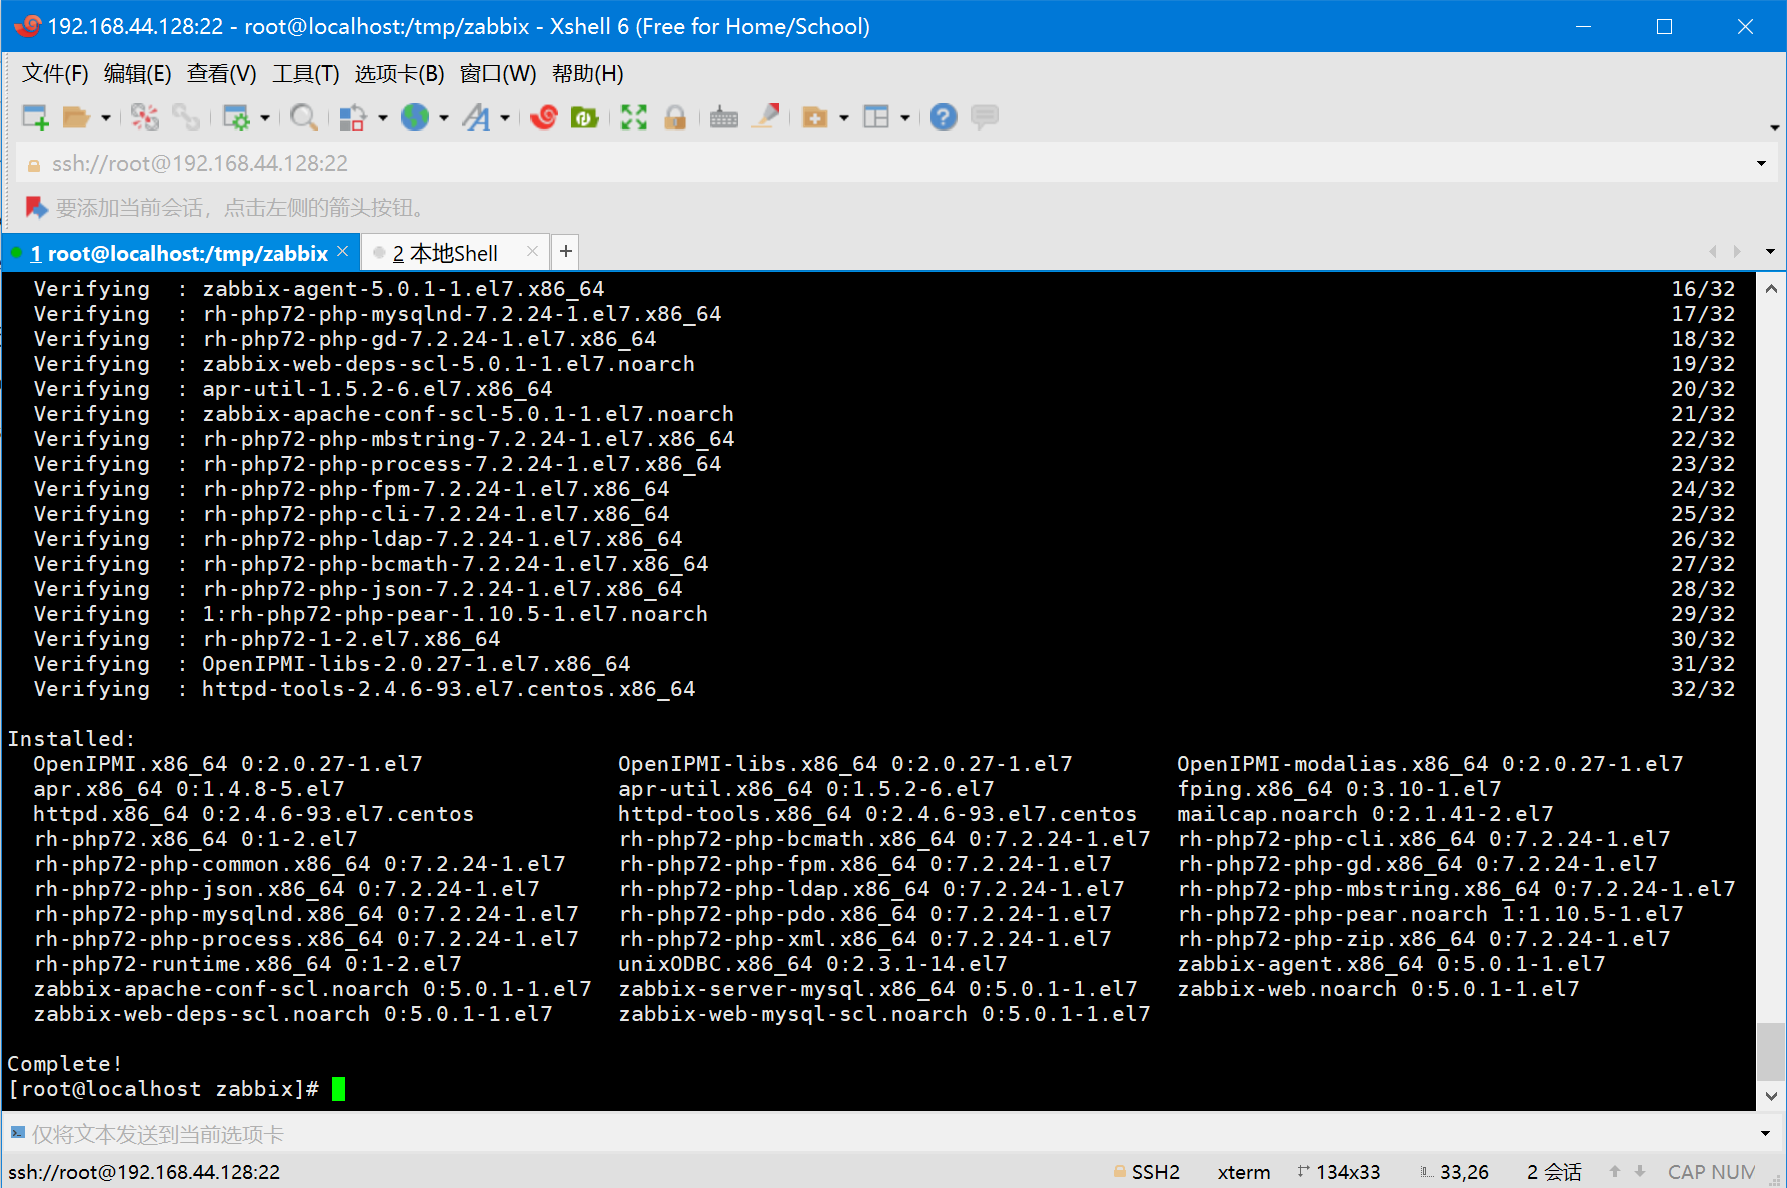
测试下安装完能不能正常启动zabbix-server、zabbix-agent这个两个服务,基本上能启动就代表没什么问题
systemctl start zabbix-agent

systemctl start zabbix-server
检查服务能否正常启动,看到绿色字active代表成功,那可以继续下一步了:
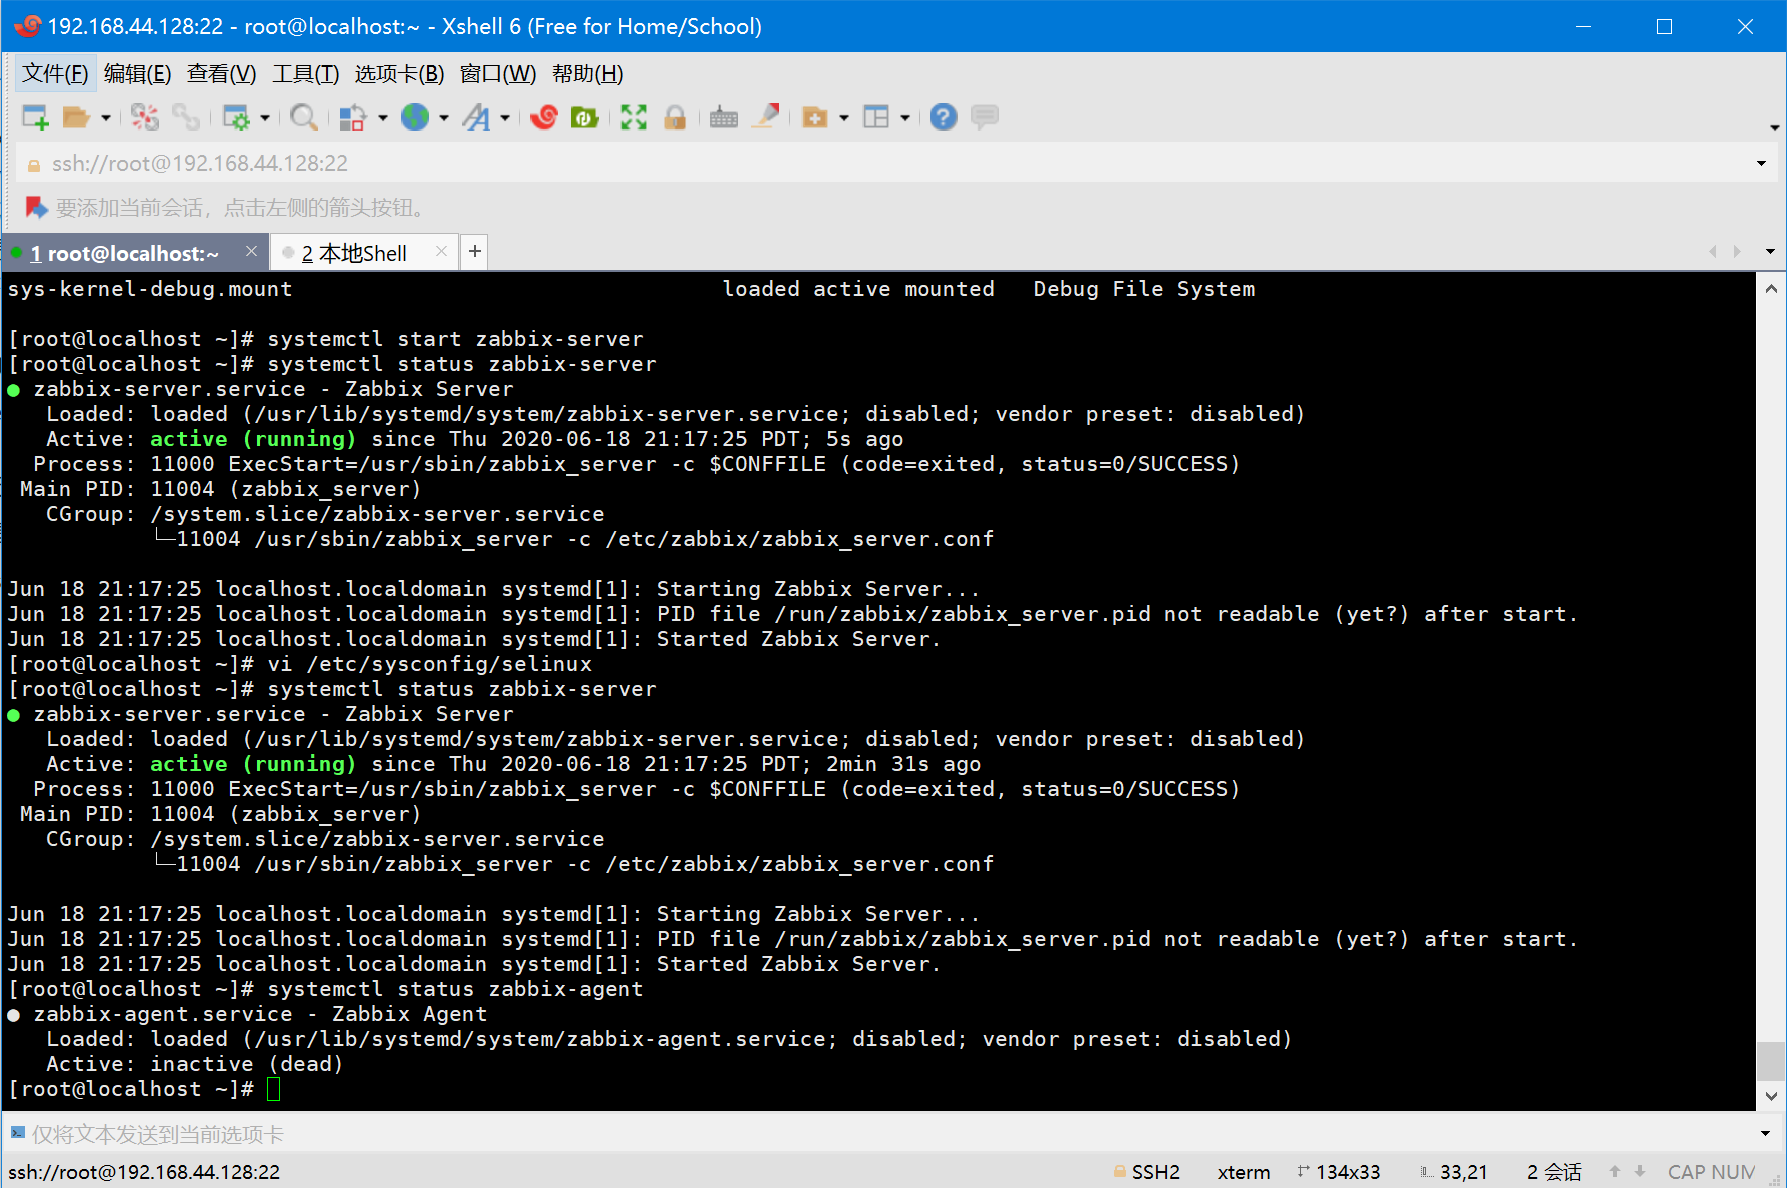
如果没问题,那就顺便配置下开机启动项
systemctl enable zabbix-agent

systemctl enable zabbix-server
调整TimeZone参数:
使用Apache与Zabbix服务器之前,Zabbix配置文件需要更新TimeZone。
vi /etc/opt/rh/rh-php72/php-fpm.d/zabbix.conf
将下面一行字更新为正确的时区。这里我们调整亚洲/上海。
php_value[date.timezone] = Asia/Shanghai
2.3安装mariadb的rpm包
切换到/tmp/db目录下,安装rpm包:
cd /tmp/db

yum -y localinstall *.rpm
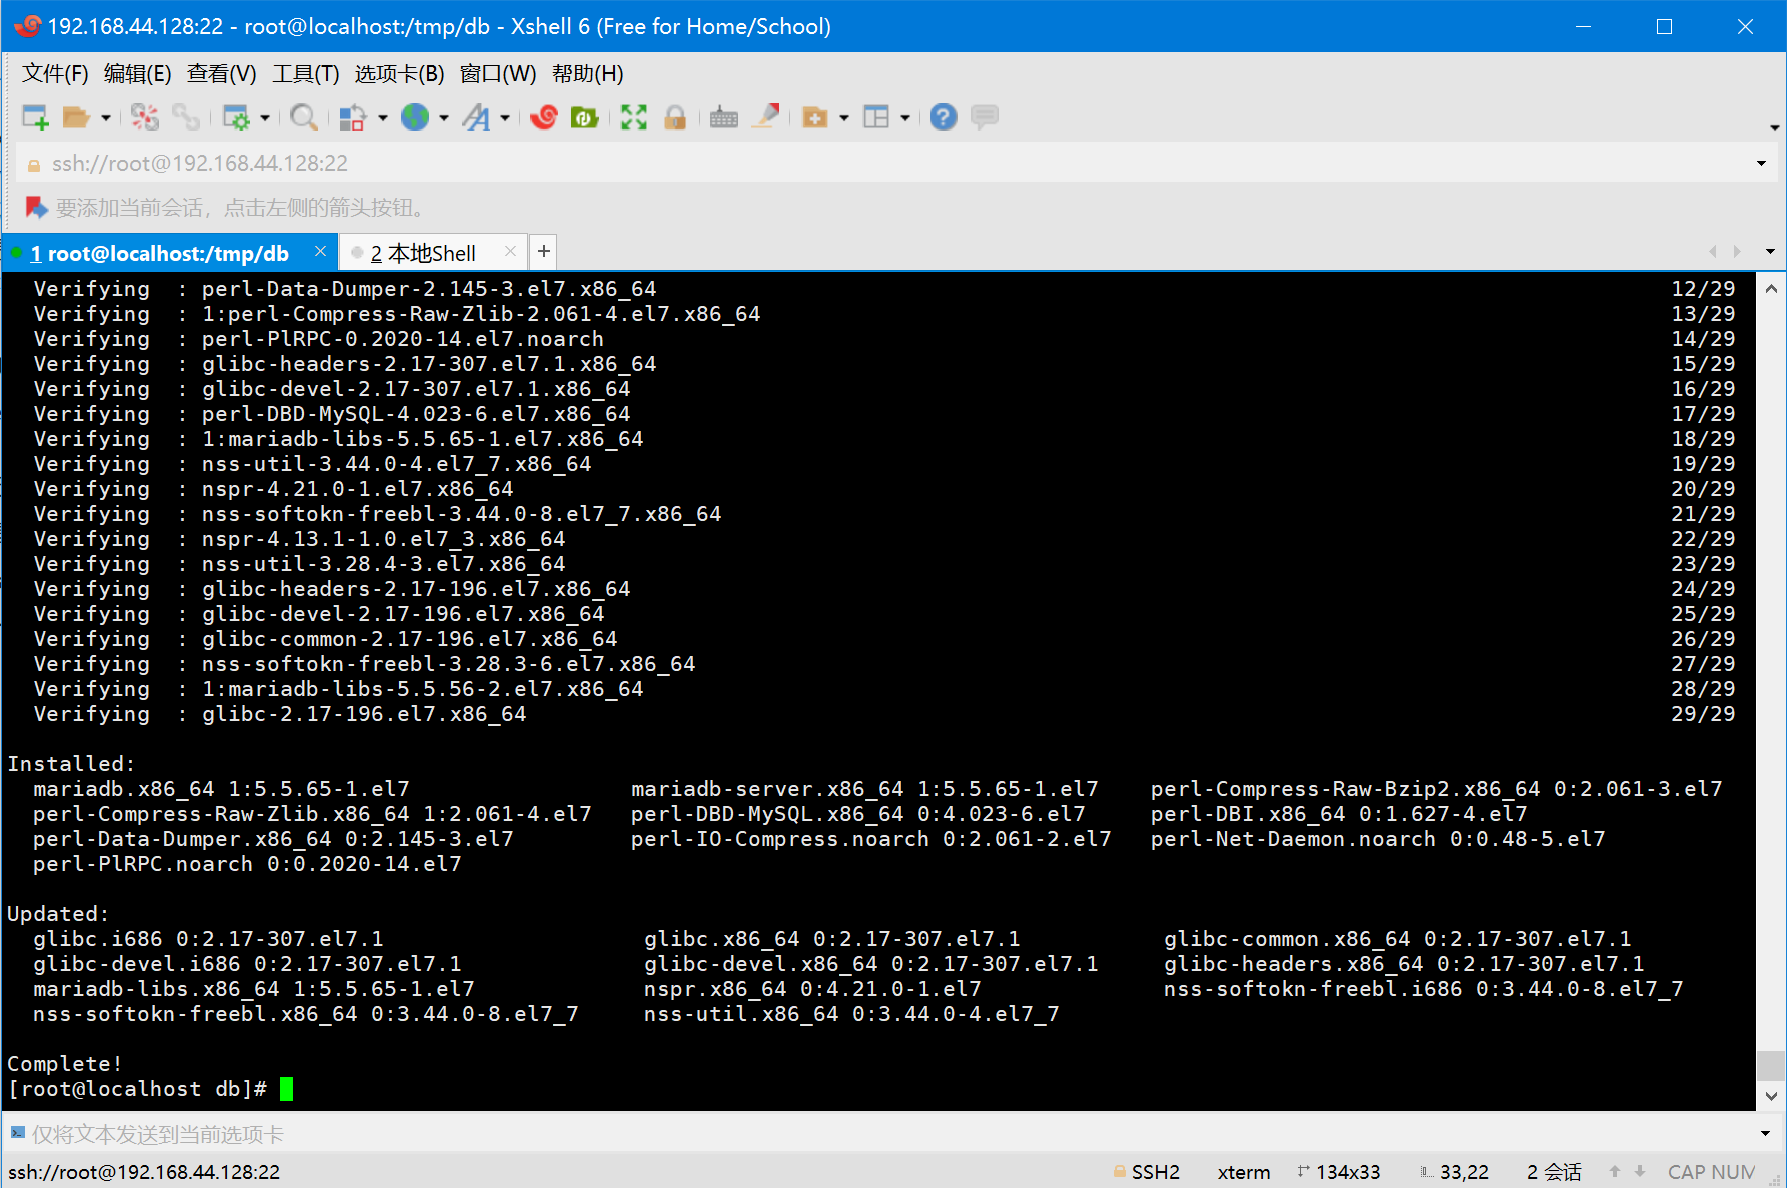
安装完成输出下图:
用以下命令启动MariaDB服务。
systemctl start mariadb
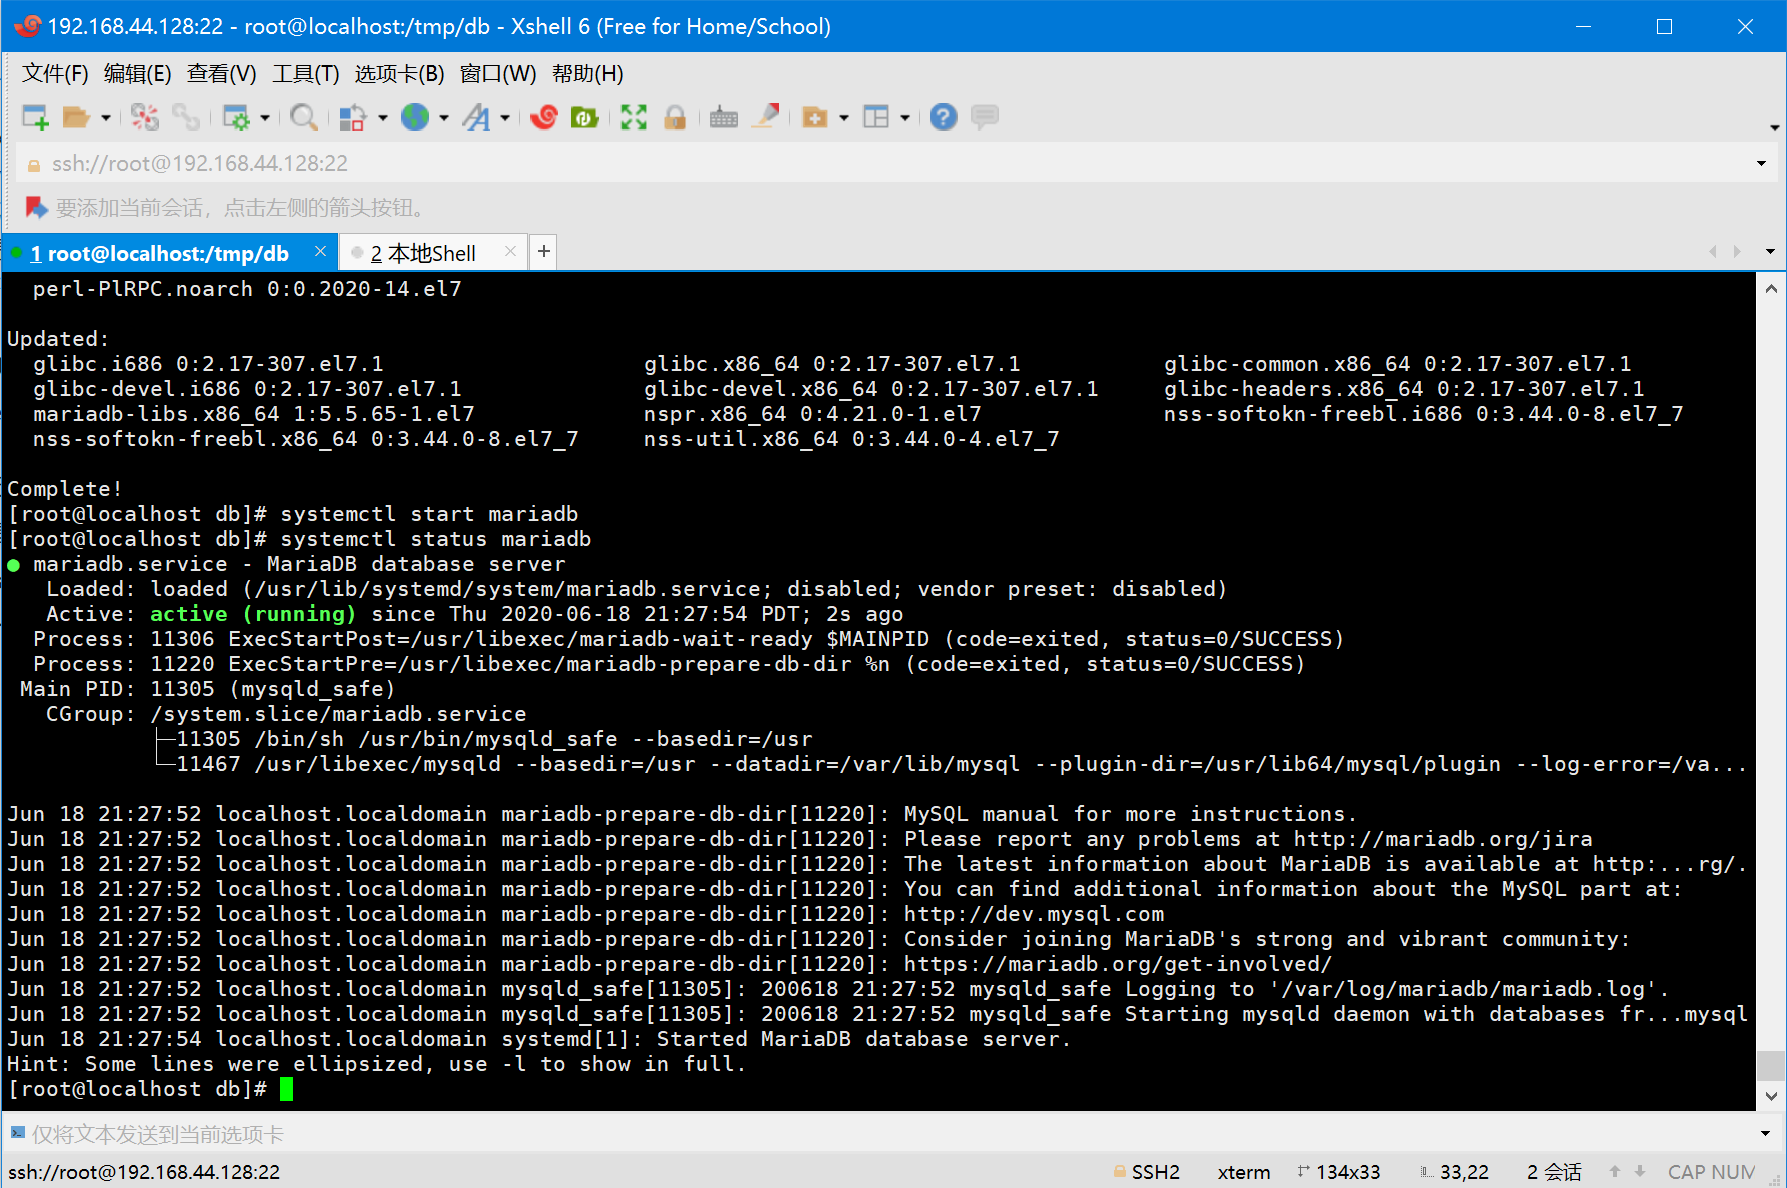
查看MariaDB是否在运行。
systemctl status mariadb
设置mariadb为开机启动项
systemctl enable mariadb
使用mysql_secure_installation命令来执行MariaDB服务器的初始设置。
mysql_secure_installation
一般建议在生产型Linux服务器中运行此命令,以删除匿名用户,测试数据库,并禁止远程root登录。这里我们将root密码设定为:password
NOTE: RUNNING ALL PARTS OF THIS SCRIPT IS RECOMMENDED FOR ALL MariaDB
      SERVERS IN PRODUCTION USE!  PLEASE READ EACH STEP CAREFULLY!

In order to log into MariaDB to secure it, we'll need the current
password for the root user.  If you've just installed MariaDB, and
you haven't set the root password yet, the password will be blank,
so you should just press enter here.

Enter current password for root (enter for none):   << 回车
OK, successfully used password, moving on...

Setting the root password ensures that nobody can log into the MariaDB
root user without the proper authorisation.

Set root password? [Y/n] Y  << 设定 MariaDB root用户密码
New password:   << 输入密码
Re-enter new password:   << 再次输入密码
Password updated successfully!
Reloading privilege tables..
 ... Success!


By default, a MariaDB installation has an anonymous user, allowing anyone
to log into MariaDB without having to have a user account created for
them.  This is intended only for testing, and to make the installation
go a bit smoother.  You should remove them before moving into a
production environment.

Remove anonymous users? [Y/n] Y  << 删除匿名用户
 ... Success!

Normally, root should only be allowed to connect from 'localhost'.  This
ensures that someone cannot guess at the root password from the network.

Disallow root login remotely? [Y/n] Y  << 关闭root用户远程登陆
 ... Success!

By default, MariaDB comes with a database named 'test' that anyone can
access.  This is also intended only for testing, and should be removed
before moving into a production environment.

Remove test database and access to it? [Y/n] Y  << 删除测试数据库
 - Dropping test database...
 ... Success!
 - Removing privileges on test database...
 ... Success!

Reloading the privilege tables will ensure that all changes made so far
will take effect immediately.

Reload privilege tables now? [Y/n] Y  << 重新载入表
 ... Success!

Cleaning up...

All done!  If you've completed all of the above steps, your MariaDB
installation should now be secure.

Thanks for using MariaDB!
登录到mariadb的后台:
mysql -u root -p
创建一个数据库,账号密码如下:
DBName: zabbixdb DBUser: zabbixuser DBPassword: password
create database zabbixdb character set utf8 collate utf8_bin;

grant all privileges on zabbixdb.* to zabbixuser@localhost identified by 'password';

quit;
一旦完成了Zabbix安装的数据库创建,然后将初始模式和数据导入到新创建的数据库中。
cd /usr/share/doc/zabbix-server-mysql*/

zcat create.sql.gz | mysql -u zabbixuser -p zabbixdb
更新zabbix的配置文件
编辑zabbix_server.conf文件,设置数据库的详细信息。
vi /etc/zabbix/zabbix_server.conf
找到配置文件下面的几个参数,并修改成和下面的一样:
DBHost=localhost
DBName=zabbixdb
DBUser=zabbixuser
DBPassword=password
重启所有相关服务:
systemctl restart zabbix-server zabbix-agent httpd rh-php72-php-fpm
2.4防火墙放行端口
配置防火墙以允许Zabbix agent访问到Zabbix-server。
firewall-cmd --permanent --add-port=10050/tcp

firewall-cmd --permanent --add-port=10051/tcp

firewall-cmd --permanent --add-port=80/tcp

firewall-cmd --reload
3.在Web界面对zabbix进行安装配置
当我们重启完防火墙后,可以使用浏览器对zabbix进行初始化的配置了,打开你的网页浏览器,访问一下地址:
http://your-ip-add-ress/zabbix/
比如我的zabbix-server地址是192.168.44.128,那么我就访问http://192.18.44.128/zabbix即可。
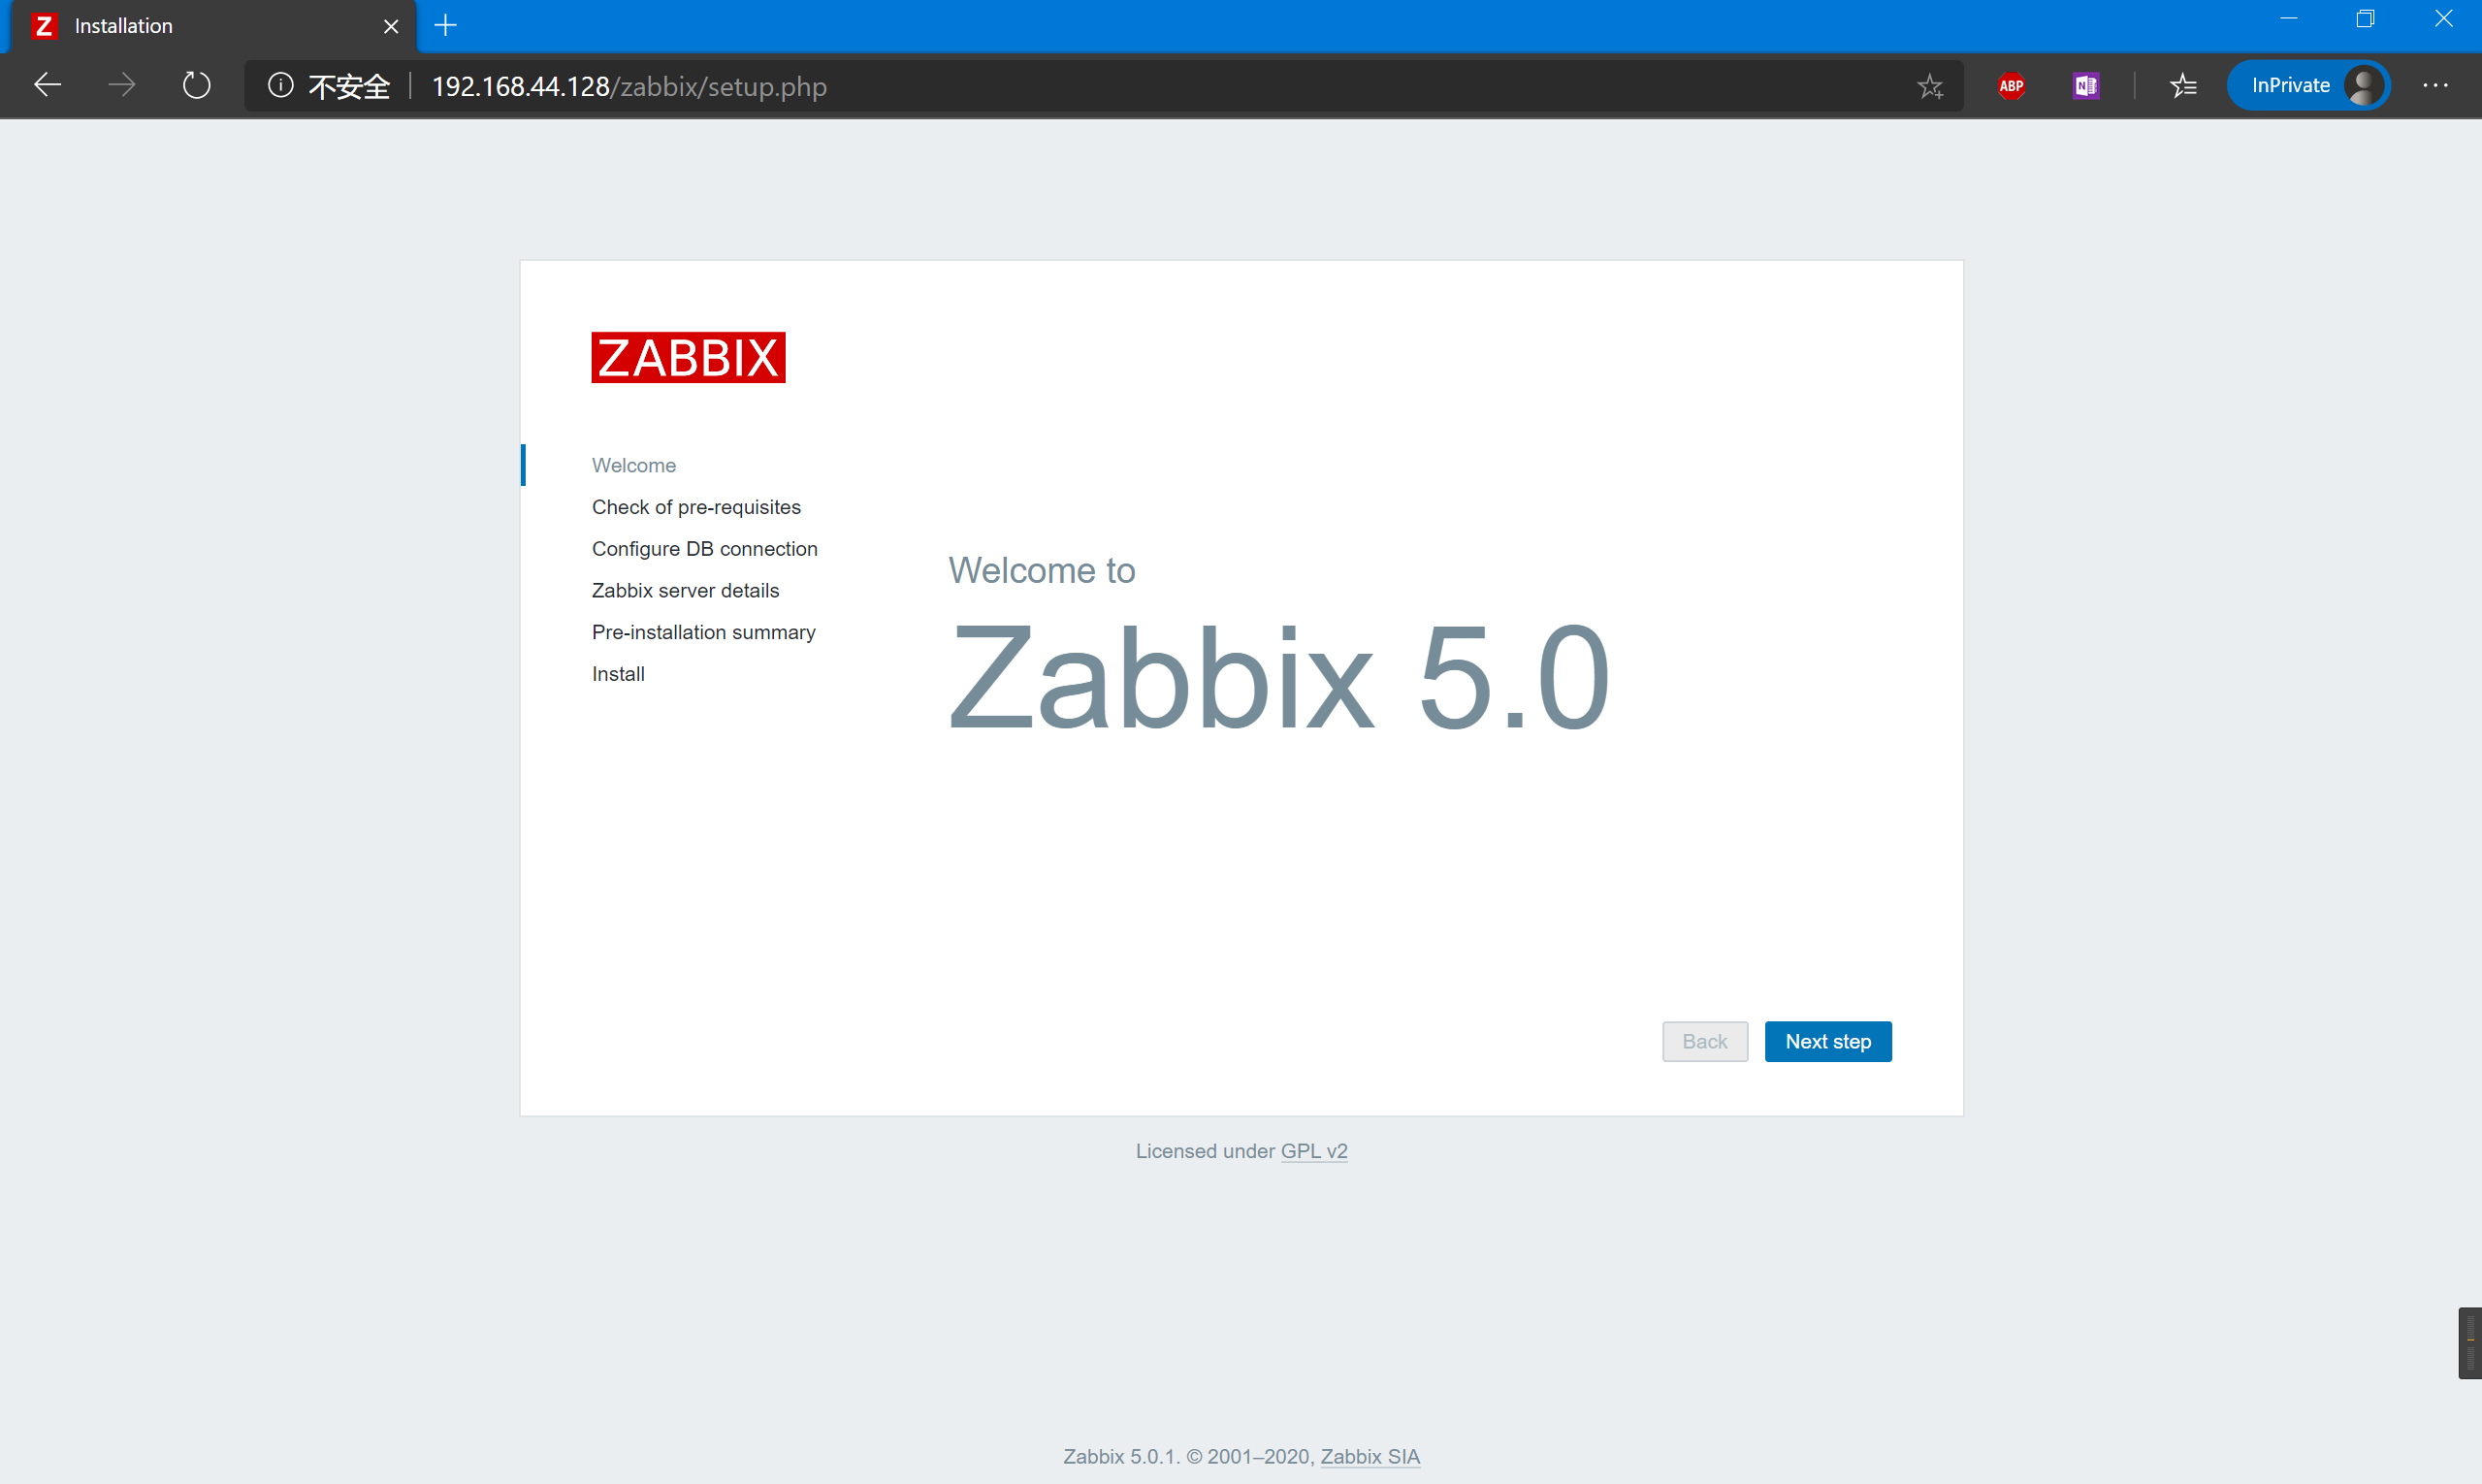
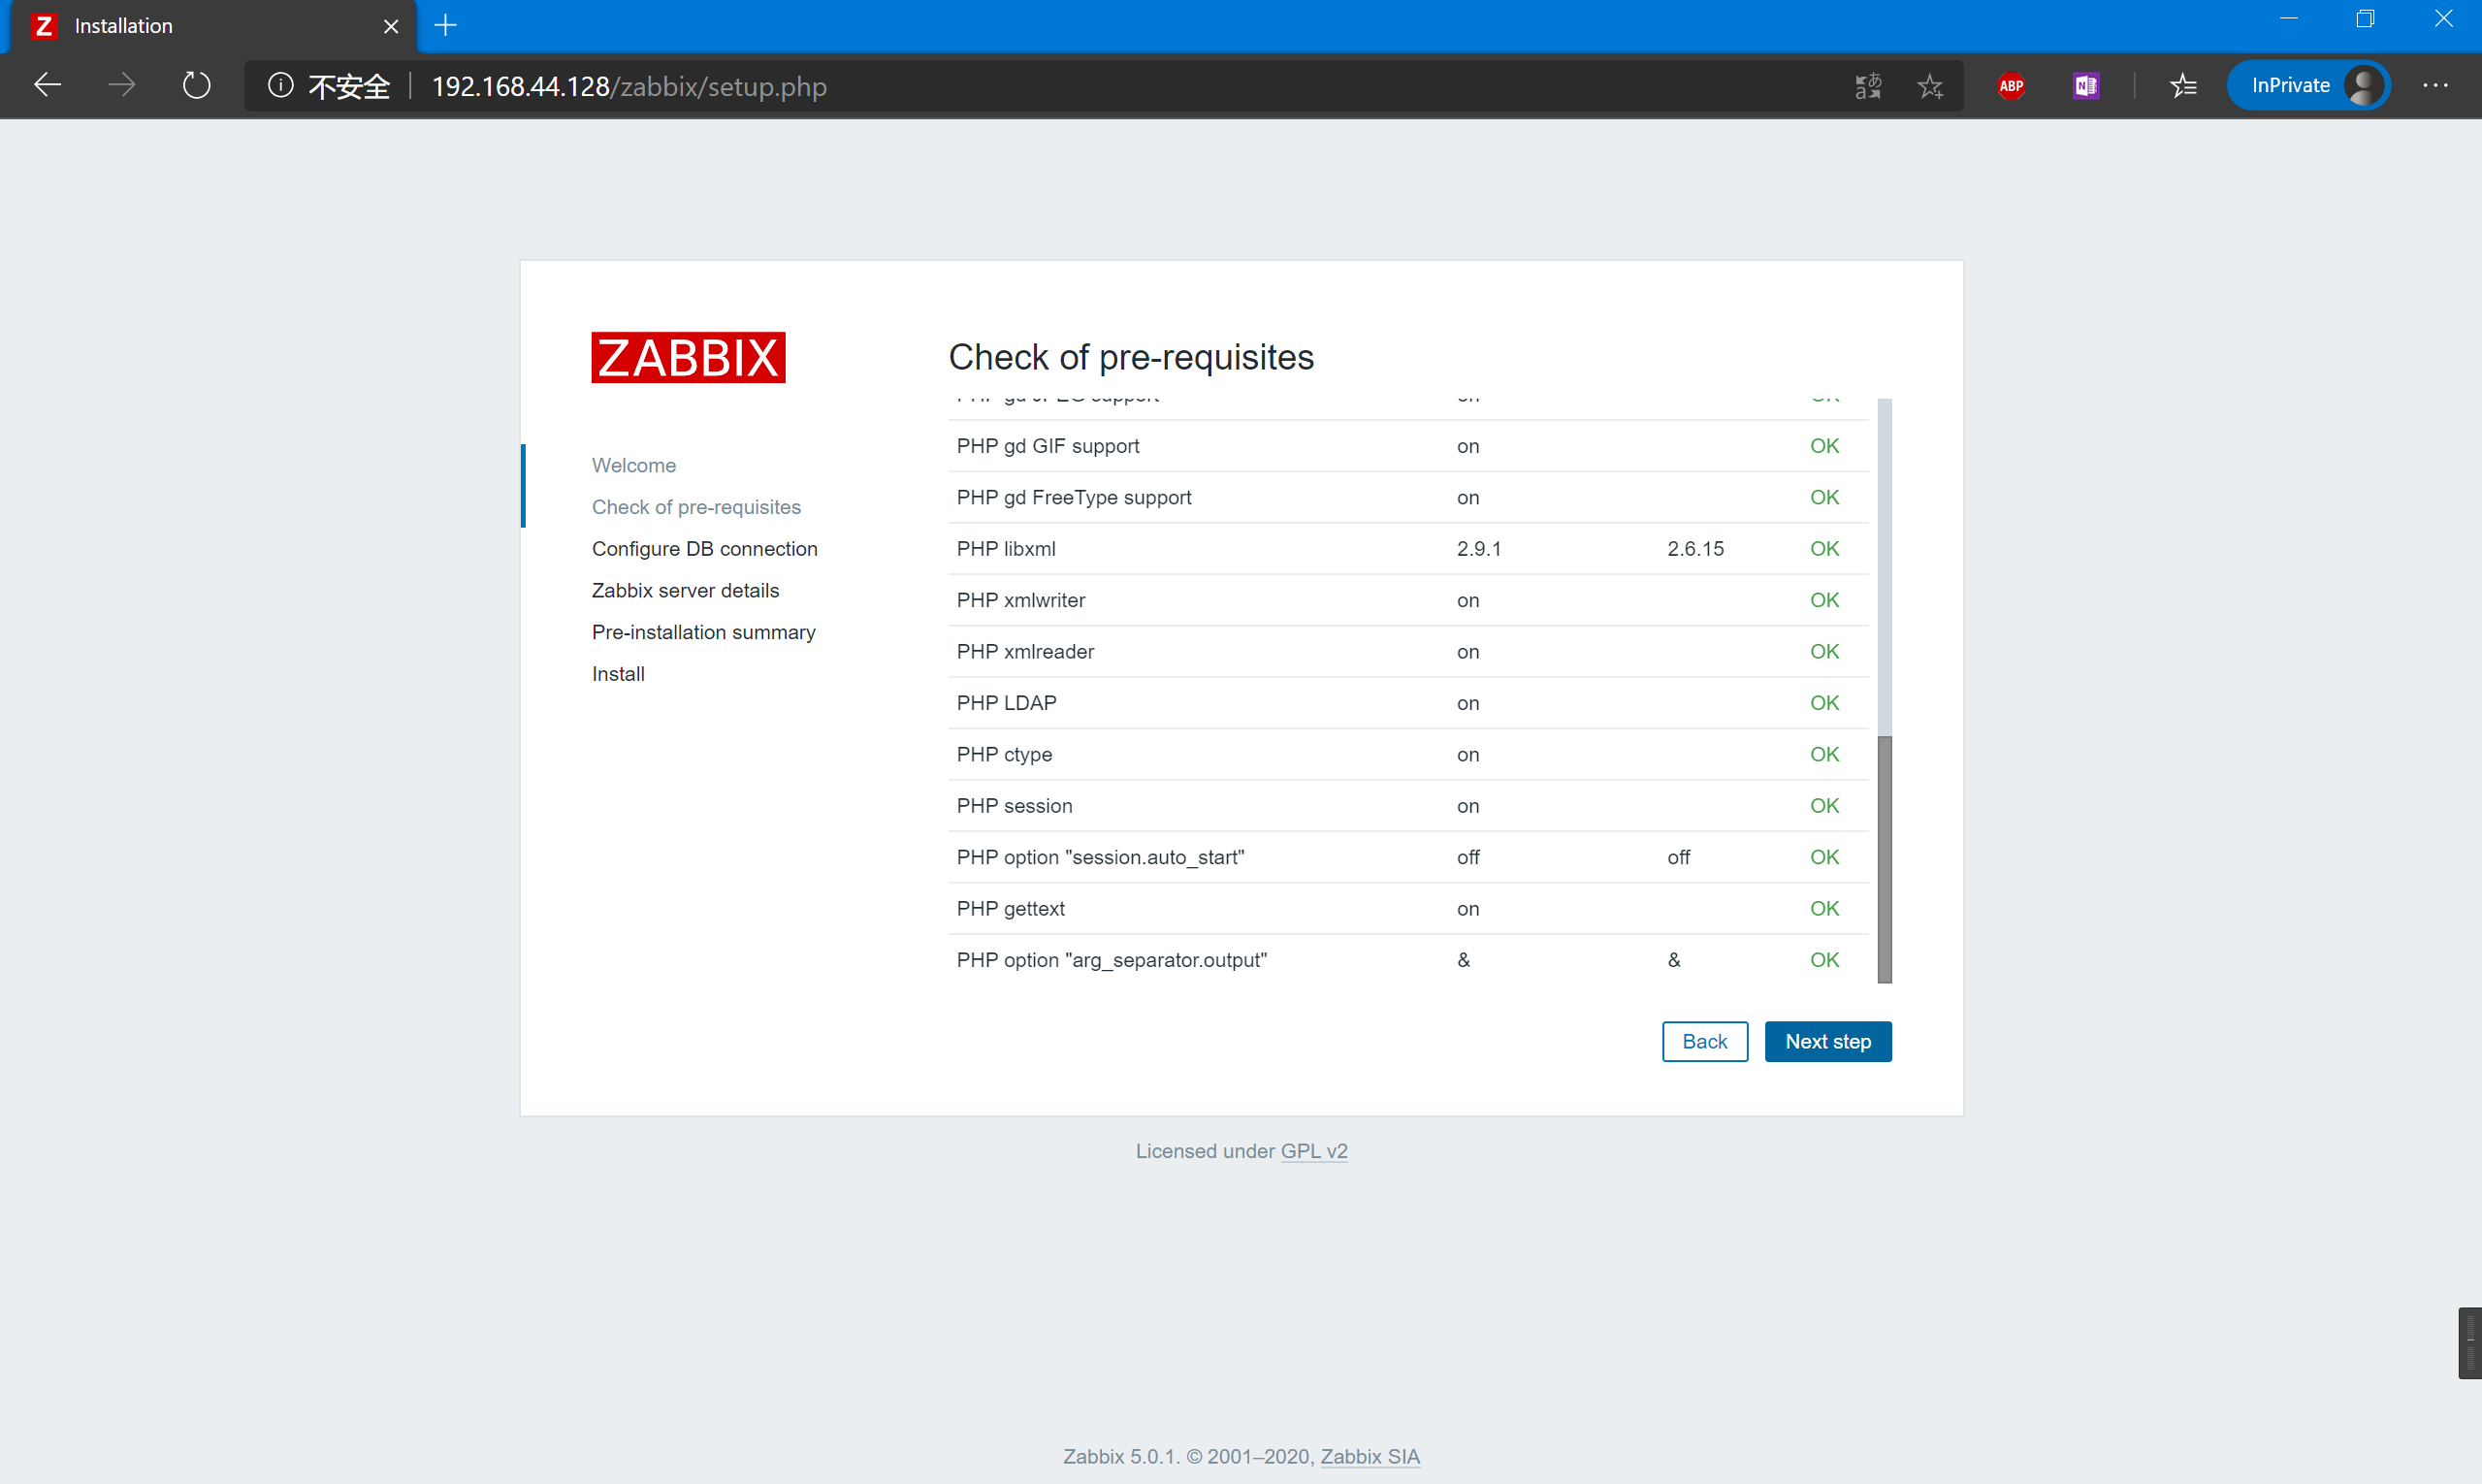
单击Zabbix欢迎页面上的 “Next step”,验证是否满足Zabbix安装的所有先决条件。如果有任何问题,需要修复。点击 “Next step”。
输入刚刚我们设定的 Zabbix 数据库名称、DB 用户和密码。单击 “Next step”。
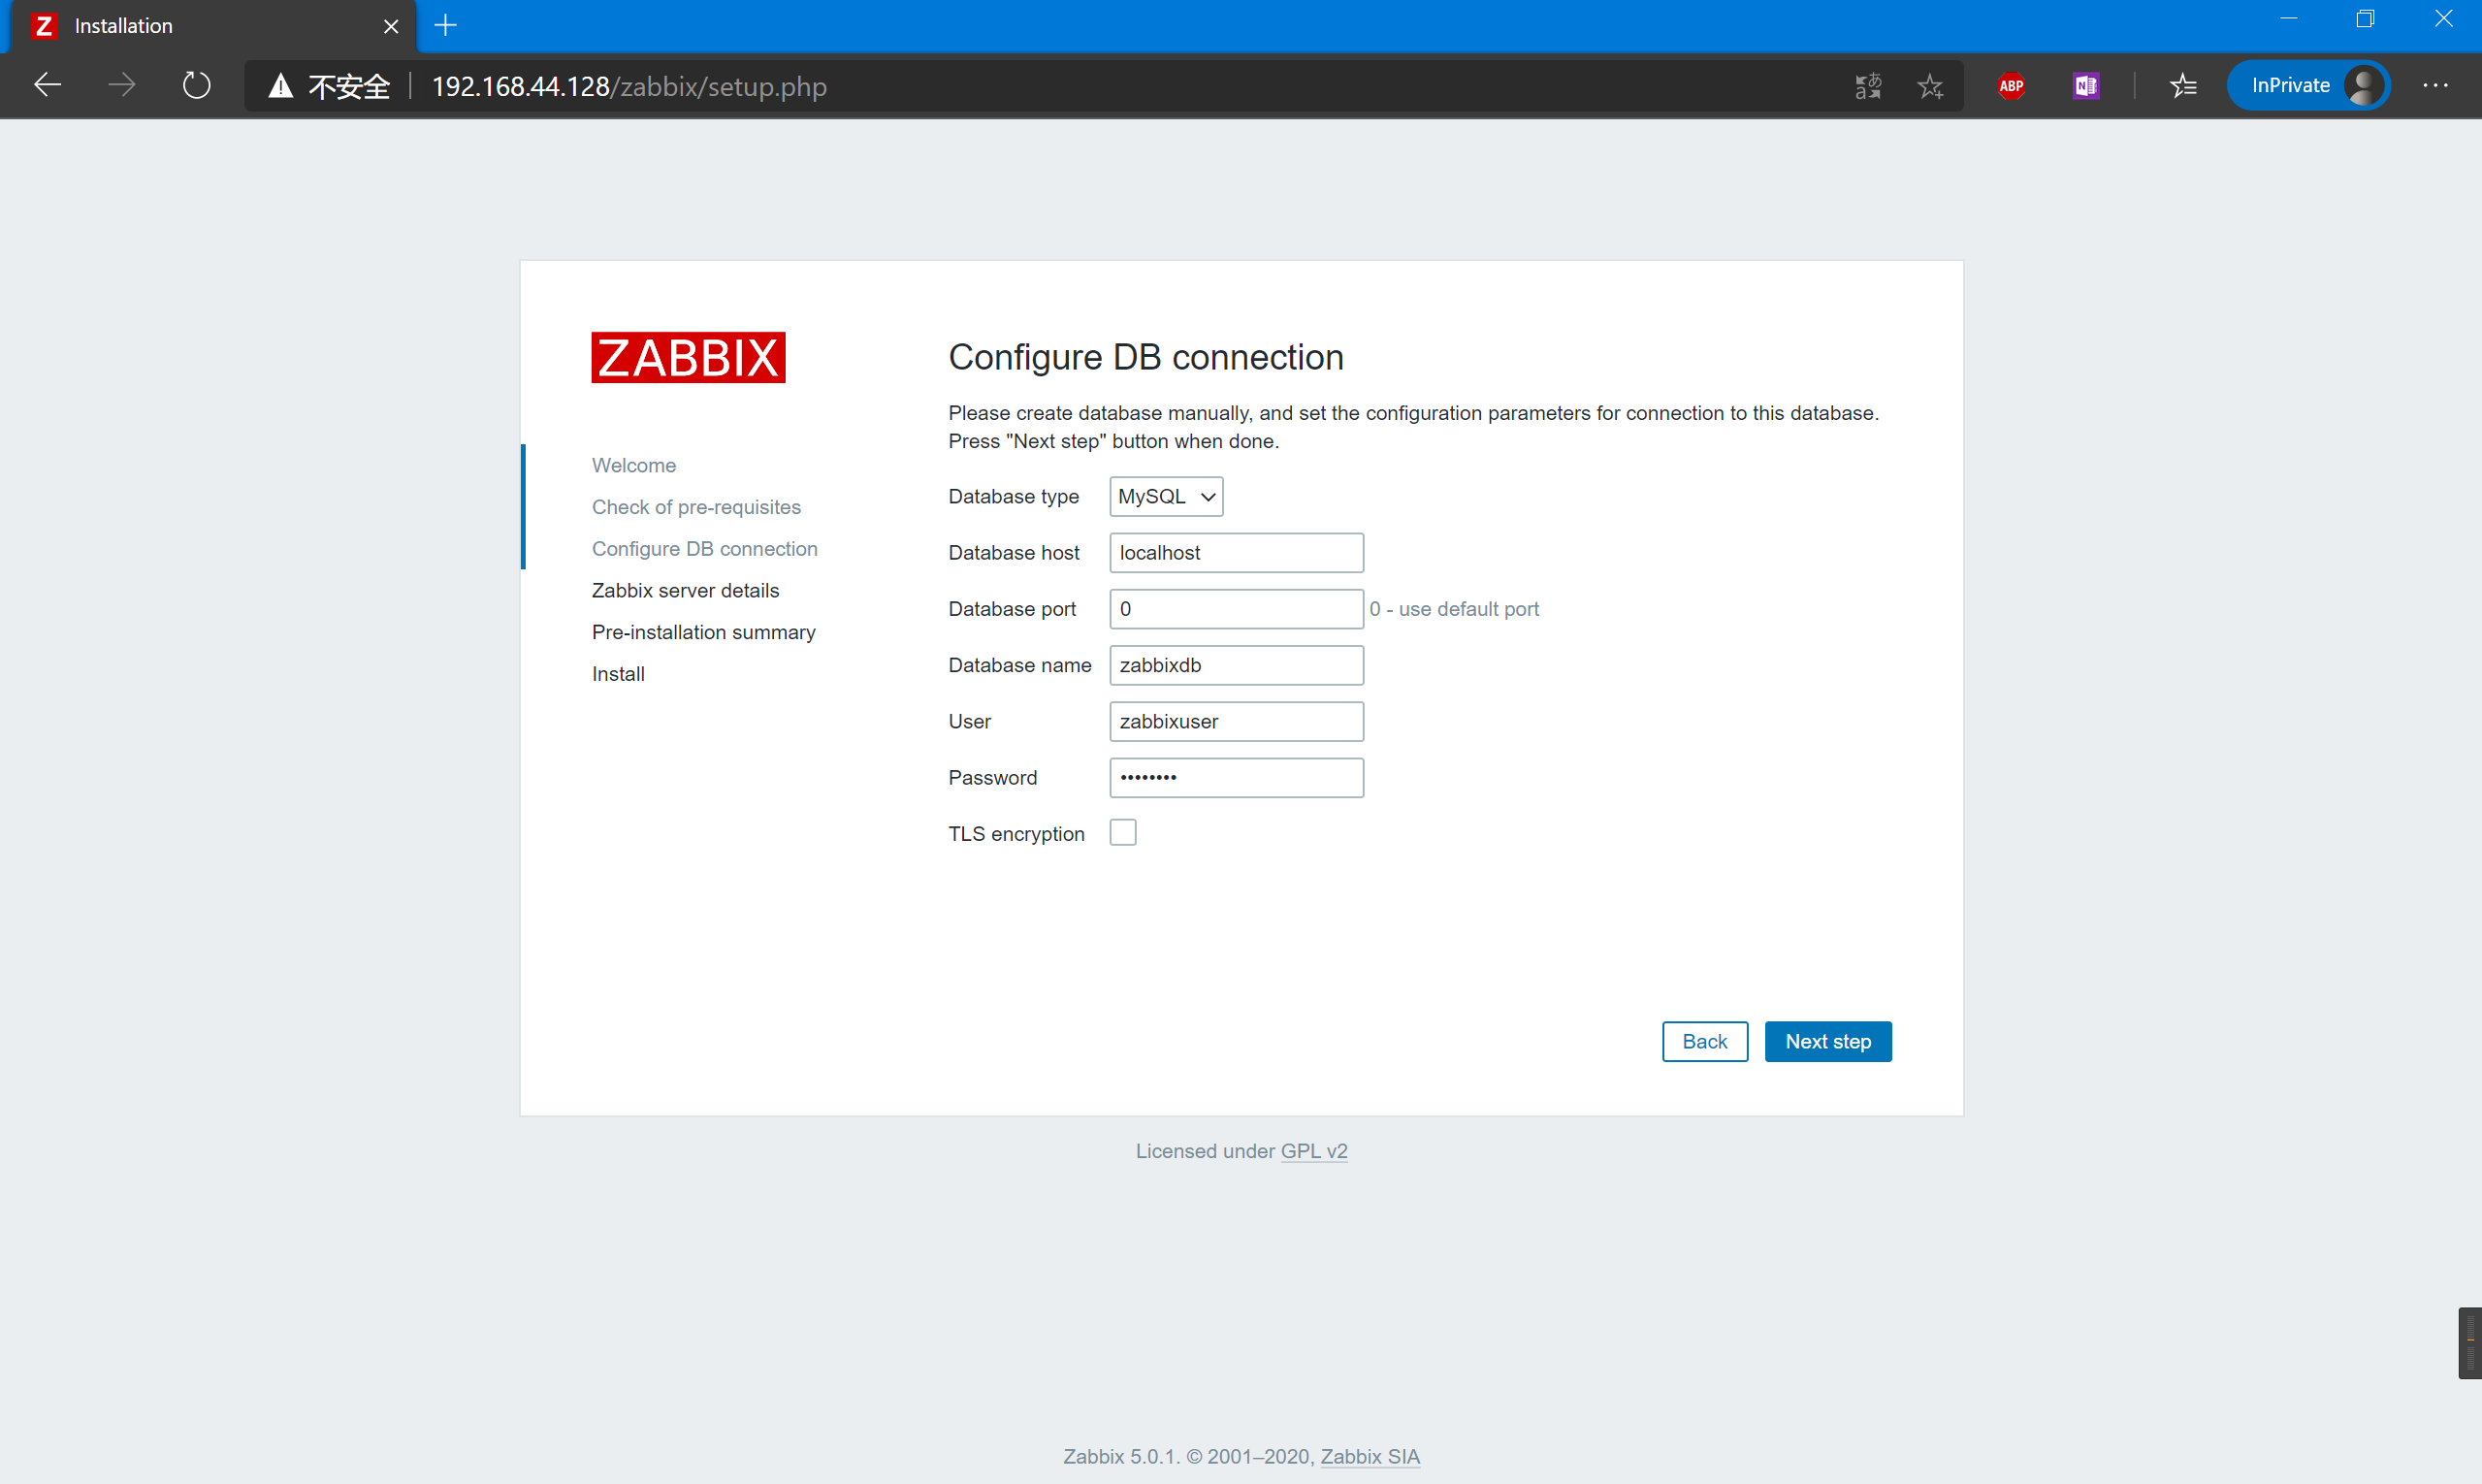
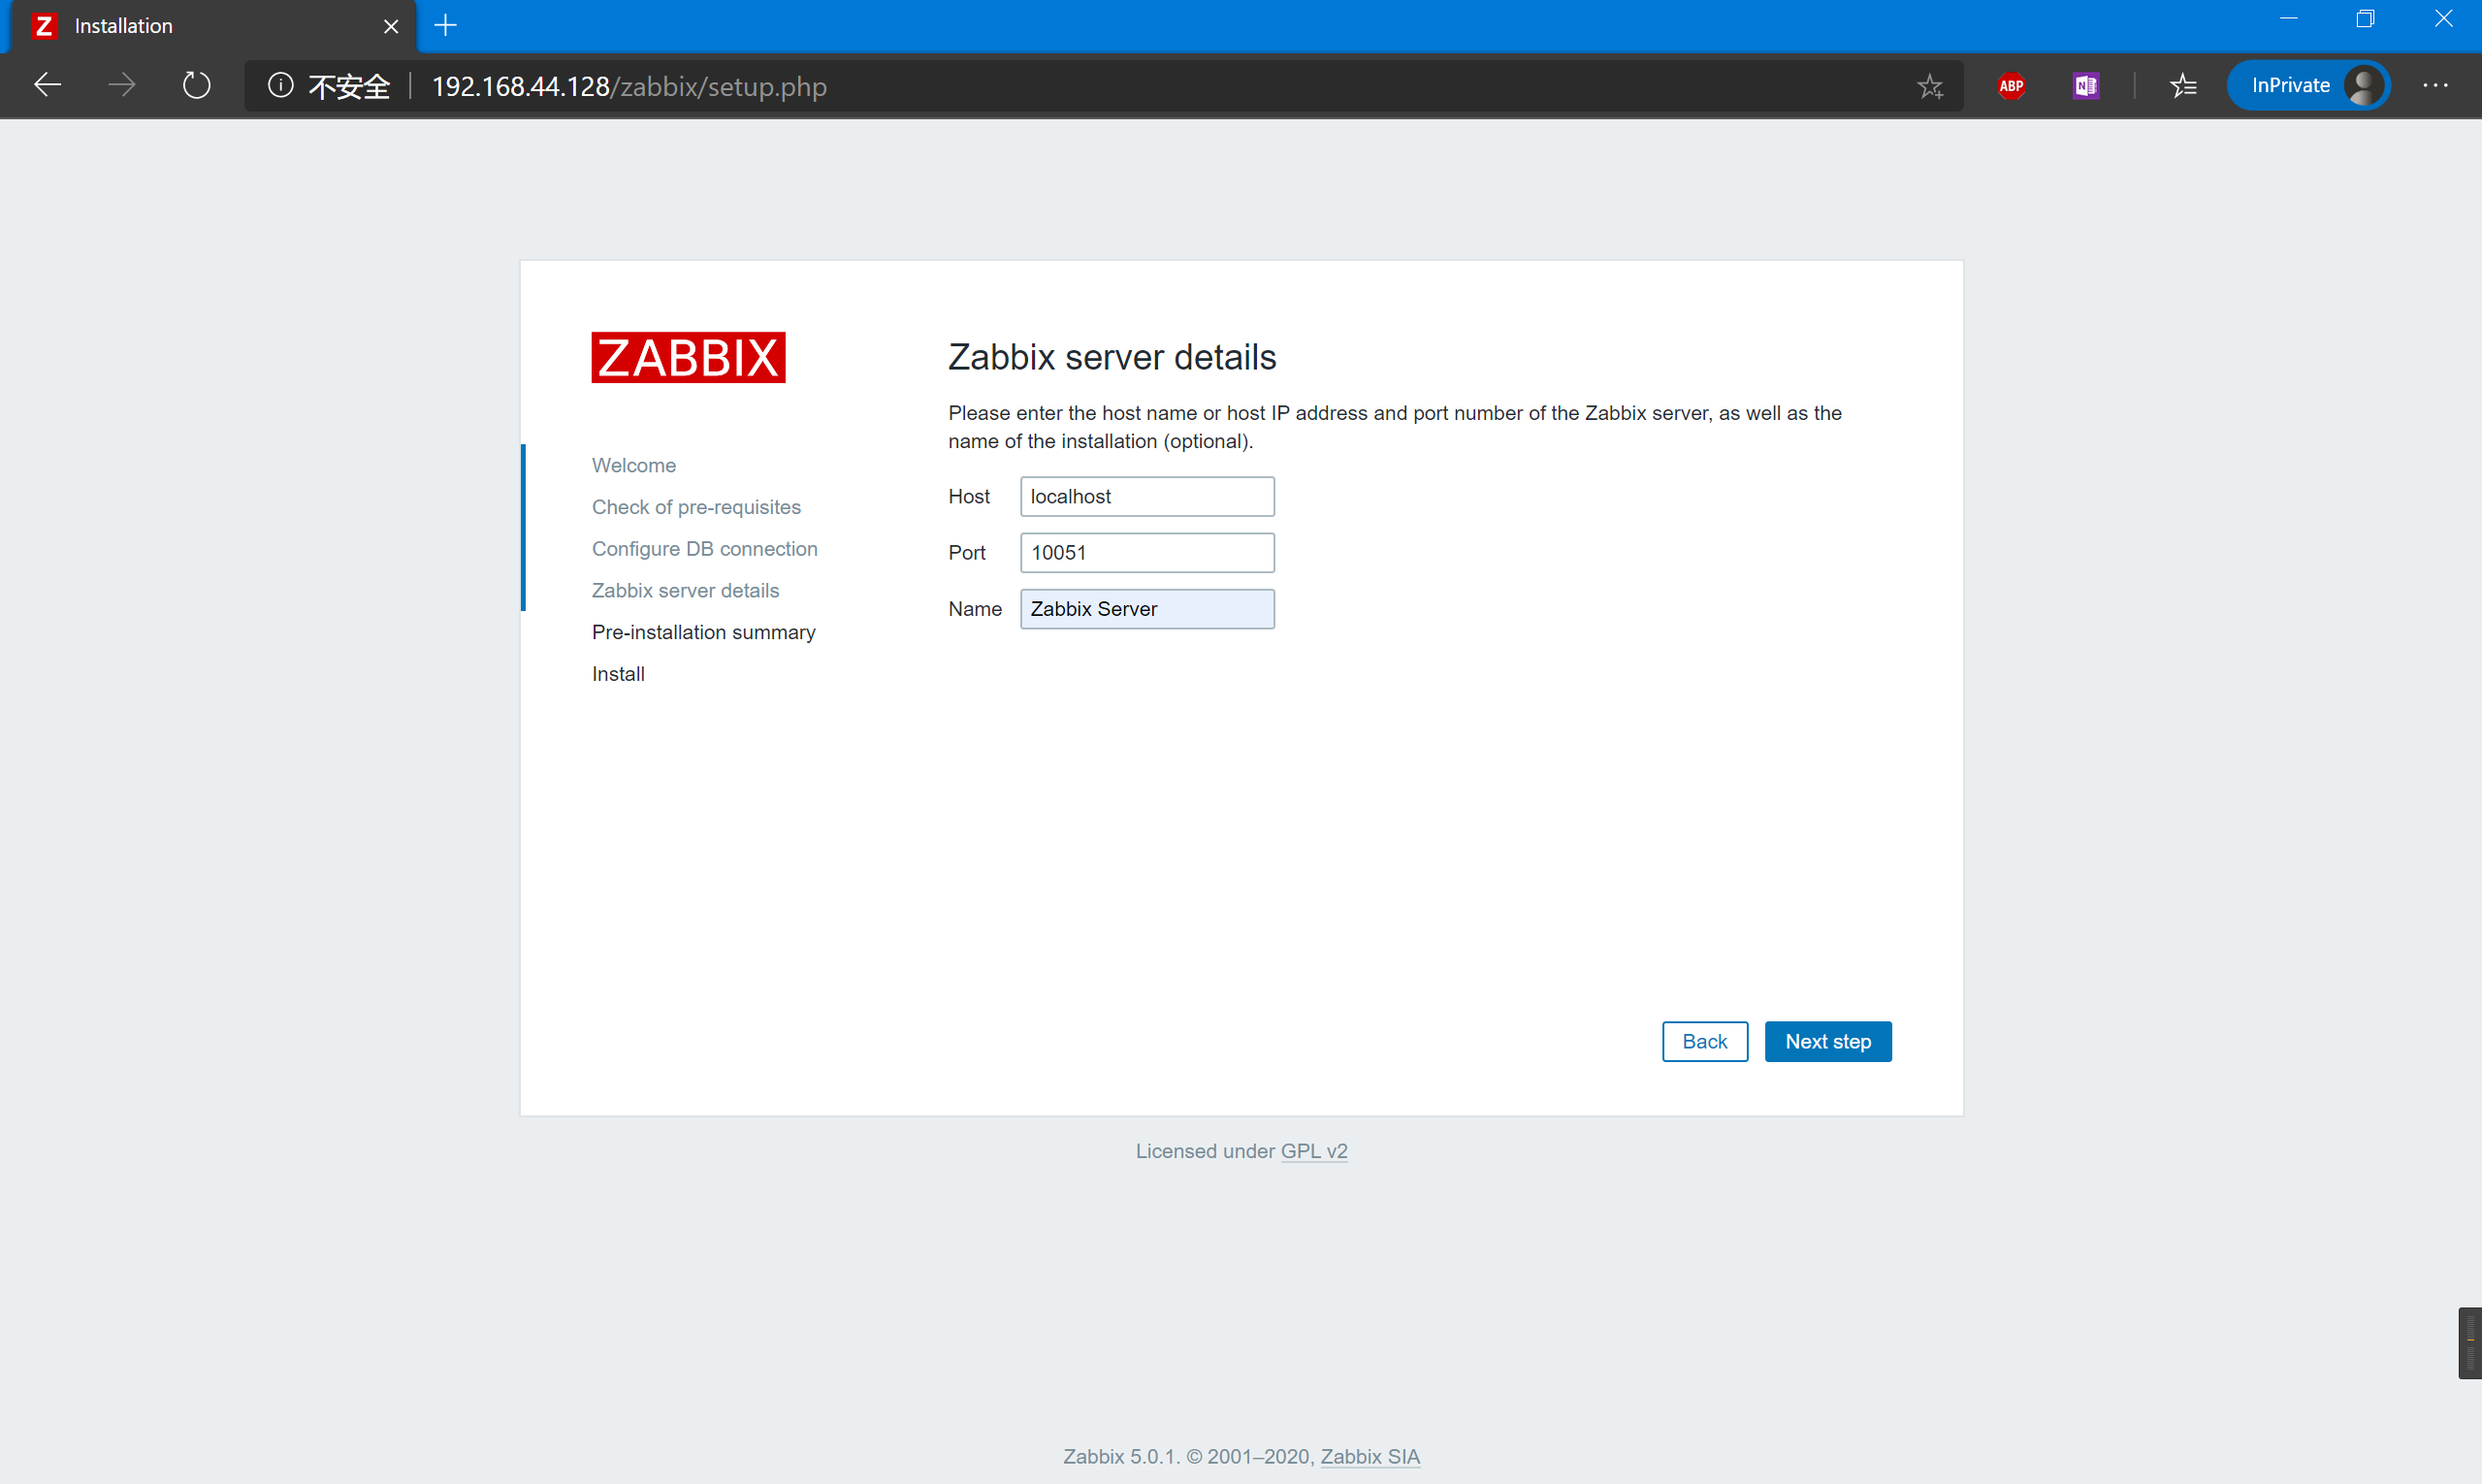
一些Zabbix服务器的详细信息、端口号和安装Zabbix的名称,然后点击 “下一步”。
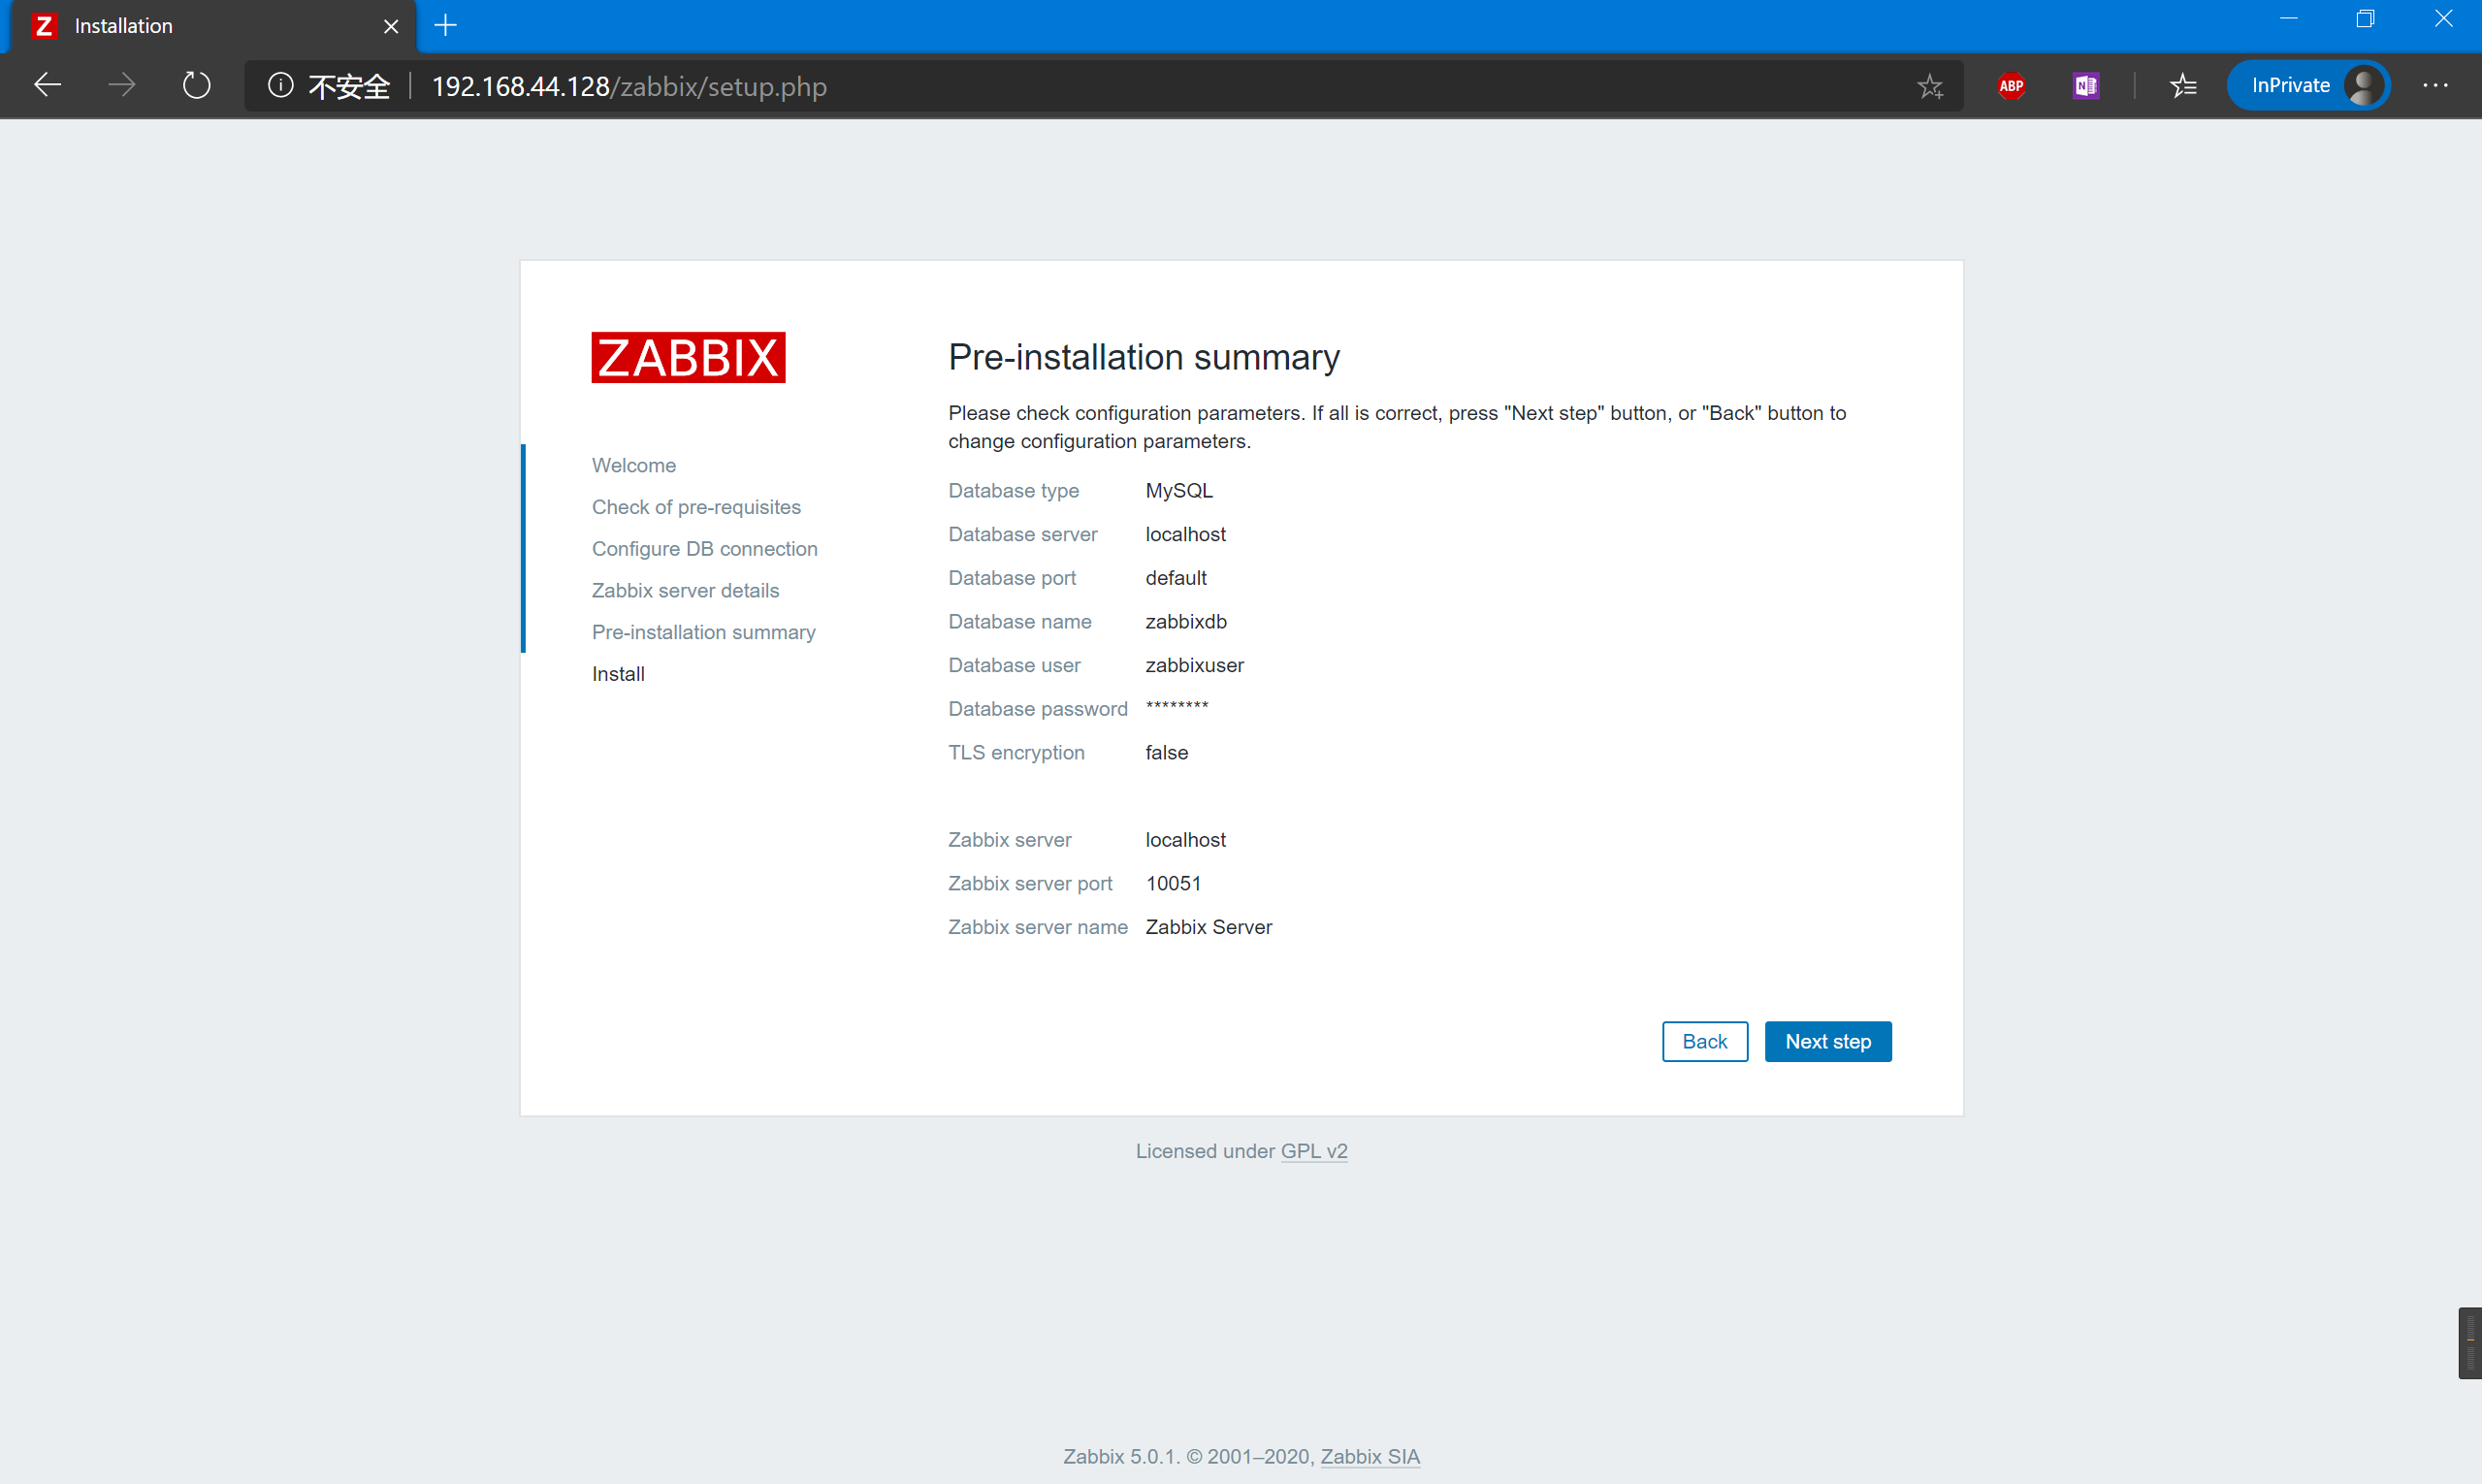
最终确认,没什么问题就点击 “Next step”
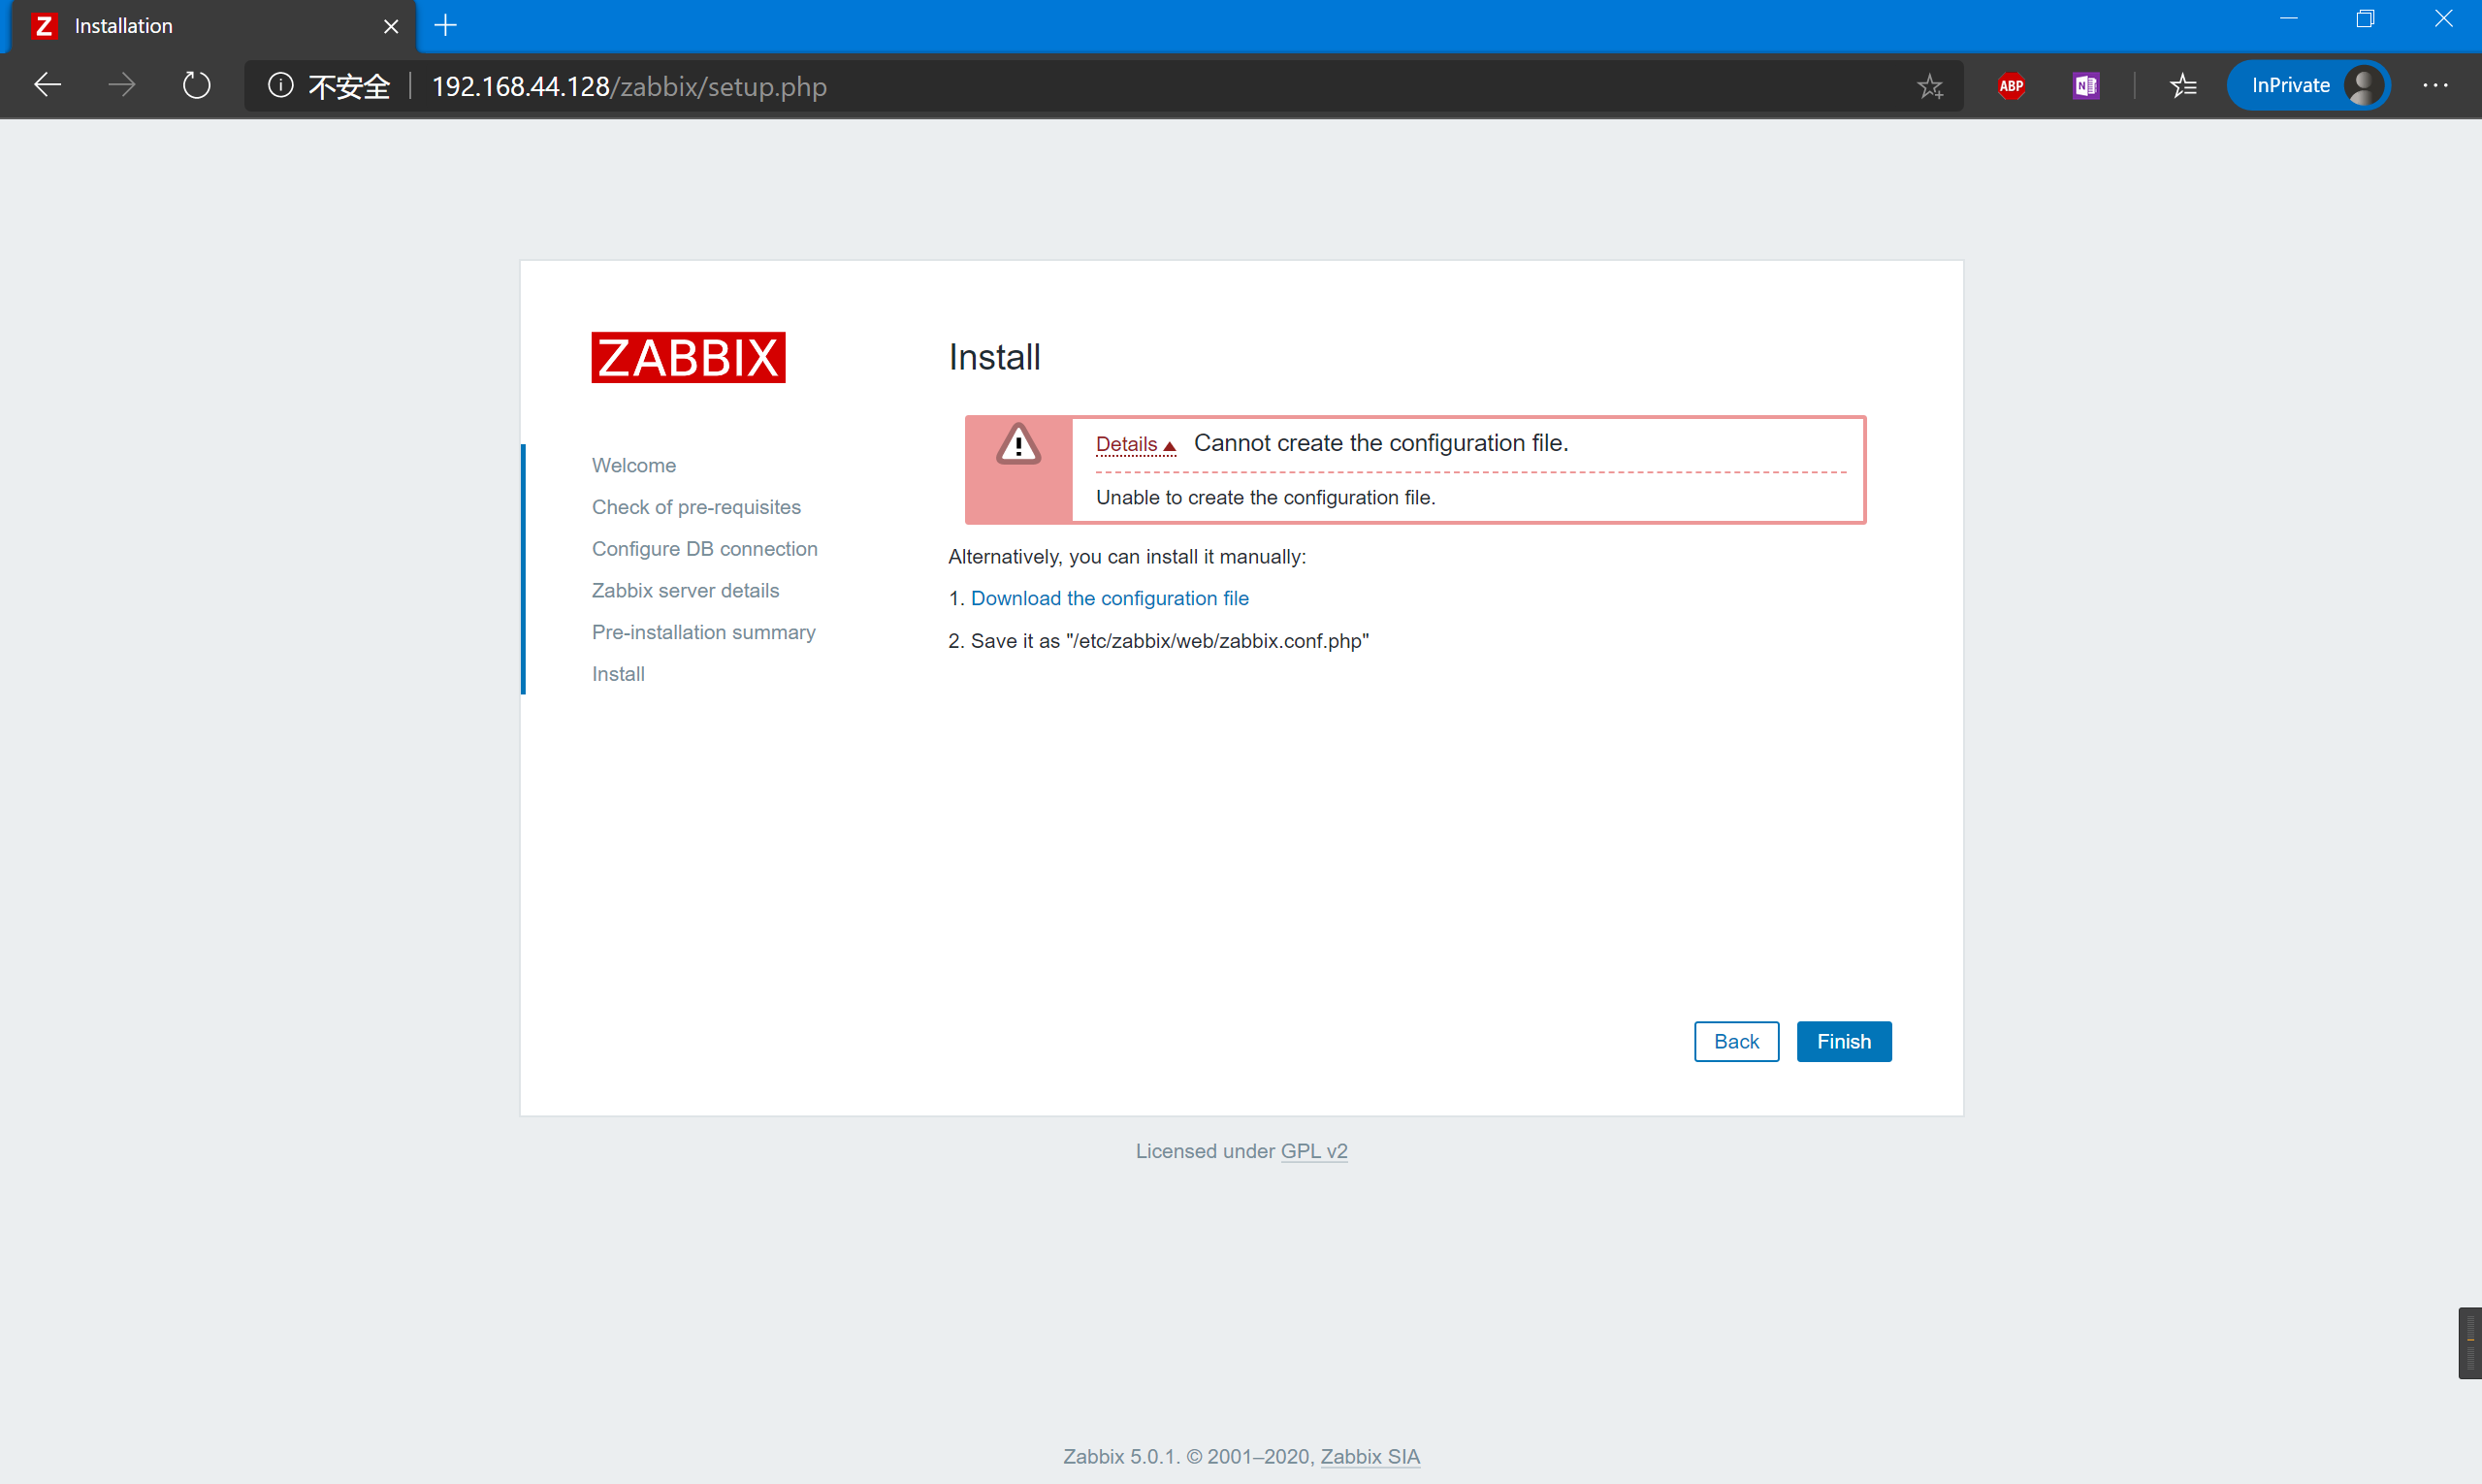
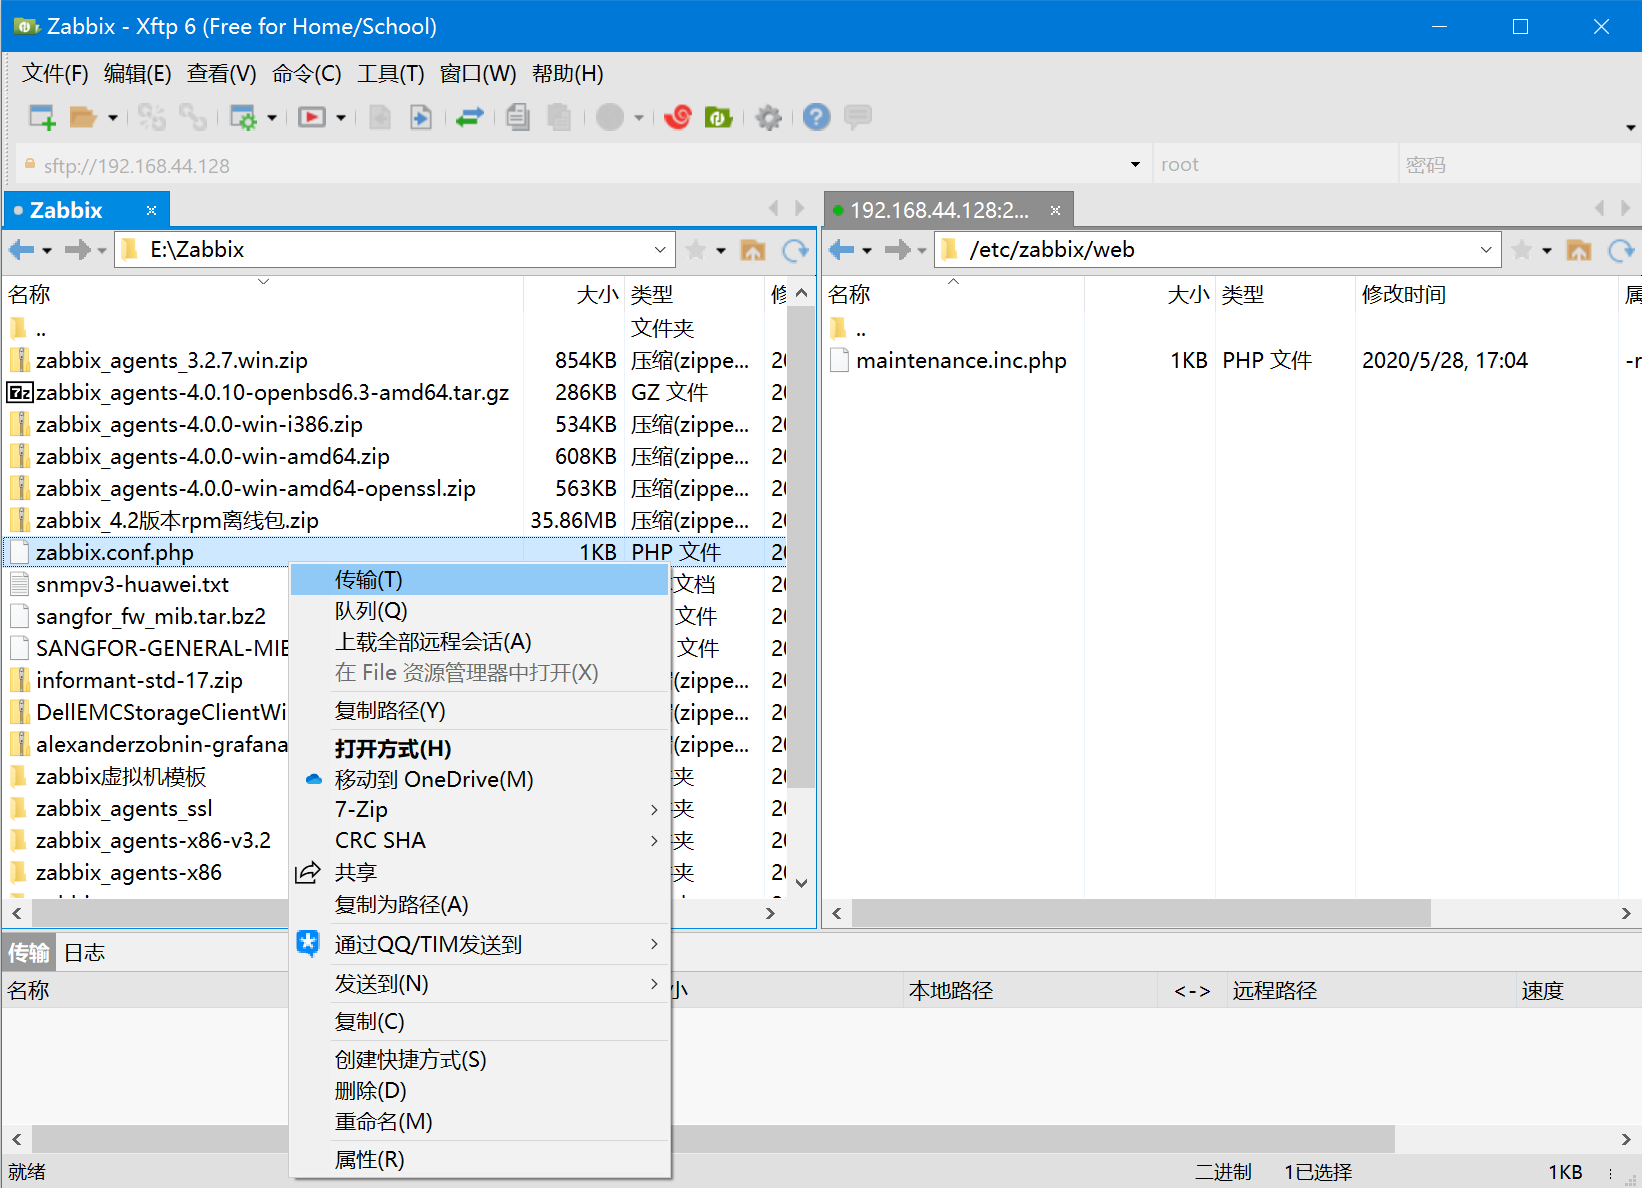
天啊,无法生成配置文件!那么我们自己上传一份上去就行了。老方法,使用xftp传到它说的目录下:
使用Xftp ,选中文件,传输:
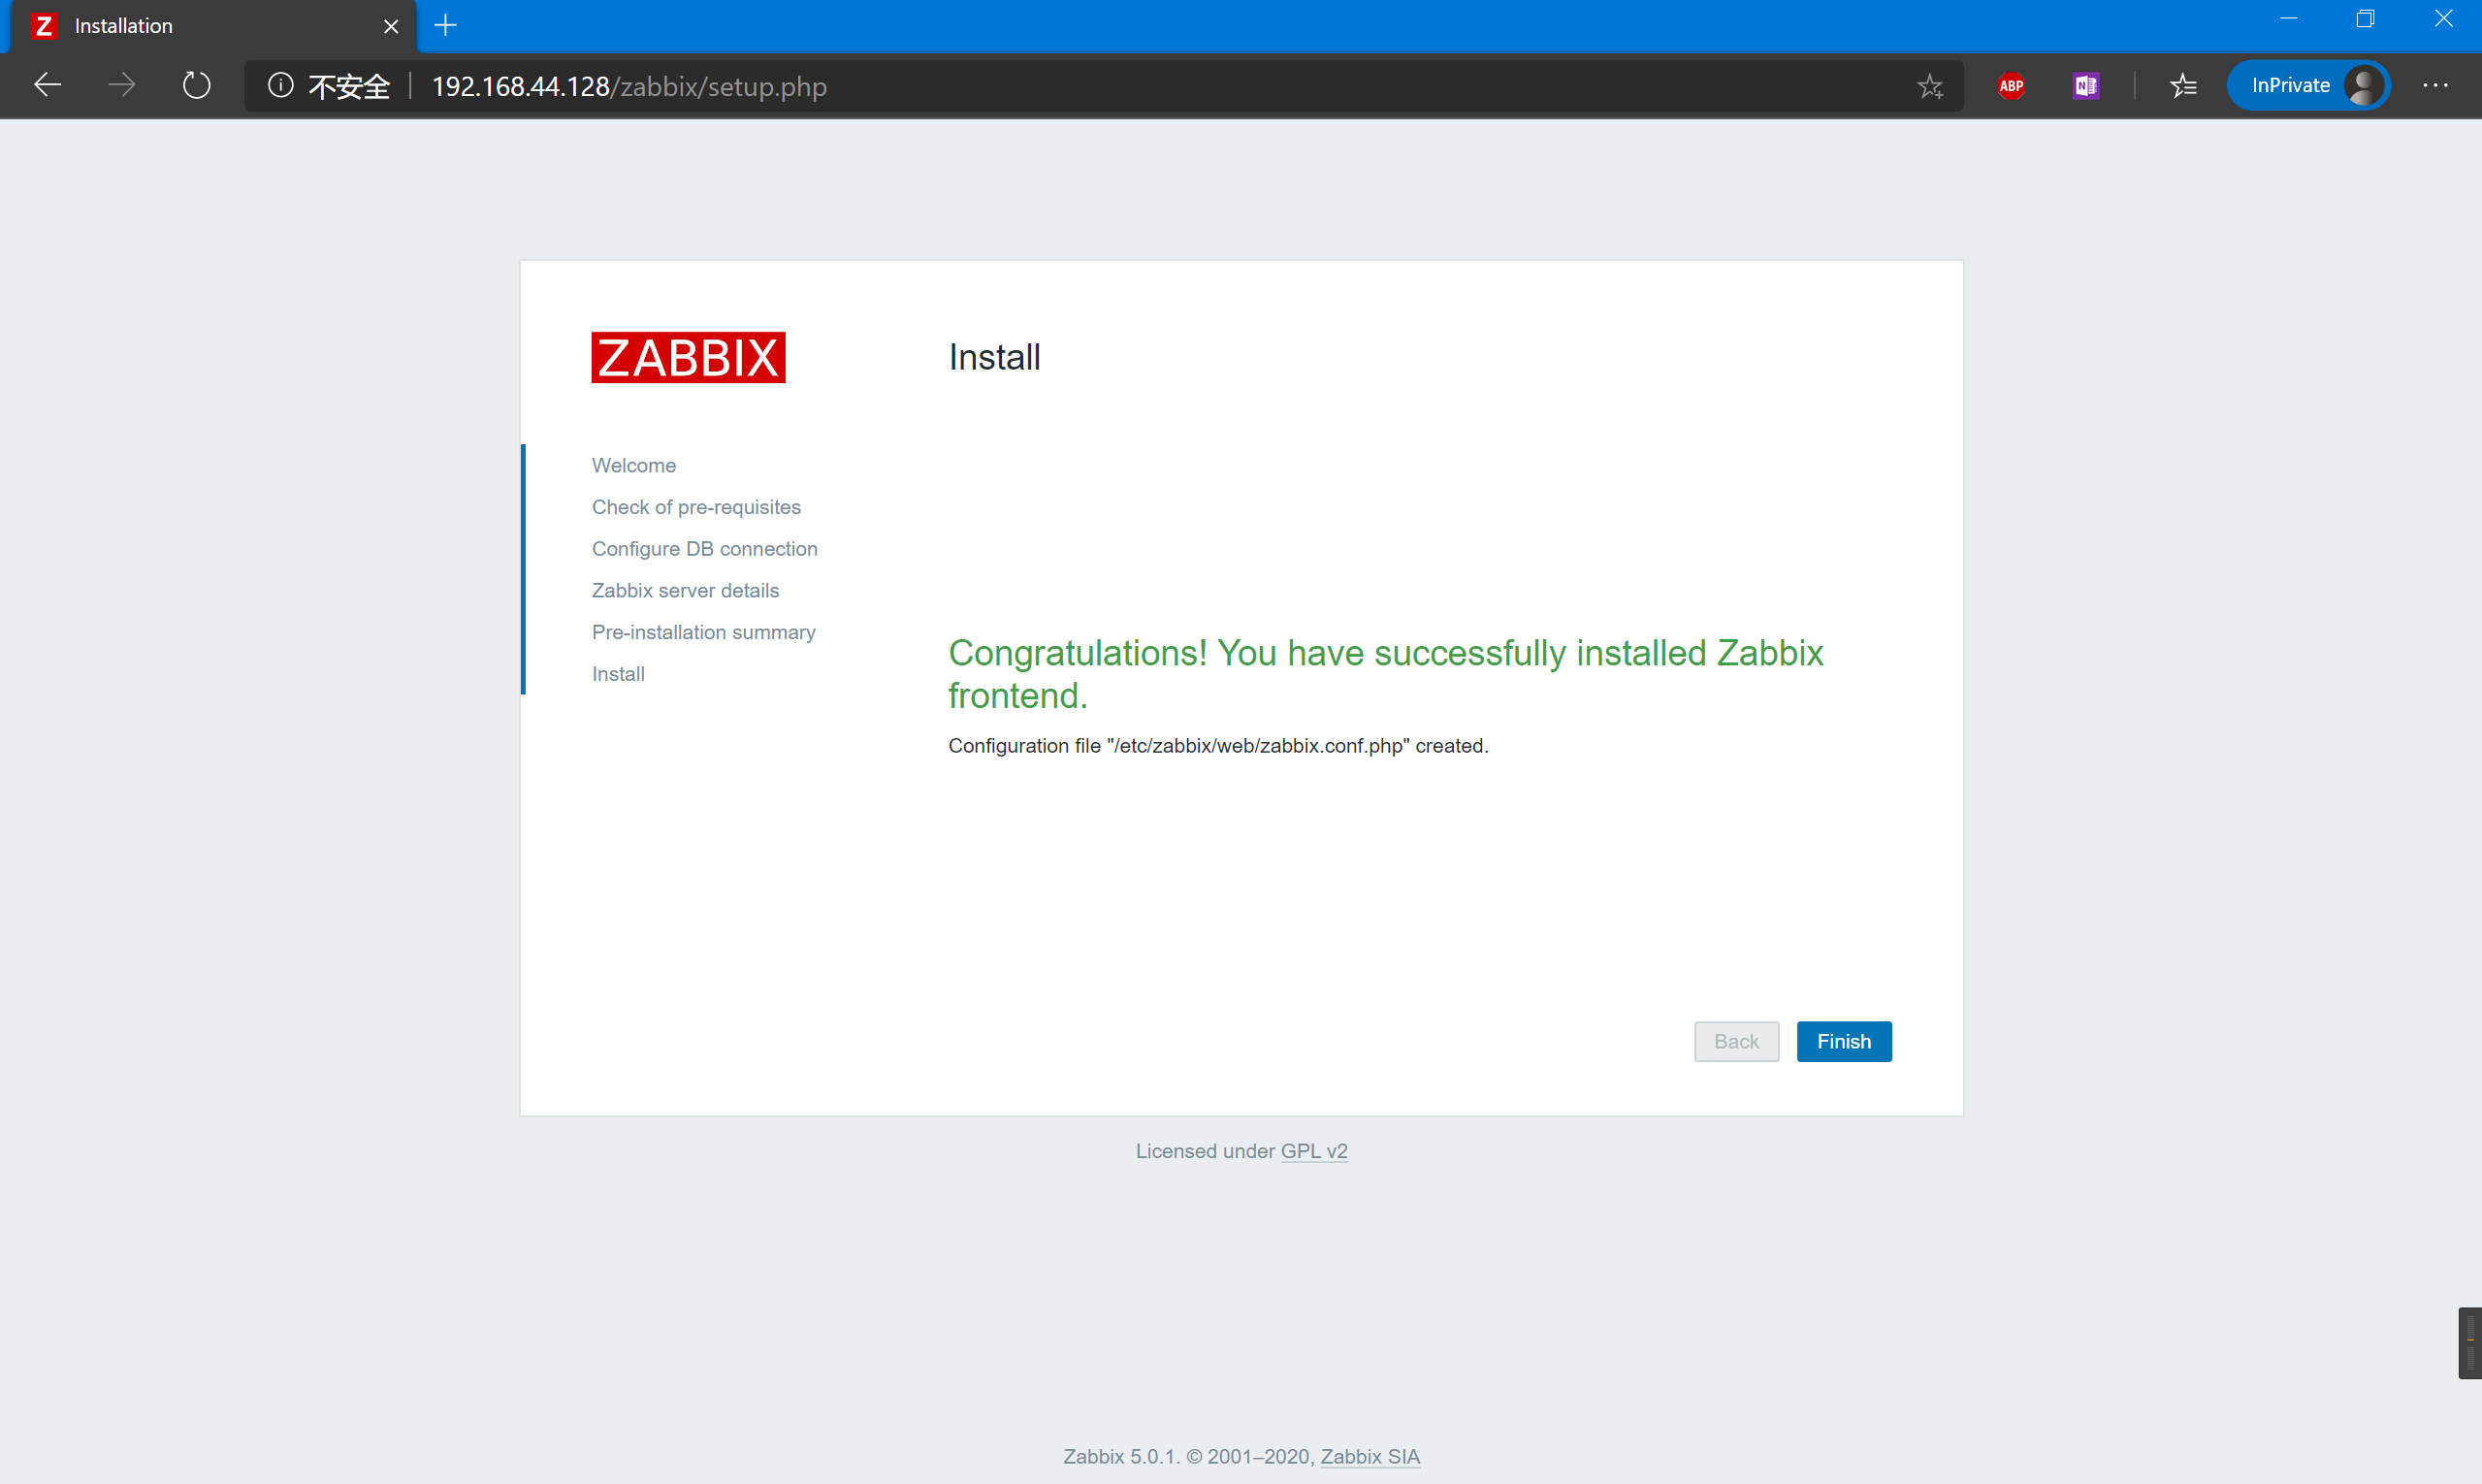
切回来在点击 “Next step”,完成安装
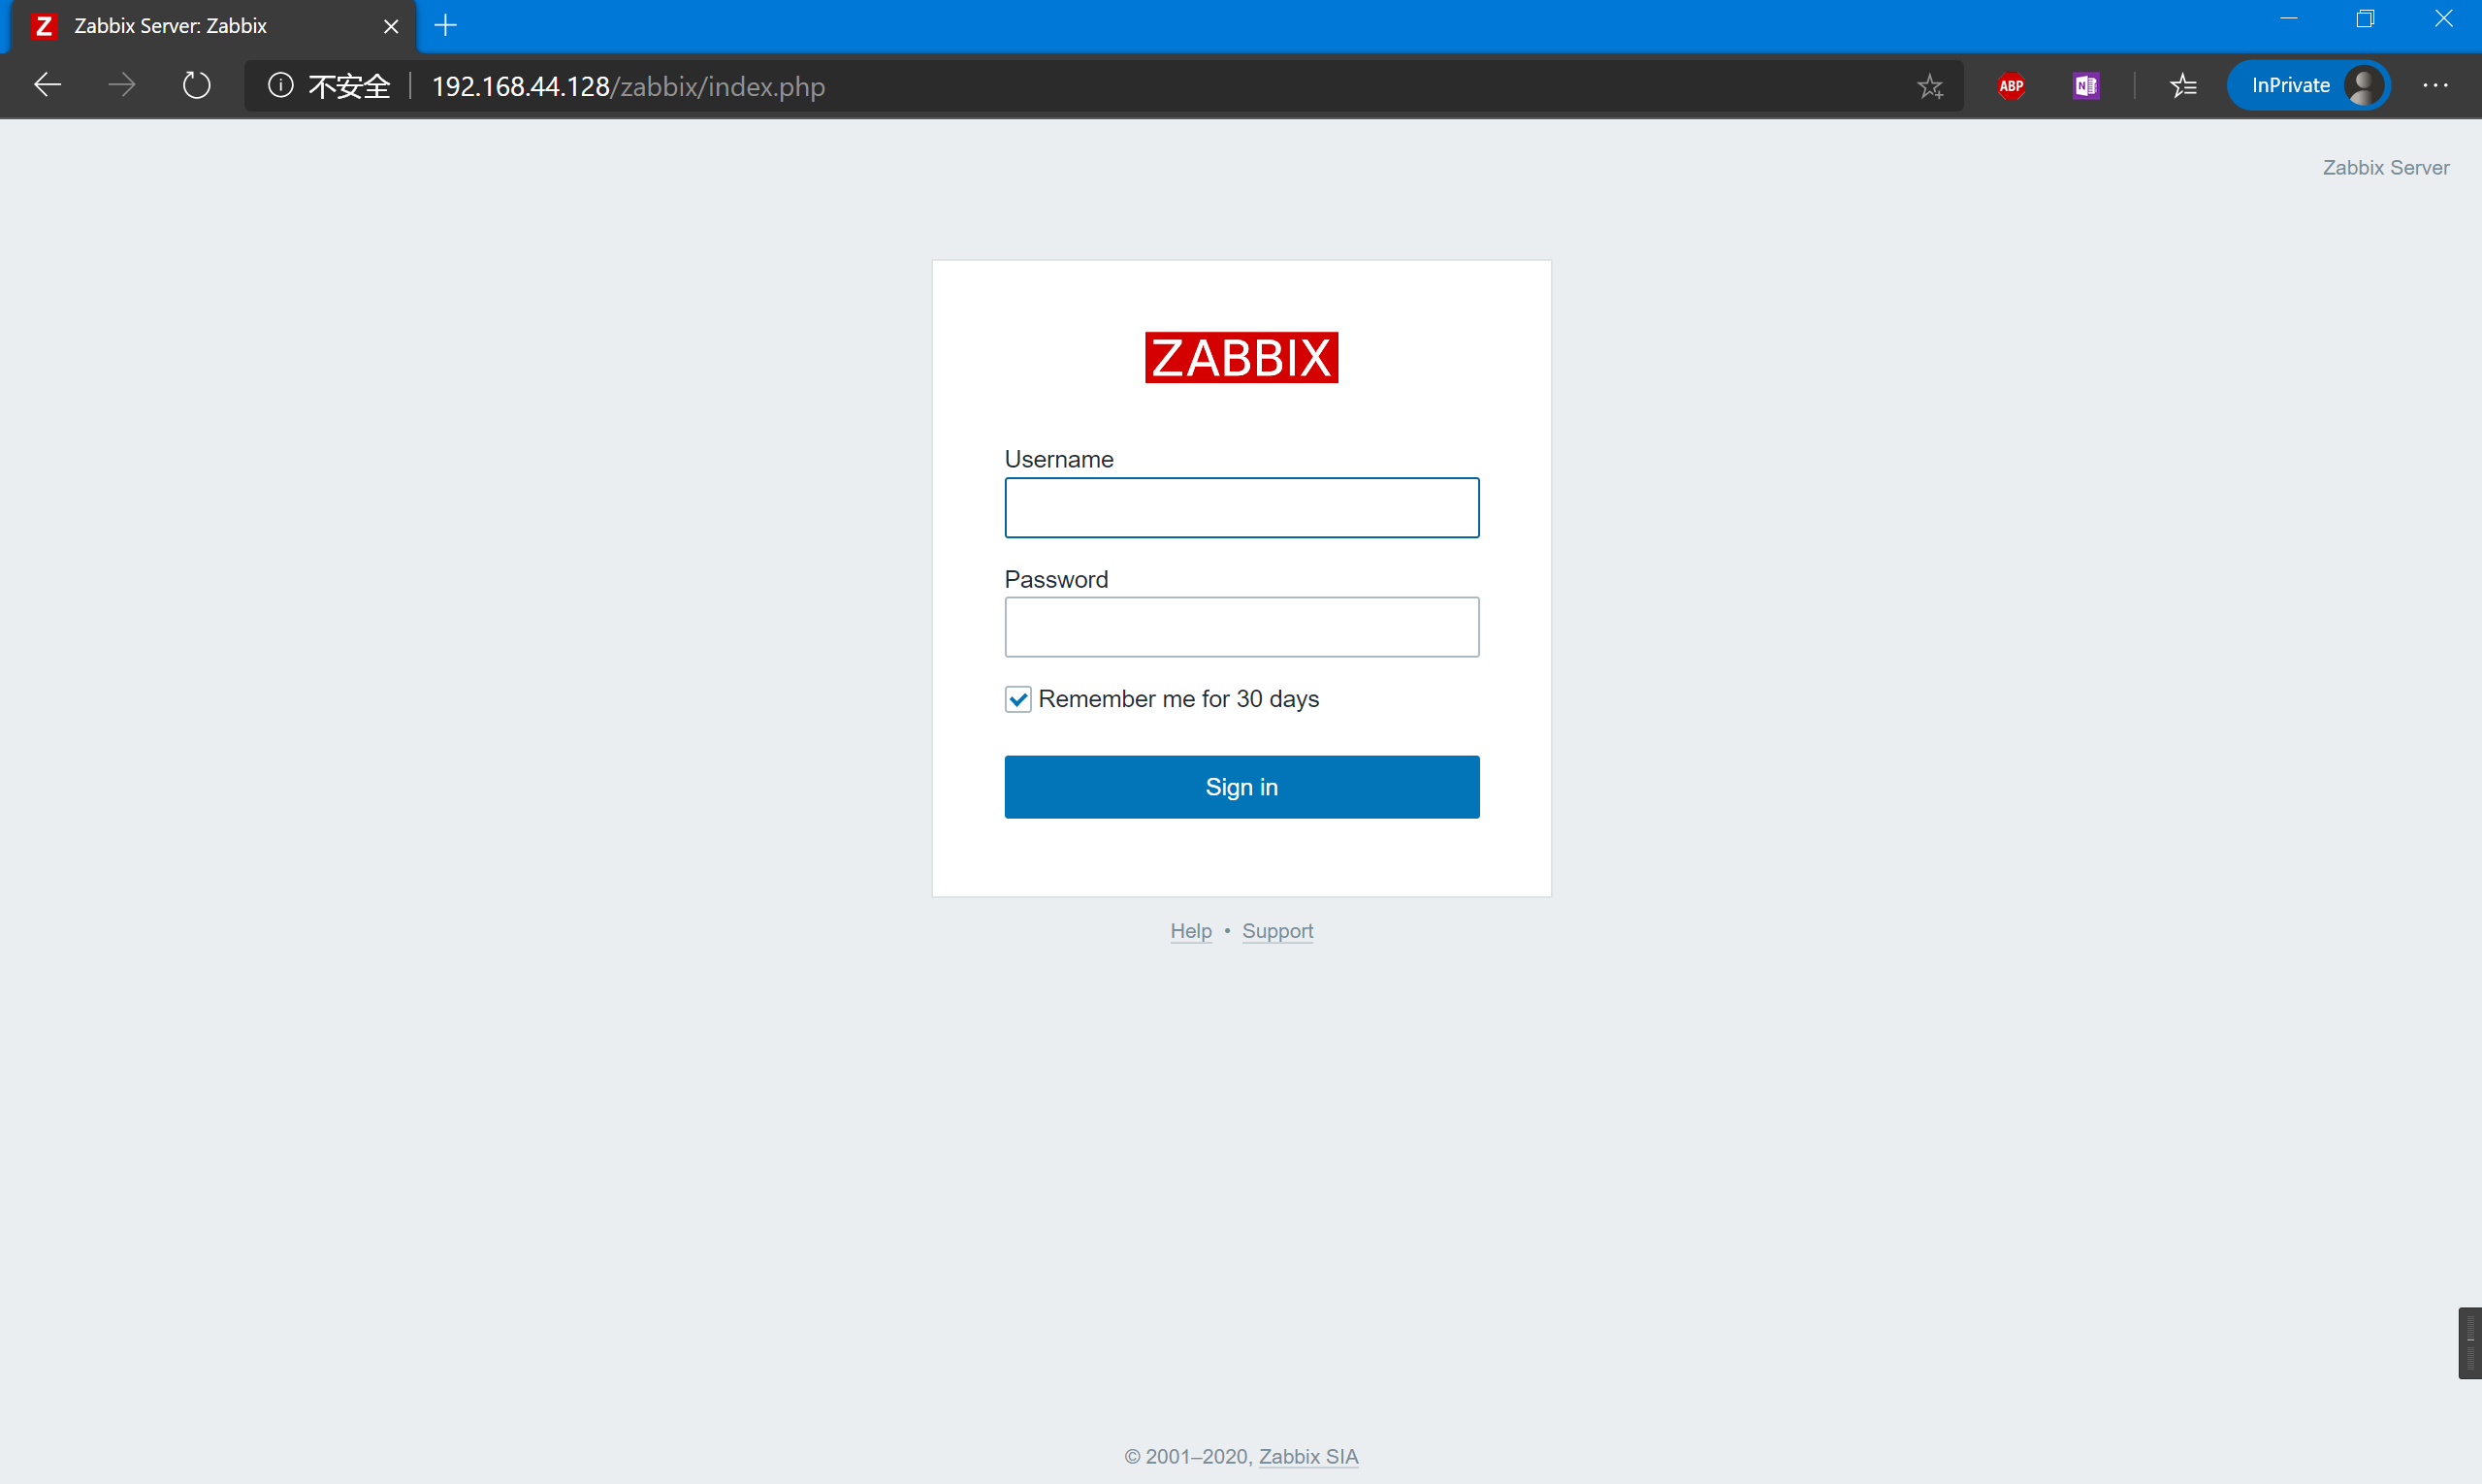
4.登录Zabbix
Zabbix的前端页面默认账号密码:
Username: Admin
Password: zabbix
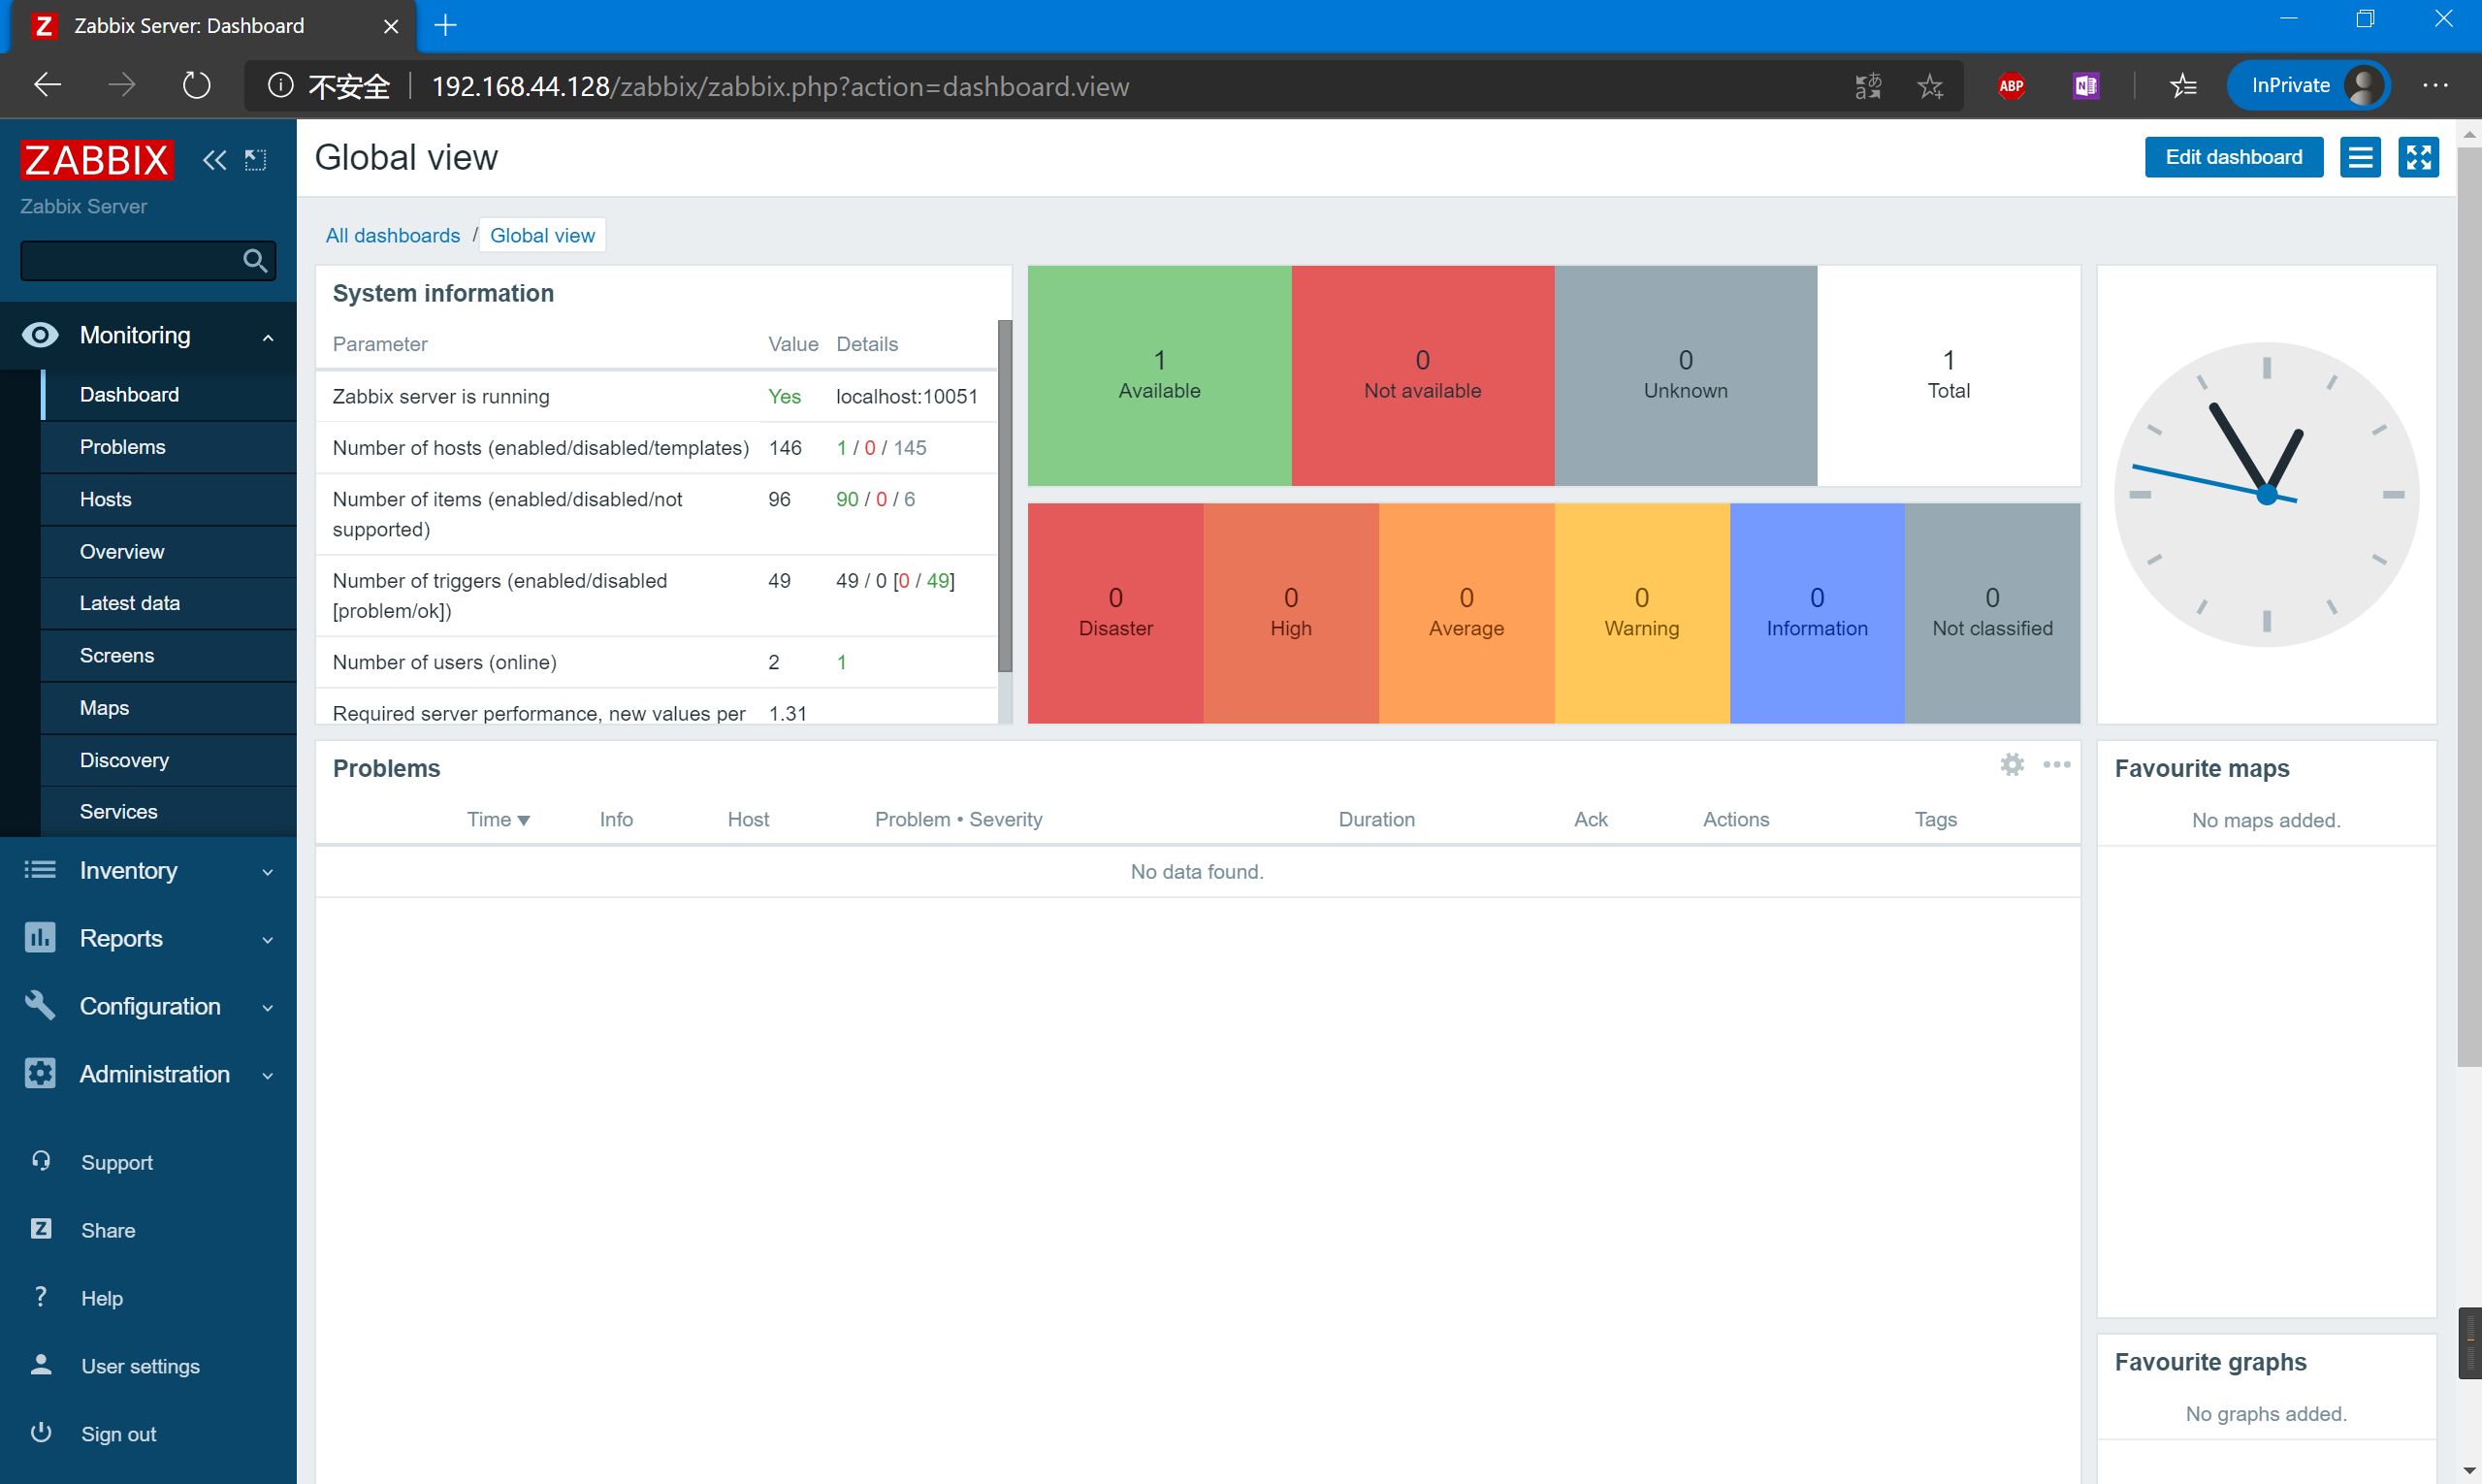
登录后我们就可以看到崭新的5.0 LTC版本了
5.总结
离线安装其实也很简单,主要的问题是如何得到这些离线安装包,方法是在一台可以上网的Linux环境下使用yum 仅下载命令来完成下载,再用FTP的方式将安装包拉到离线环境下的Linux下,最后就是一股脑的Yum localinstall 即可。需要注意的是,最后下载机和安装机的环境是一样,避免依赖包不足的问题。
使用方法:
只下载:
--downloadonly

指定下载目录:
--downloaddir=/tmp

连起来一起用:
yum install -y zabbix-web-mysql-scl zabbix-apache-conf-scl zabbix-server-mysql zabbix-agent --enablerepo=zabbix-frontend --downloadonly  --downloaddir=/tmp
这个方法可以解决大多数离线环境下无法使用Yum安装软件的问题,后续我们安装Granfa做图形化监视也可以使用这个方法。
那么,现在你可以在想要监控的设备上配置SNMP功能,或者安装Zabbix-agent客户端,这样你就能在Zabbix上实时监控设备了。